
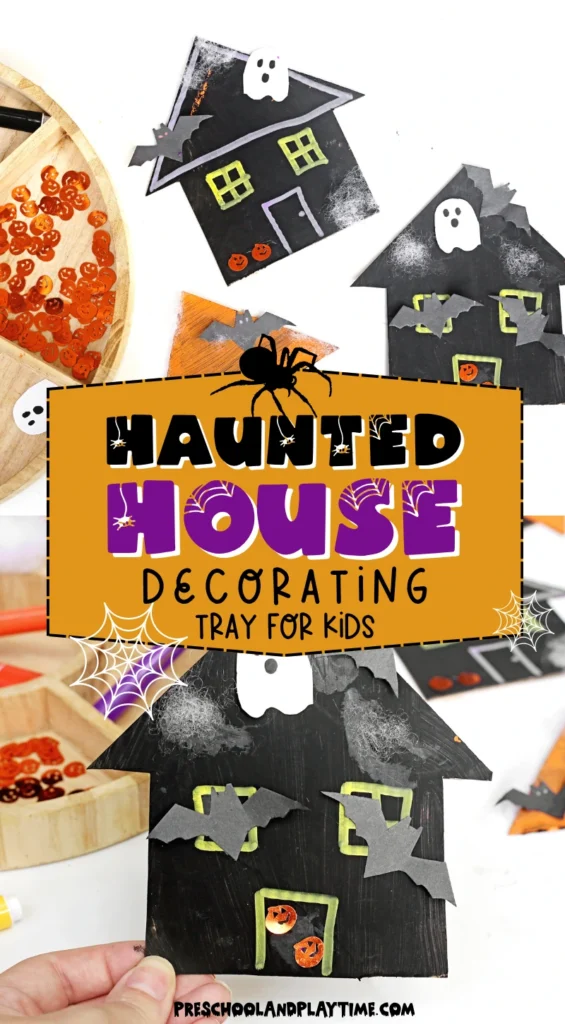
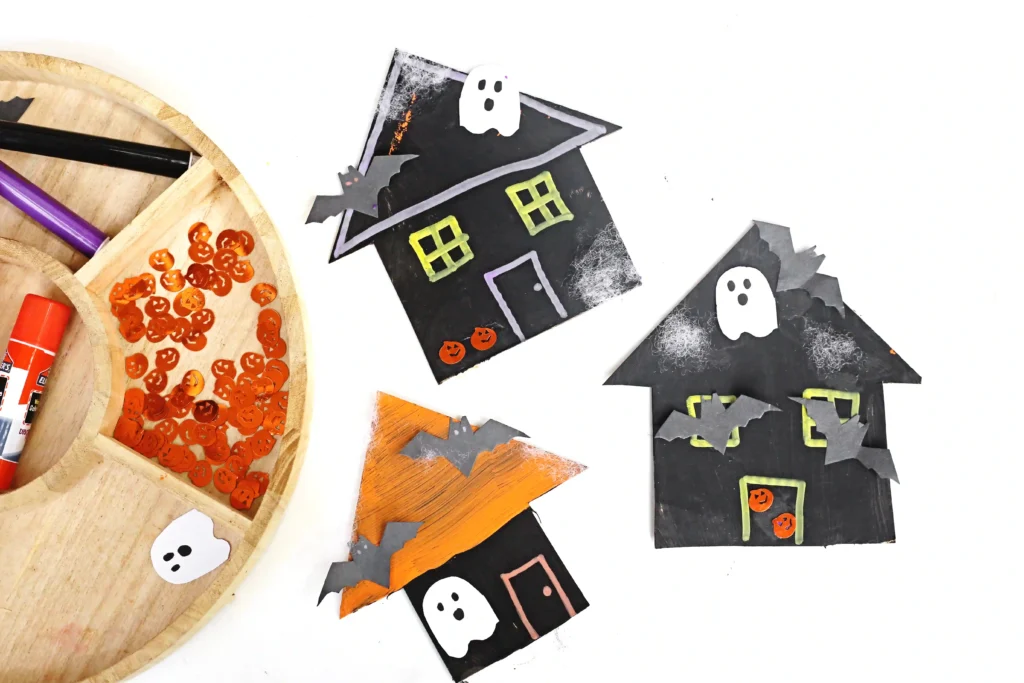
Halloween is full of candy, monsters, and pumpkins, but preschoolers need activities that won’t scare them! This decorate a haunted house tray is the perfect non-scary activity for young kids who scare easily. Using simple supplies form home, you can create beautiful haunted houses that make the perfect decorations for your house or windows. So, if you’re looking for a Halloween activity for kids, non-scary crafts for kids, or haunted house activities, this is a great one to try!
And, if you’re looking for more fun Halloween activities, try this sponge painted spider web or this witch’s broomstick painting craft!
This post may contain affiliate links, please read our disclosure policy for details.
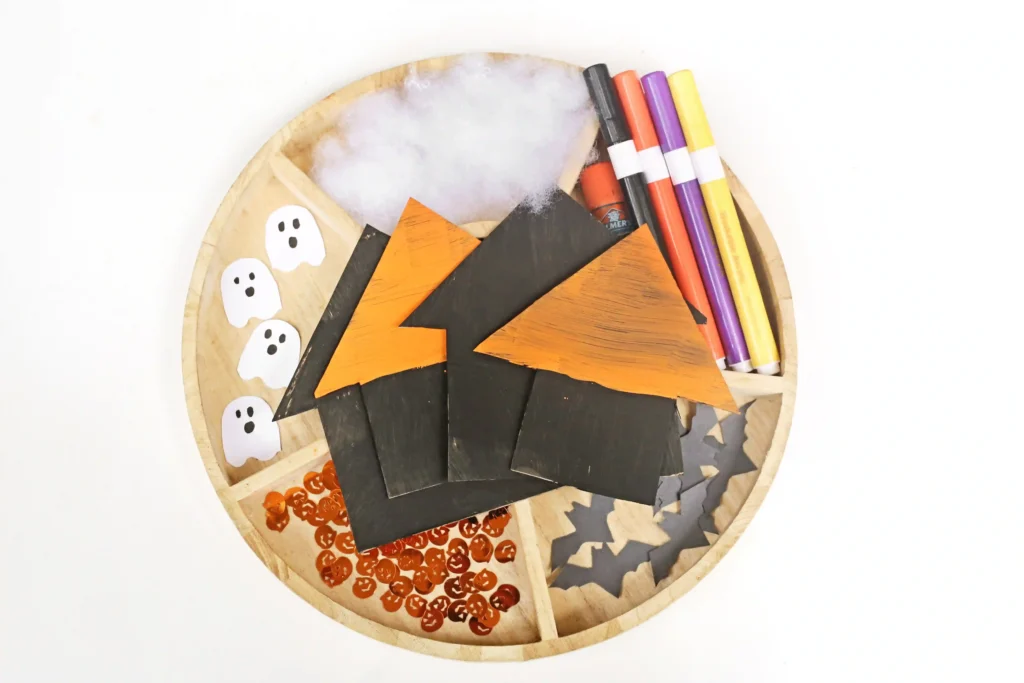
What You’ll Need For This Decorate A Haunted House Tray
Halloween Books For Preschoolers
The Spooky Wheels On The Bus– A Halloween twist on the classic “Wheels on the Bus,” this fun book practices counting to 10.
The Very Hungry Caterpillar’s Peek A Boo Halloween– Join the very hungry caterpillar as it finds various Halloween things, from buckets of candy to Halloween animals!
Don’t Tickle the Skeleton– This touch and feel book combines sensory input and sounds with Halloween fun!
Step-By-Step Instruction For This Decorate A Haunted House Tray
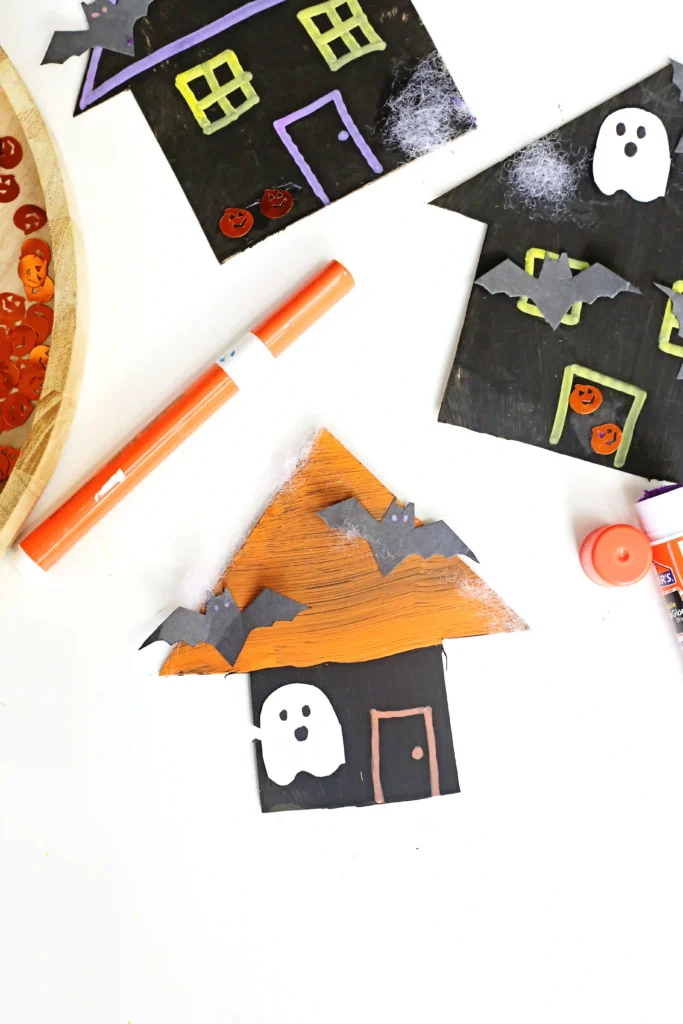
1. Cut cardboard into the shape of a haunted house. Paint the house black, orange, or a combination of both colors. Allow the paint to dry completely. You can also do this before hand and have your child decorate the house instead of cutting and painting it.
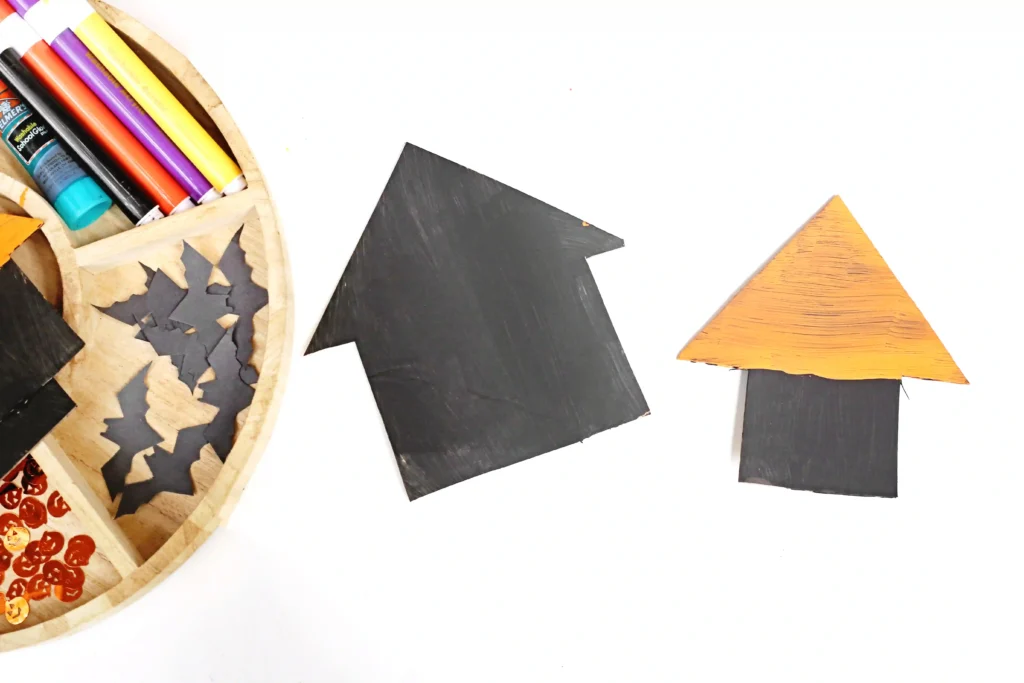
2. Cut simple ghost shapes from white construction paper and bat shapes from black construction paper.
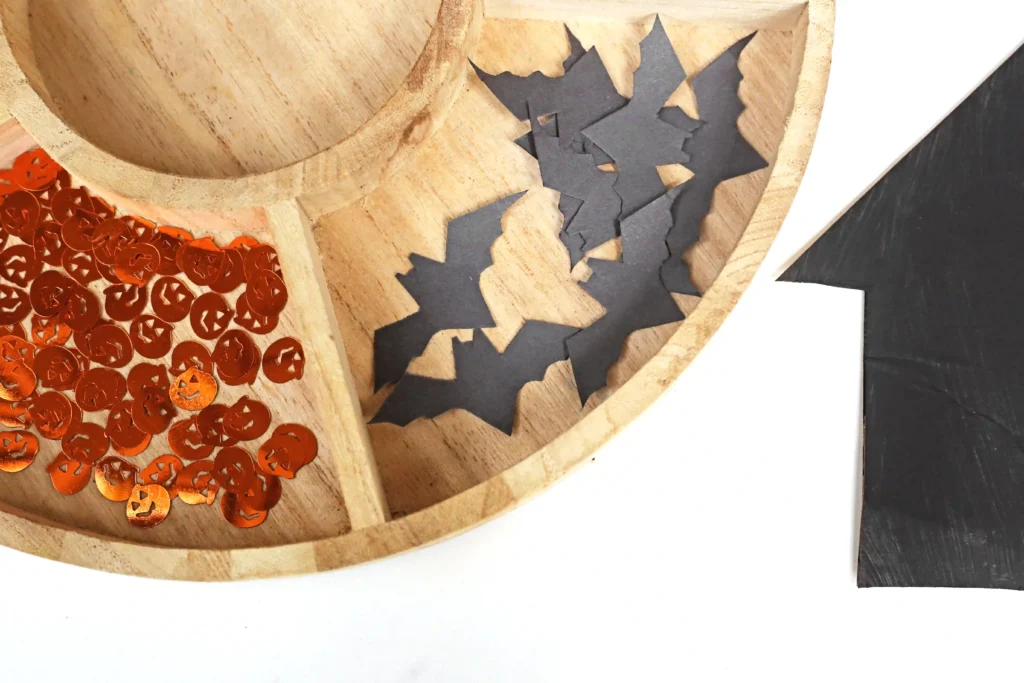
3. Place the haunted house, ghosts, bats, cotton balls or Poly-Fil, markers, and a glue stick into a tray.
4. Invite children to draw windows, doors, or other spooky details on their haunted house with markers.
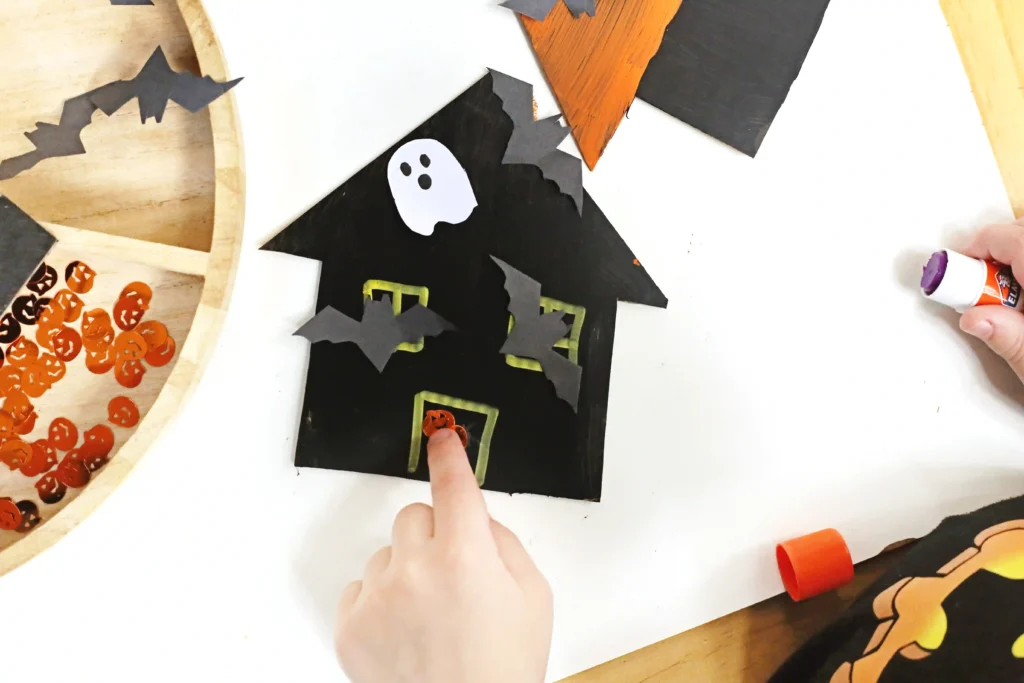
5. Pull apart small pieces of cotton or Poly-Fil to create fluffy spider webs and glue them onto the house.
6. Glue the paper ghosts and bats anywhere on the haunted house to create a spooky Halloween scene.
7. Continue decorating until the haunted house is complete.
Benefits Of This Haunted House Tray
Aside from being a fun Halloween activity, this haunted house tray also:
- Strengthens fine motor skills through gluing, drawing, and placing small decorations.
- Encourages creativity and imaginative storytelling with open-ended design choices.
- Develops hand-eye coordination while arranging and attaching craft pieces.
- Promotes decision-making as children choose where to place each Halloween decoration.
- Builds confidence by allowing children to create a unique haunted house with no right or wrong design.
- Introduces Halloween-themed vocabulary such as haunted house, ghost, bat, spider web, roof, window, and door.
Decorate a Haunted House Tray
This decorate a haunted house tray is a fun Halloween craft using painted cardboard and construction paper! Perfect for kids to design their own spooky scene.
- Prep Time: 15 + dry time
- Total Time: 15 + dry time
- Category: DIY, Halloween
- Method: Step-by-Step
Materials
- Cardboard
- Black and orange paint
- Paintbrush
- White construction paper
- Black construction paper
- Cotton balls or polyester fiberfill
- Washable markers or paint markers
- Glue stick
- Scissors
Instructions
- Cut cardboard into the shape of a haunted house. Paint the house black, orange, or a combination of both colors. Allow the paint to dry completely.
- Cut simple ghost shapes from white construction paper and bat shapes from black construction paper.
- Place the haunted house, ghosts, bats, cotton balls or Poly-Fil, markers, and a glue stick into a tray.
- Invite children to draw windows, doors, or other spooky details on their haunted house with markers.
- Pull apart small pieces of cotton or Poly-Fil to create fluffy spider webs and glue them onto the house.
- Glue the paper ghosts and bats anywhere on the haunted house to create a spooky Halloween scene.
- Continue decorating until the haunted house is complete.