
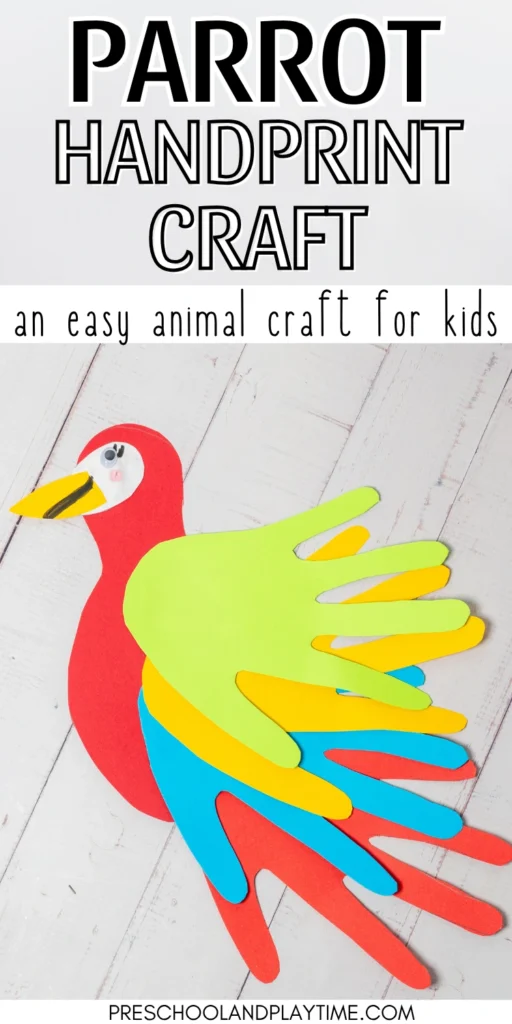
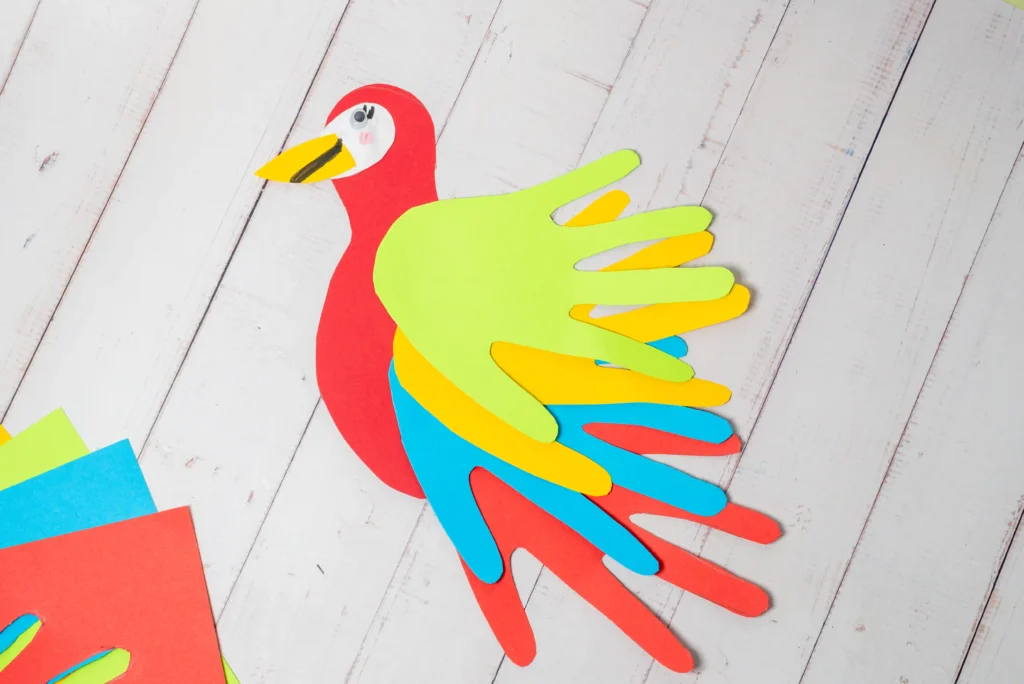
Kids grow up so fast, so it’s nice to be able to keep their tiny handprints stuck in time forever. This parrot handprint craft uses 4 handprints to create feathers so you’ll always remember just how little your kiddo was. It made with simple supples you already own and it helps build fine motor skills. Whether you’re looking for a parrot craft, handprint craft, or animal craft, this is a great one to try!
And, if you’re looking for more handprint crafts, try this kissing hand handprint craft!
All activities on this site require adult supervision. When using this website, you agree to our terms of use. This post may contain affiliate links. I am an Amazon Associate, a Walmart partner, and a member of other affiliate programs and I earn a commission on qualifying purchases at no extra cost to you. Please read our disclosure policy for details.
Animal Books For Preschoolers
National Geographic My First Big Book Of Baby Animals– Kids can learn all about baby animals with this fun nonfiction book!
Who’s Prints?– Guess who is crossing through the snow based on their tracks!
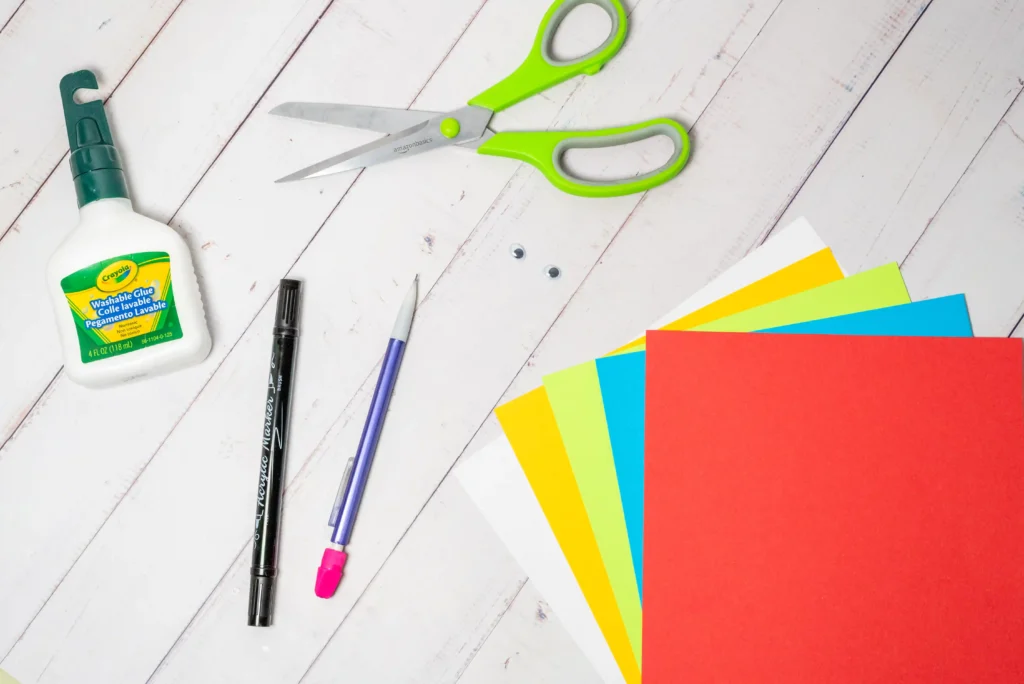
What You’ll Need For This Parent Handprint Craft
Join the List
Subscribe
How To Make This Parrot Handprint Craft
1. Trace the handprints
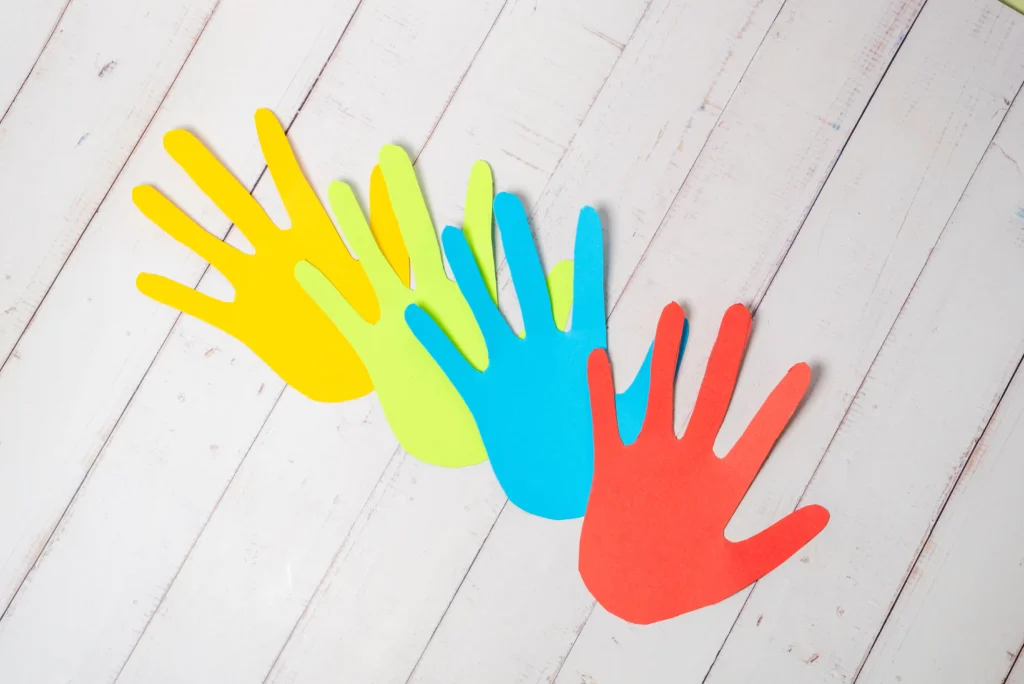
Trace a child’s hand on colored paper multiple times.
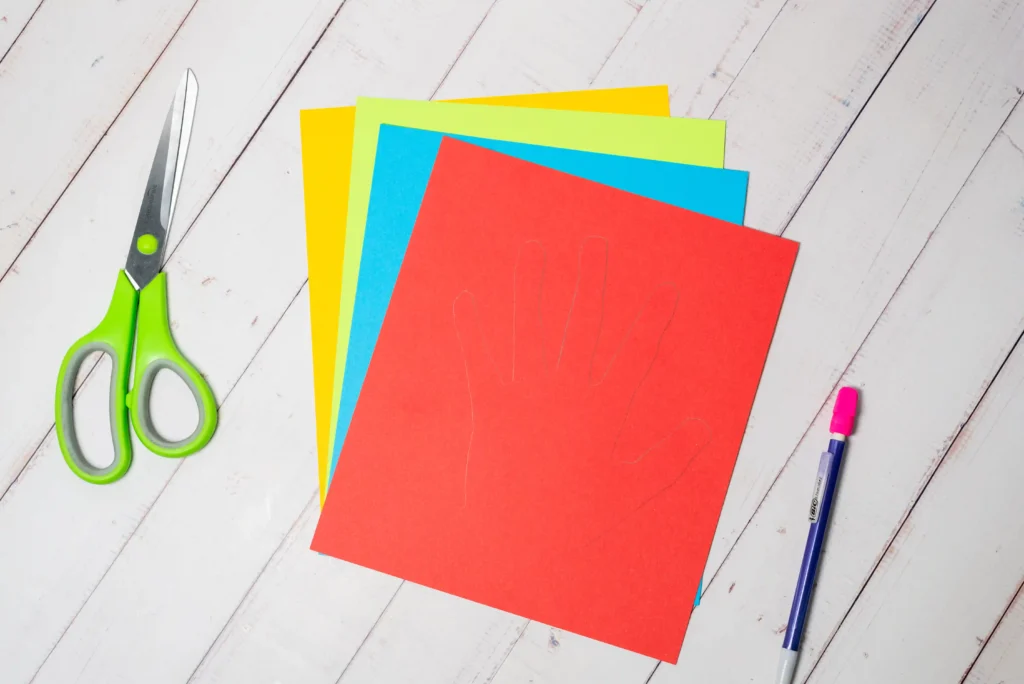
Cut out the hand shapes carefully.
2. Create the parrot body
Cut an oval or teardrop shape from colored paper for the parrot’s body.
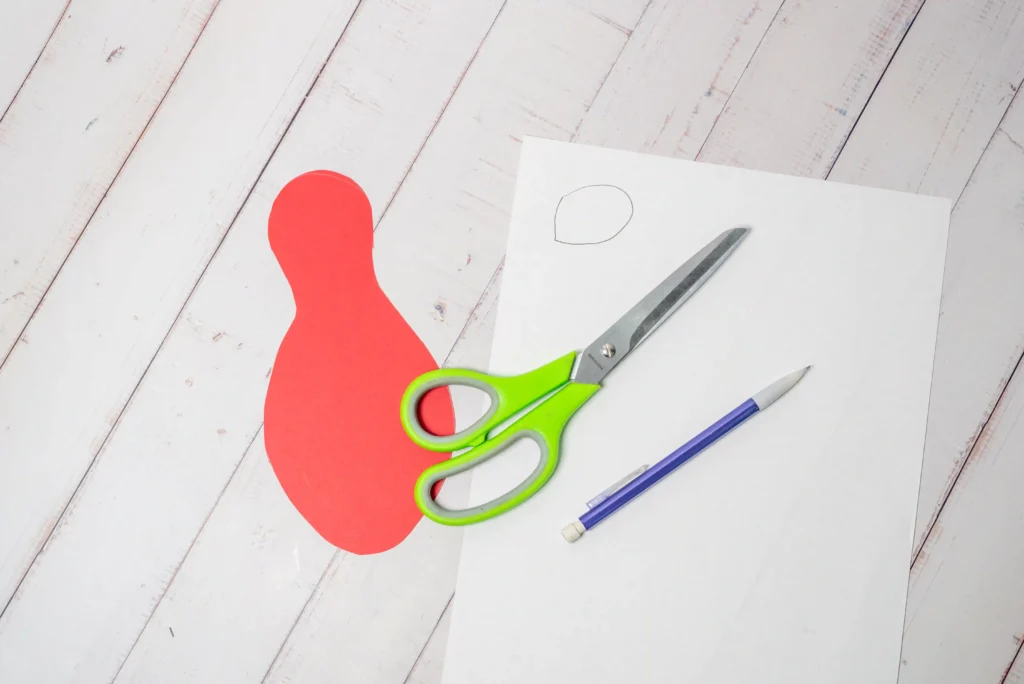
3. Assemble the wings and tail
Arrange the handprint cutouts behind the body to form wings and tail feathers. Glue them in place.
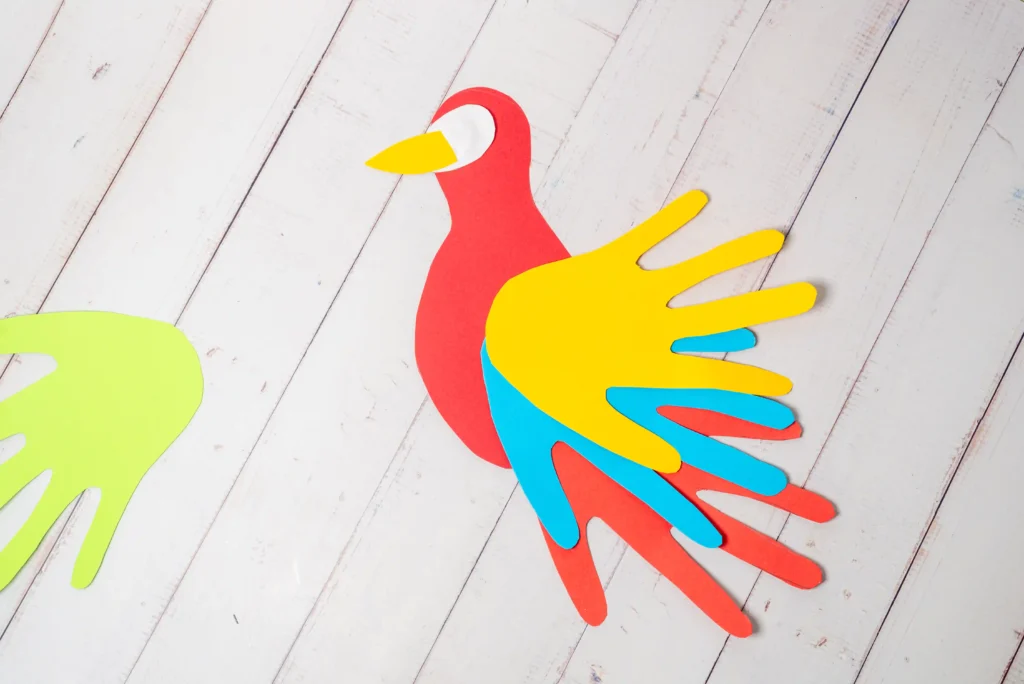
4. Add the head details
Cut a small beak shape from yellow or orange paper and glue it onto the head area.
5. Finish the face
Glue on googly eyes or draw eyes using a marker.
6. Secure and dry
Press all pieces firmly and allow the craft to dry before handling.
Fun Variations For This Parrot Handprint Craft
Choose any color construction paper for the parrot body and the handprint feathers.
Change the position of the handprints to behind the bird to make it look like it’s flying.
Use yellow construction paper to add feet at the bottom of the parrot.
Fun Crafts For Preschoolers
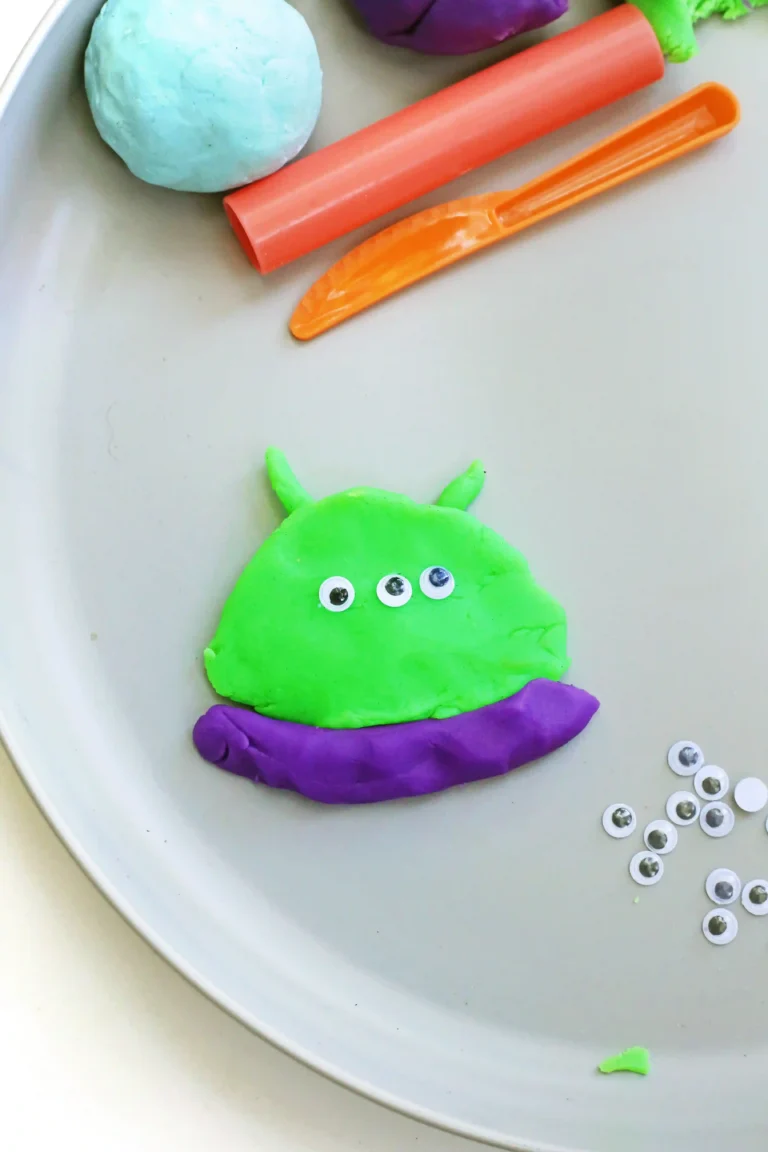
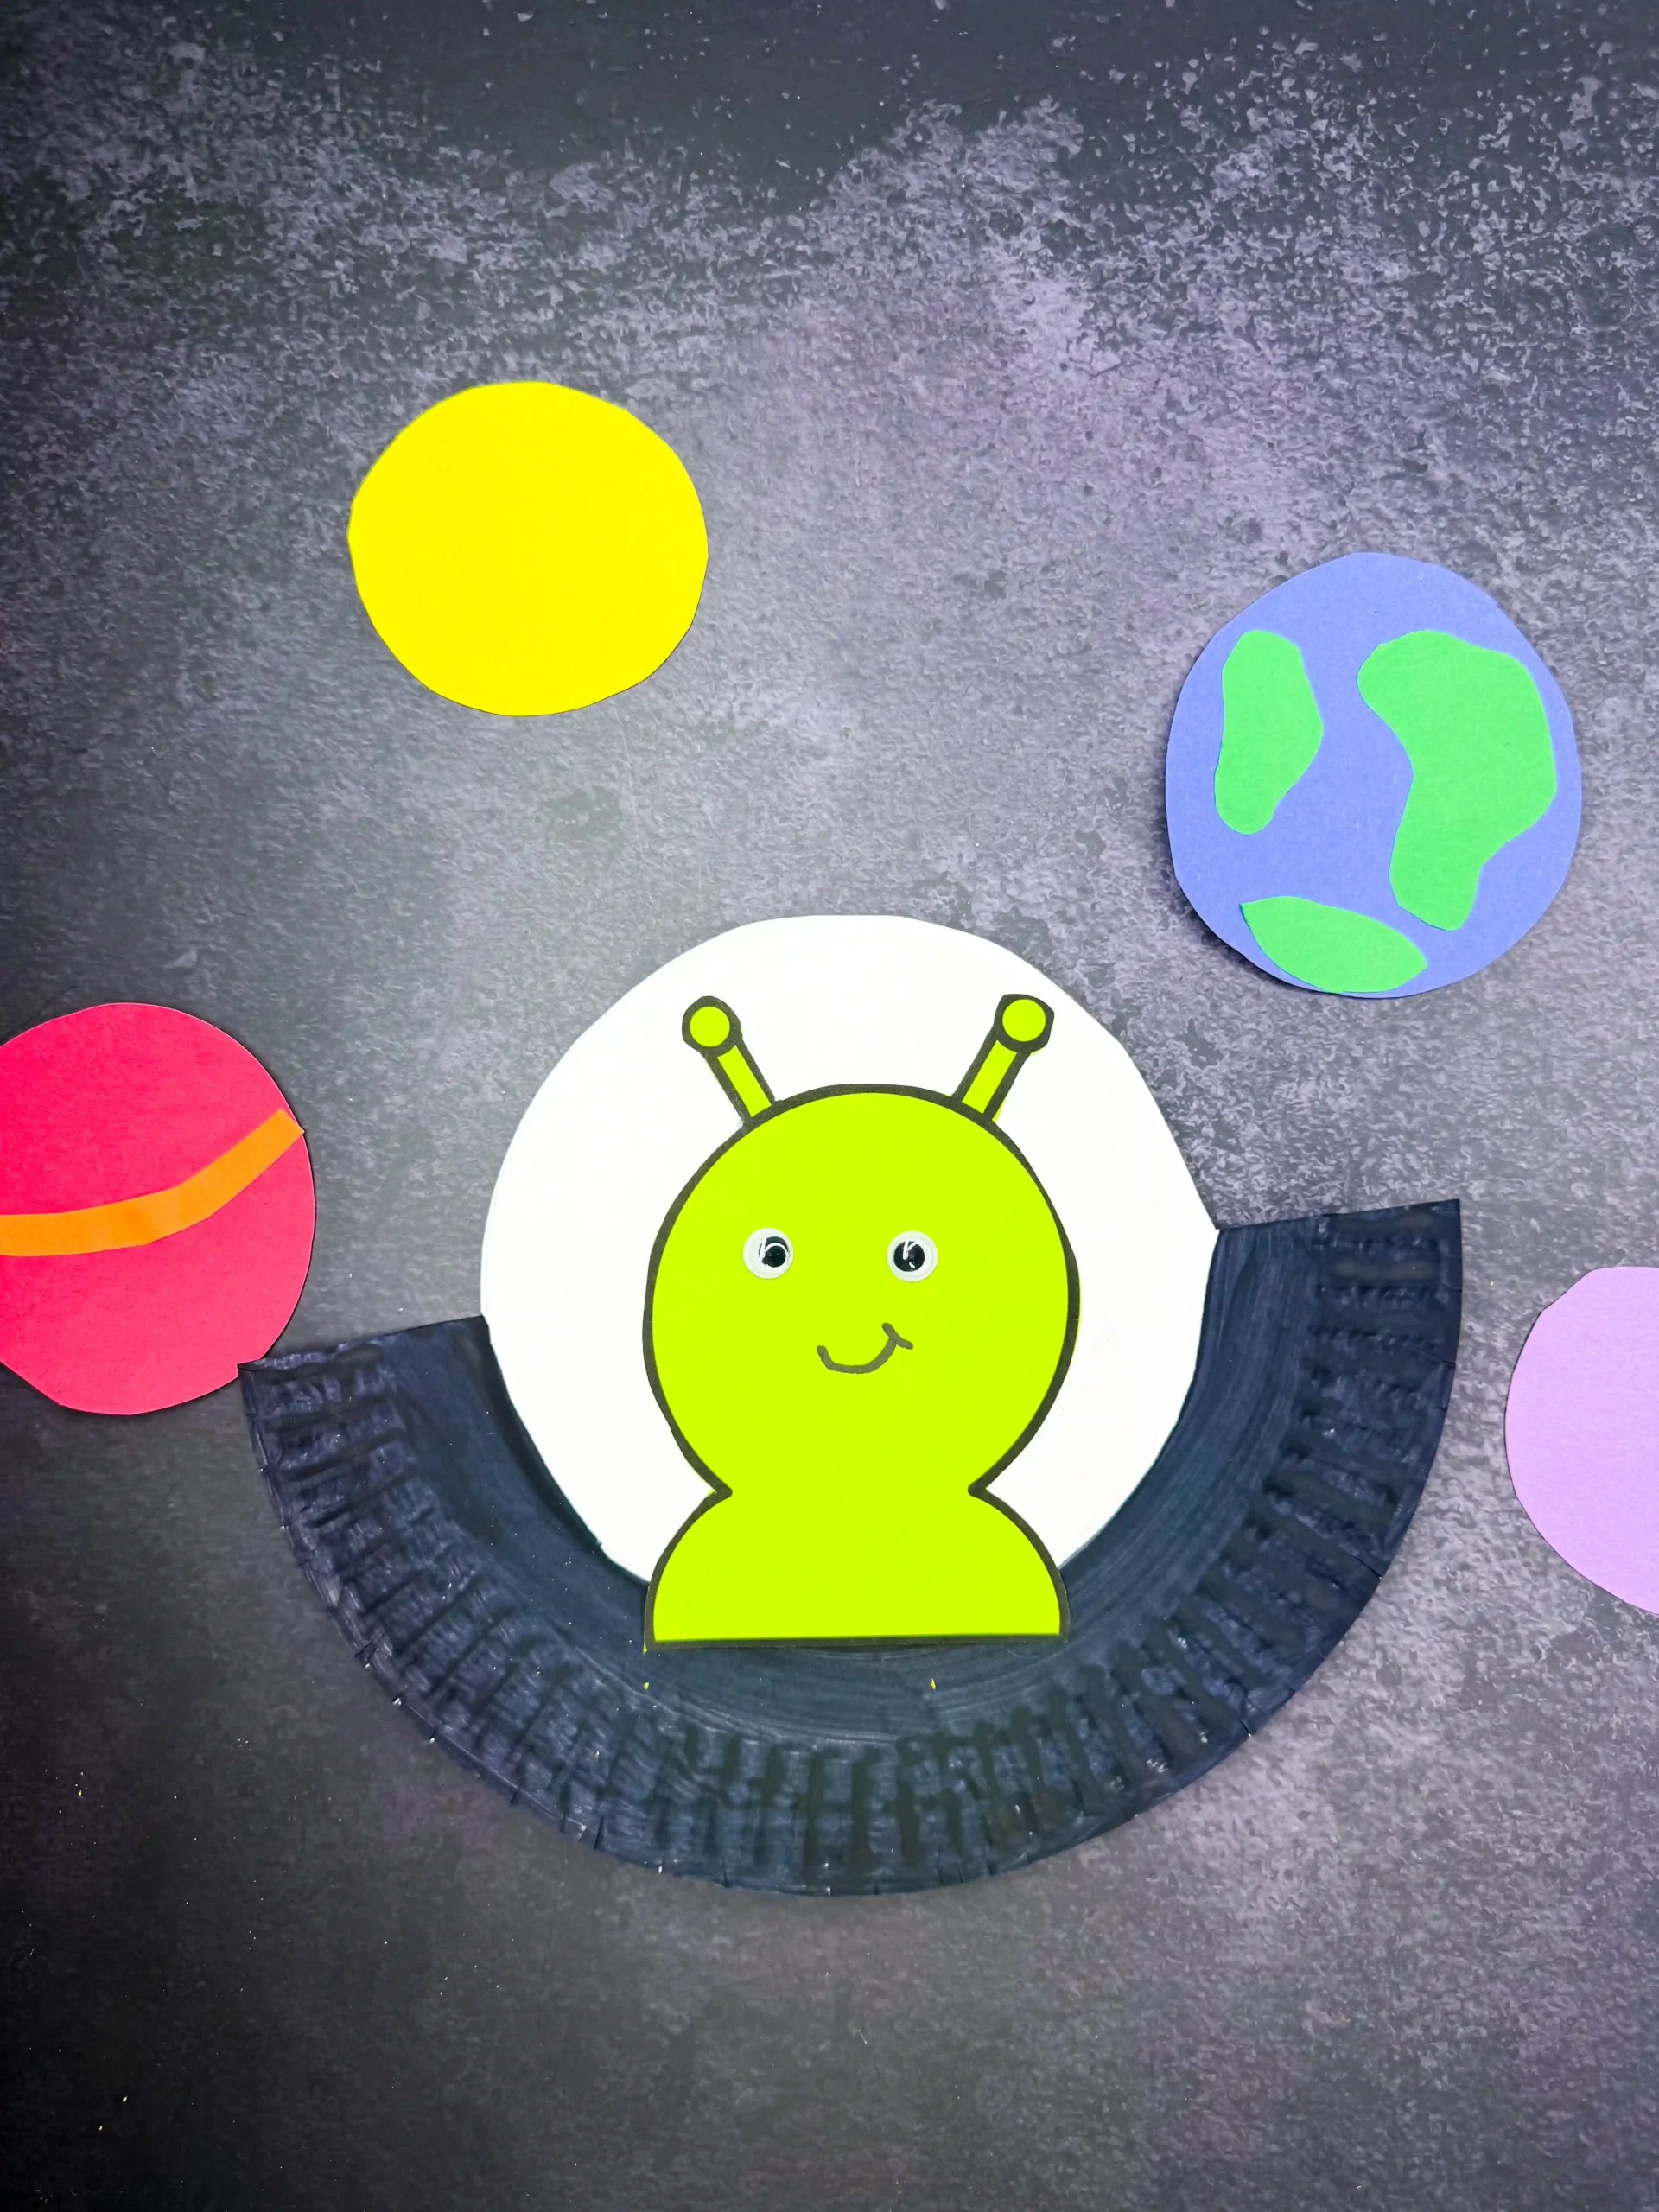
UFO Alien Craft– his U.F.O. Alien craft can spark kids’ excitement about space and serve as a segway for learning about planets, space, and gravity.
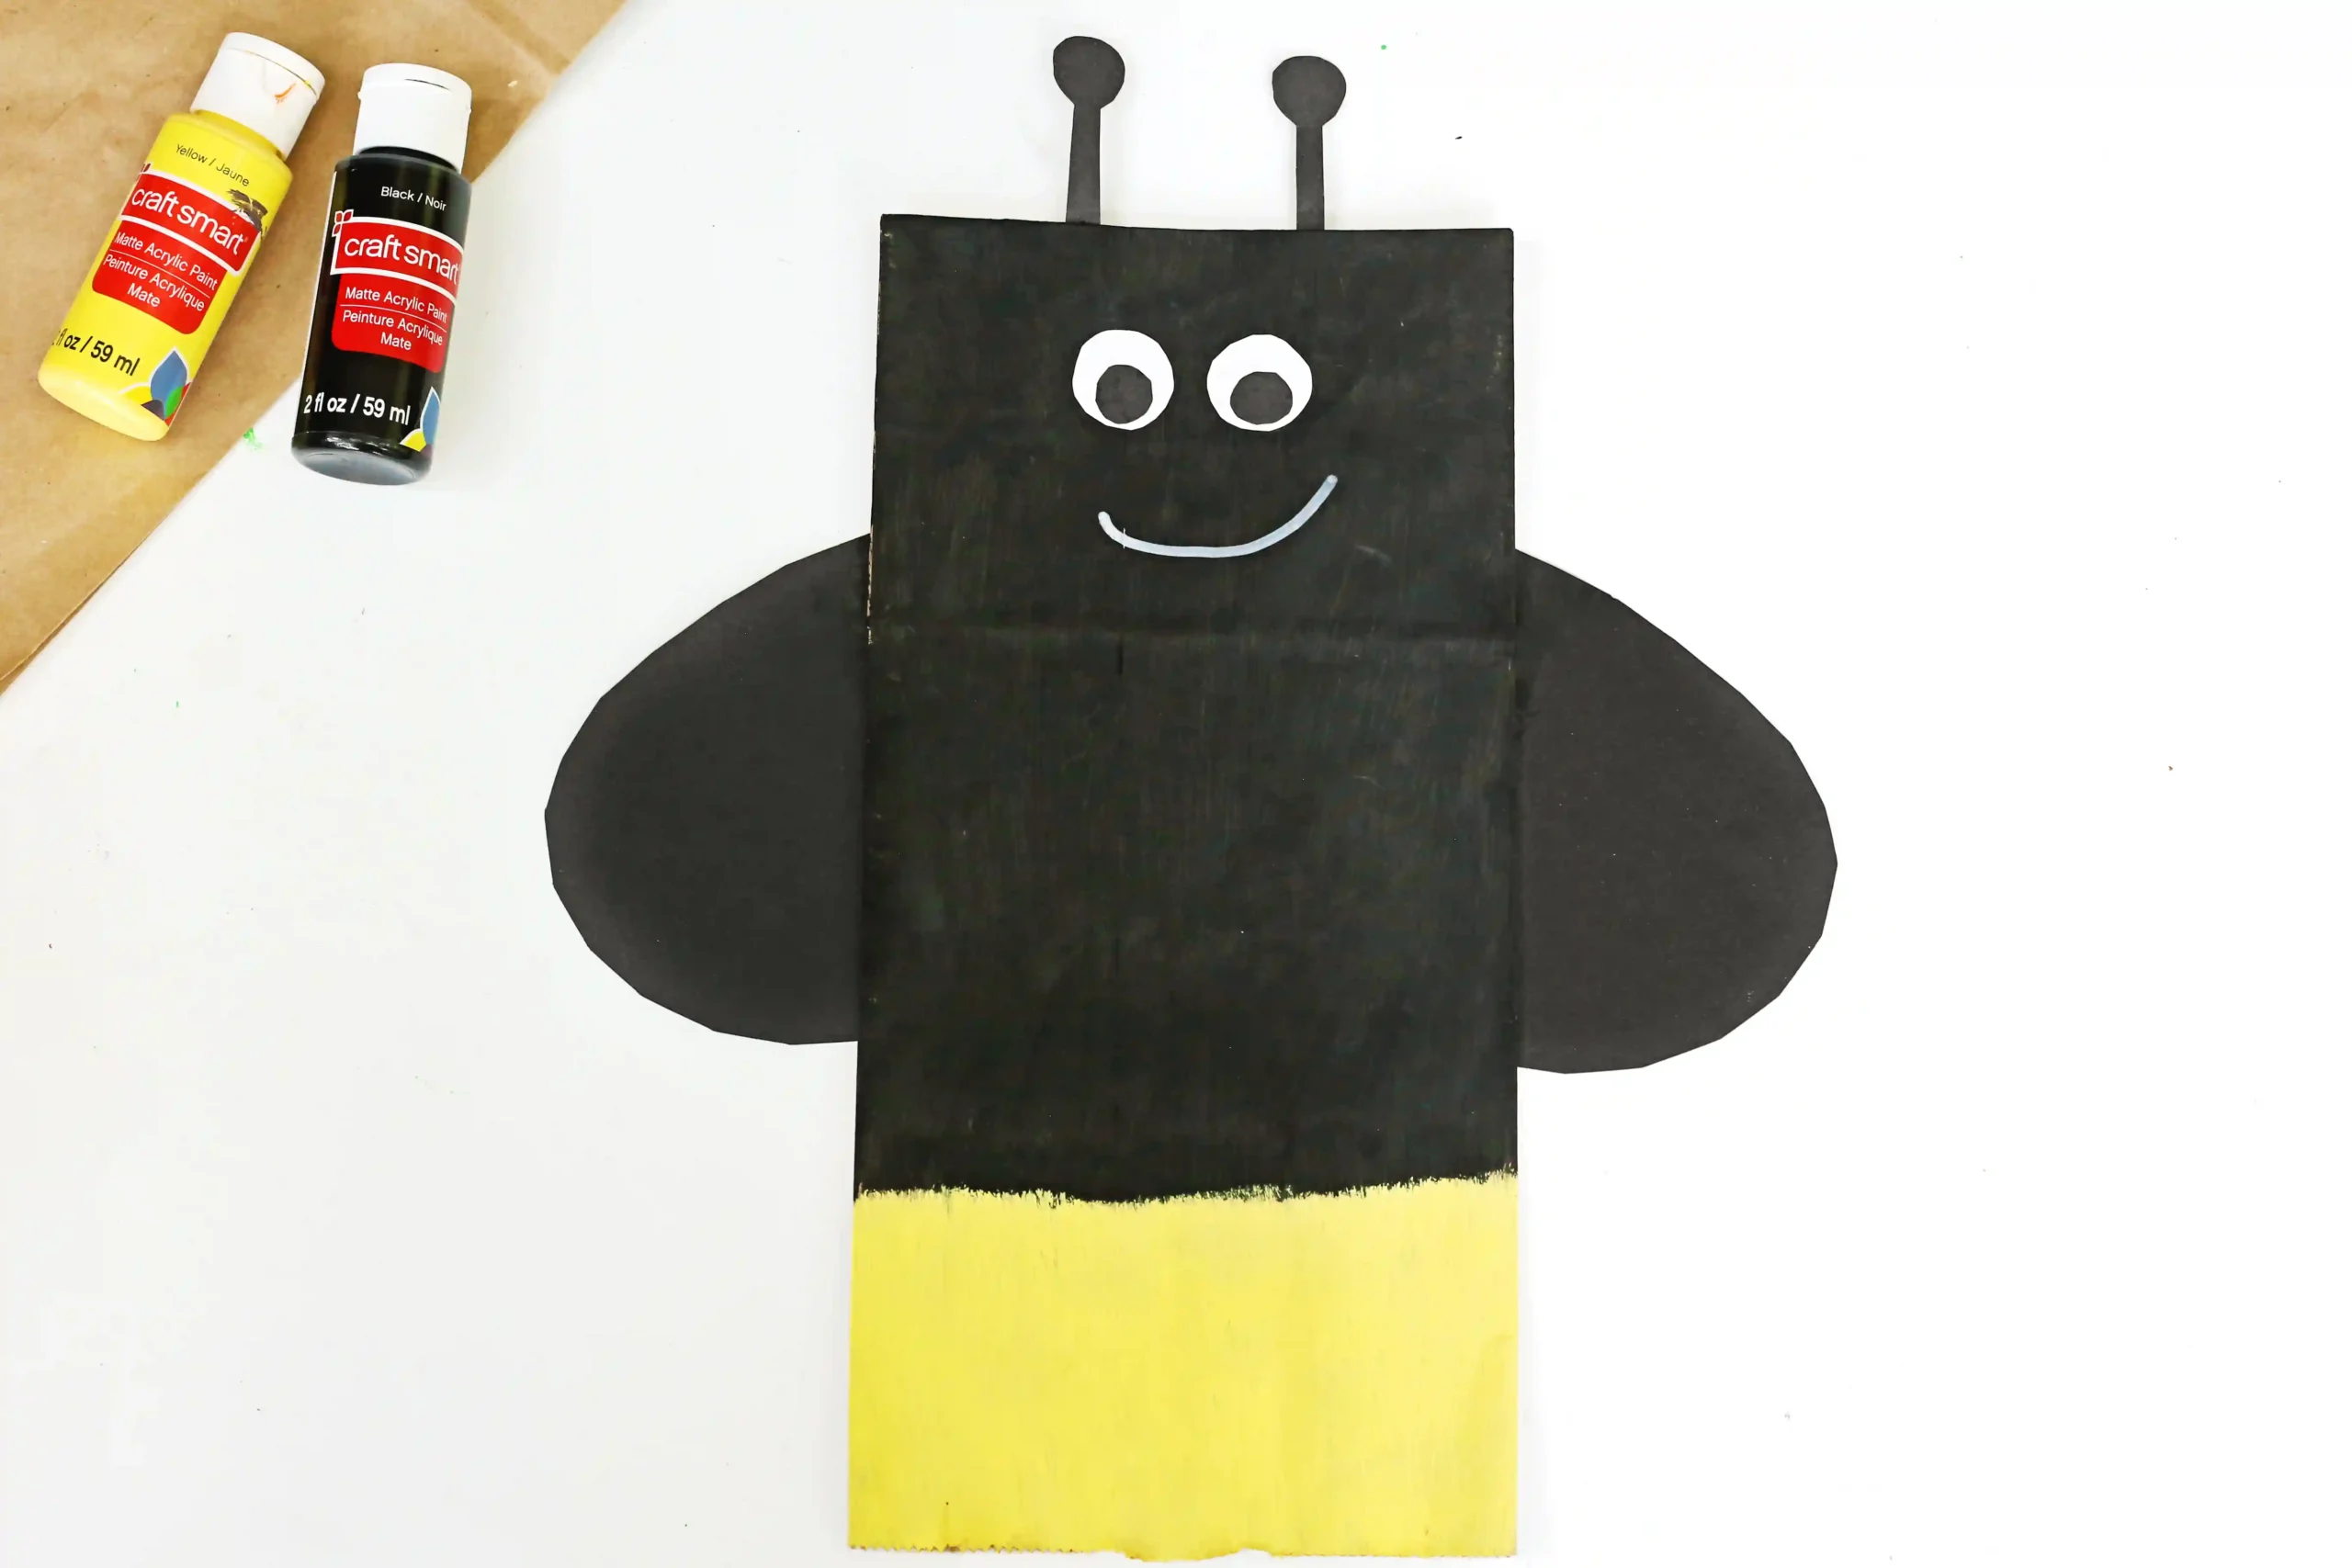
Firefly Paper Bag Craft– Make an adorable firefly paper bag craft with kids! This easy, hands-on project is perfect for summer nights and exploring nocturnal insects.
Parrot Handprint Craft
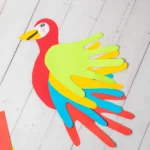
Make a colorful parrot handprint craft with kids! This easy, budget-friendly project is perfect for building fine motor skills.
- Prep Time: 5
- Total Time: 15
- Category: DIY, Handprint Craft
- Method: Step-by-Step
Materials
- Colored cardstock or construction paper (any colors for the body and feathers)
- Glue
- Googly eyes or marker
- Yellow or orange paper (for beak)
- Scissors
- Pencil or marker
Instructions
- Trace the handprints: Trace a child’s hand on colored paper multiple times. Cut out the hand shapes carefully.
- Create the parrot body: Cut an oval or teardrop shape from colored paper for the parrot’s body.
- Assemble the wings and tail: Arrange the handprint cutouts behind the body to form wings and tail feathers. Glue them in place.
- Add the head details: Cut a small beak shape from yellow or orange paper and glue it onto the head area.
- Finish the face: Glue on googly eyes or draw eyes using a marker.
- Secure and dry: Press all pieces firmly and allow the craft to dry before handling.