
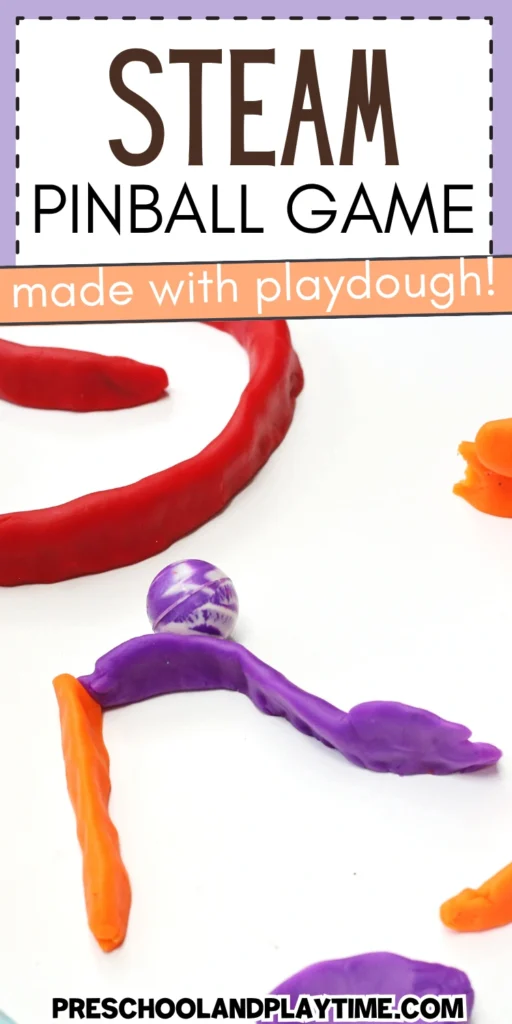
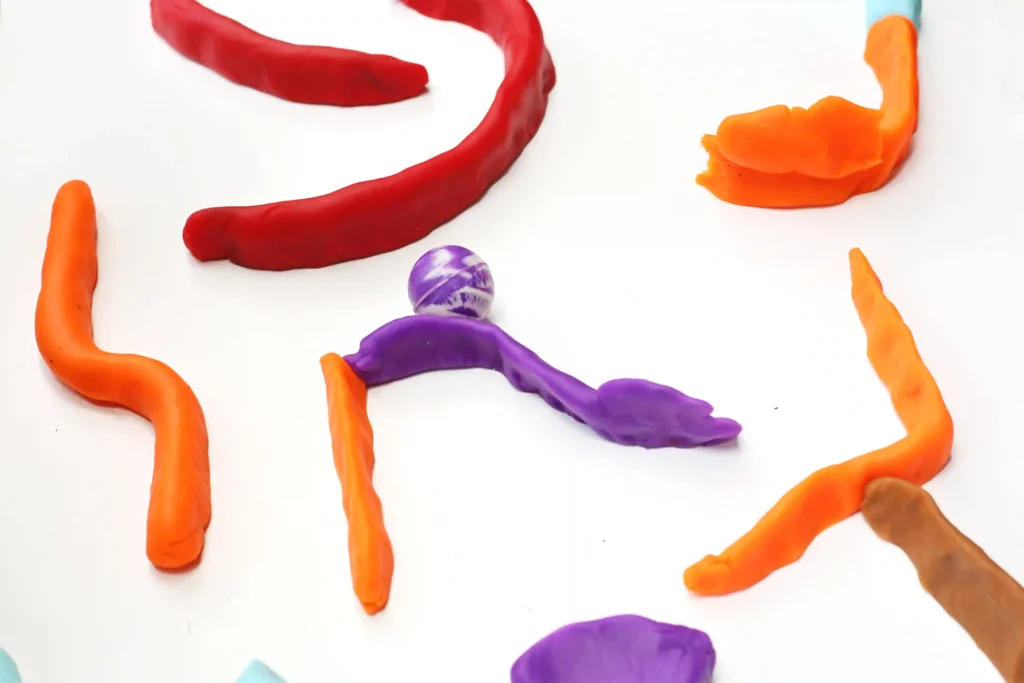
Pinball is a classic game from our childhoods and this STEM playdough pinball activity is the perfect way to share that joy with your kids! Use playdough and a marble or ball to create a fun STEM activity that will teach kids engineering and basic physics concepts. This activity is great if you’re looking for STEM activities, playdough activities, or science activities!
If you’re looking for more STEM activities for preschoolers, check out this magnet sorting STEM activity.
All activities on this site require adult supervision. When using this website, you agree to our terms of use. This post may contain affiliate links. I am an Amazon Associate, a Walmart partner, and a member of other affiliate programs and I earn a commission on qualifying purchases at no extra cost to you. Please read our disclosure policy for details.
STEM Books For Kids
ABCs of Engineering– A book that combines the alphabet and STEM learning? Yes, please! It truly is a book that grows with your child!
I Can Code: If/Then– Introduce your little computer scientist to the essential coding basics and turn their everyday world into an extraordinary learning adventure!
STEAM Play and Learn– Find 20 step-by-step STEAM projects for preschoolers including color mixing and potions!
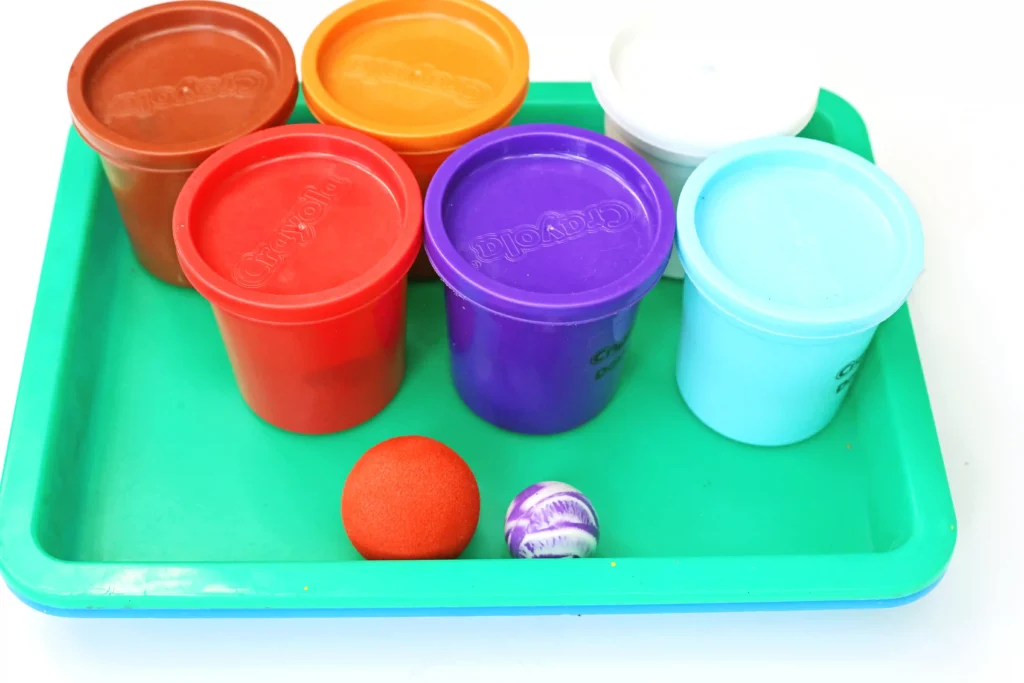
What You’ll Need For This STEM Playdough Pinball
Join the List
Subscribe
How To Make This STEM Playdough Pinball Activity
1. Place the tray on a flat surface and slightly raise one end using a small block or book to create a gentle slope.
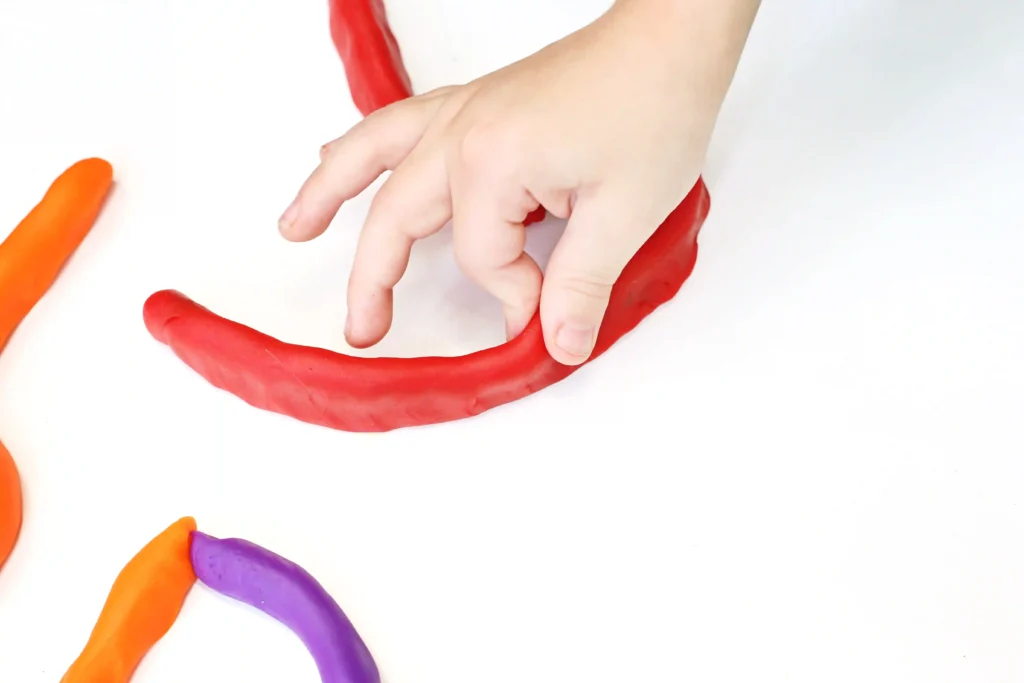
2. Roll play dough into long “snakes” and press them onto the tray to form walls and barriers.
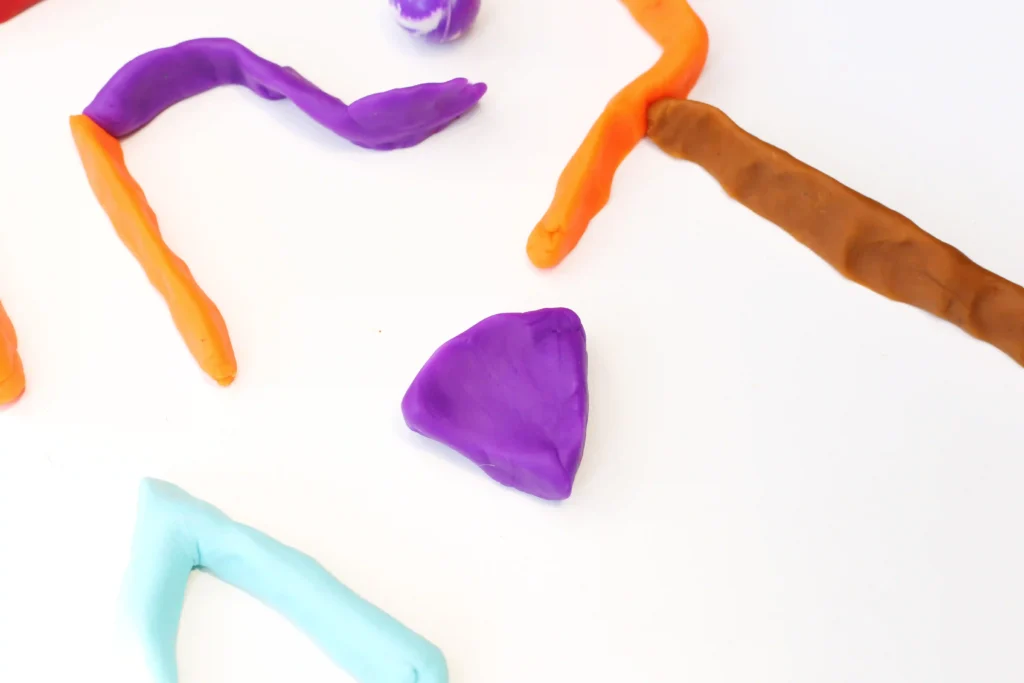
3. Add curves, turns, or obstacles to create an exciting path for the ball.
4. Place the ball at the top of the course and let it roll.
5. Observe where the ball gets stuck, falls off the path, or moves too quickly.
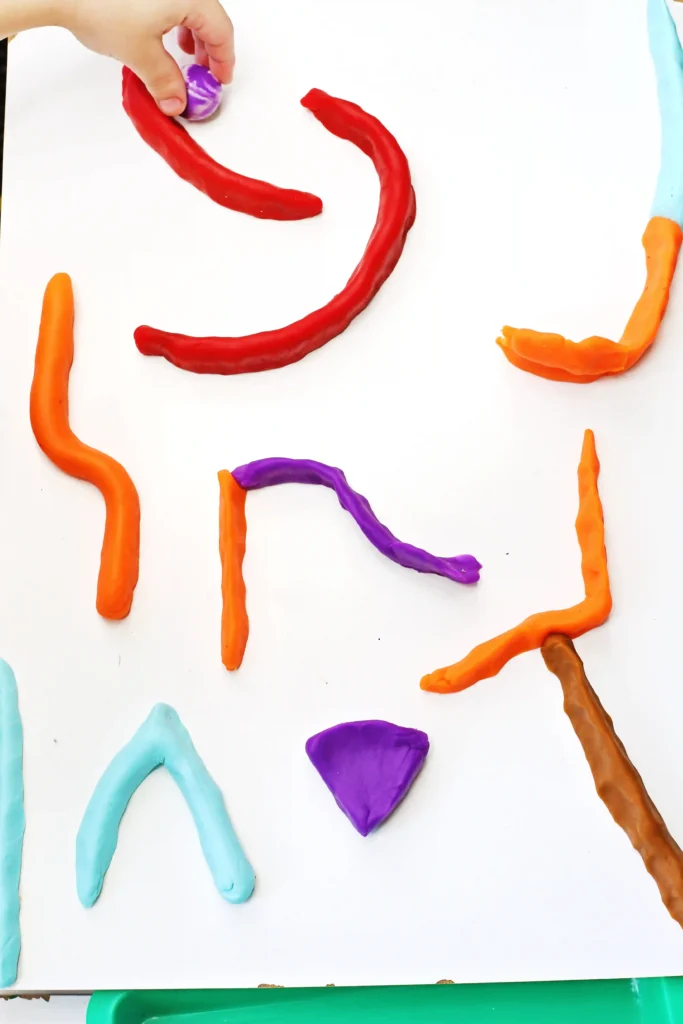
6. Adjust the walls, change the angles, or redesign sections of the course until the ball can travel farther.
7. Keep experimenting by creating new layouts and challenging yourself to build an even better pinball course.
Benefits Of This STEM Playdough Pinball Activity
- Encourages STEM learning through engineering and problem-solving.
- Develops critical thinking by using trial and error to improve designs.
- Strengthens fine motor skills as children roll, shape, and position the play dough.
- Introduces basic physics concepts such as gravity, slopes, speed, and momentum.
- Builds perseverance as children test, adjust, and refine their creations.
- Inspires creativity by allowing endless course designs and unique obstacles.
- Promotes spatial reasoning and planning while designing paths for the ball to travel.
Fun Activities For Preschool
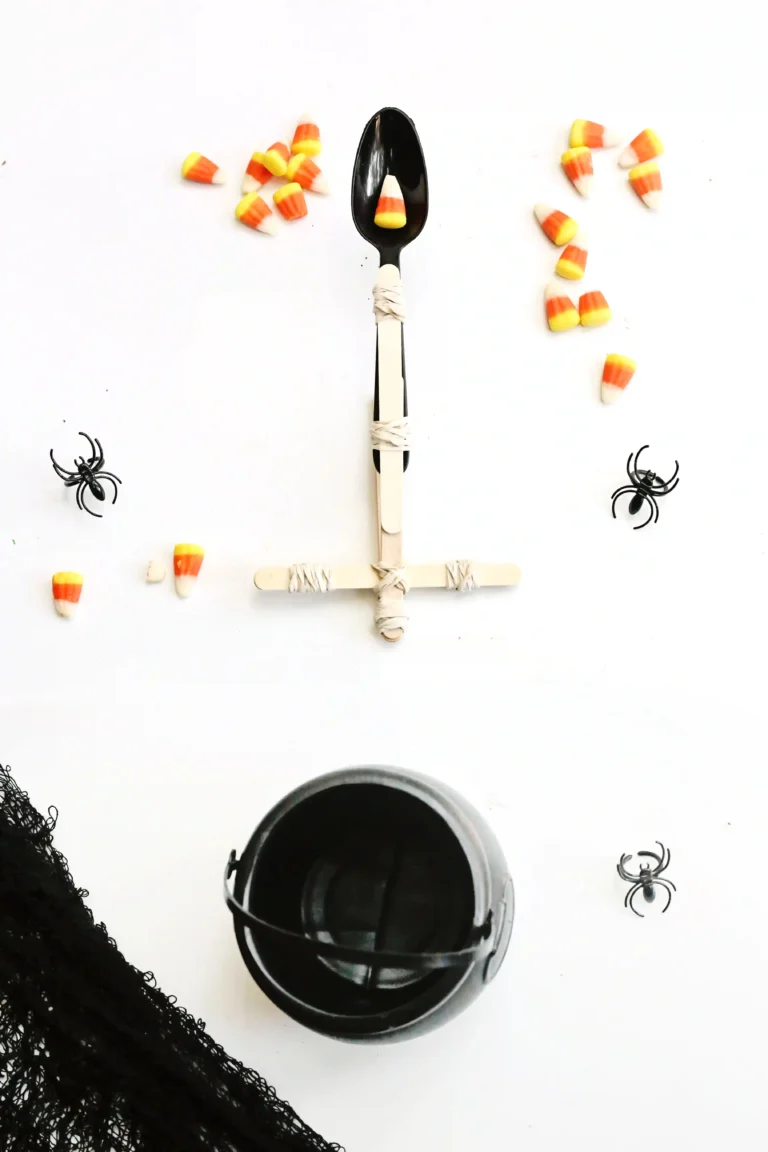
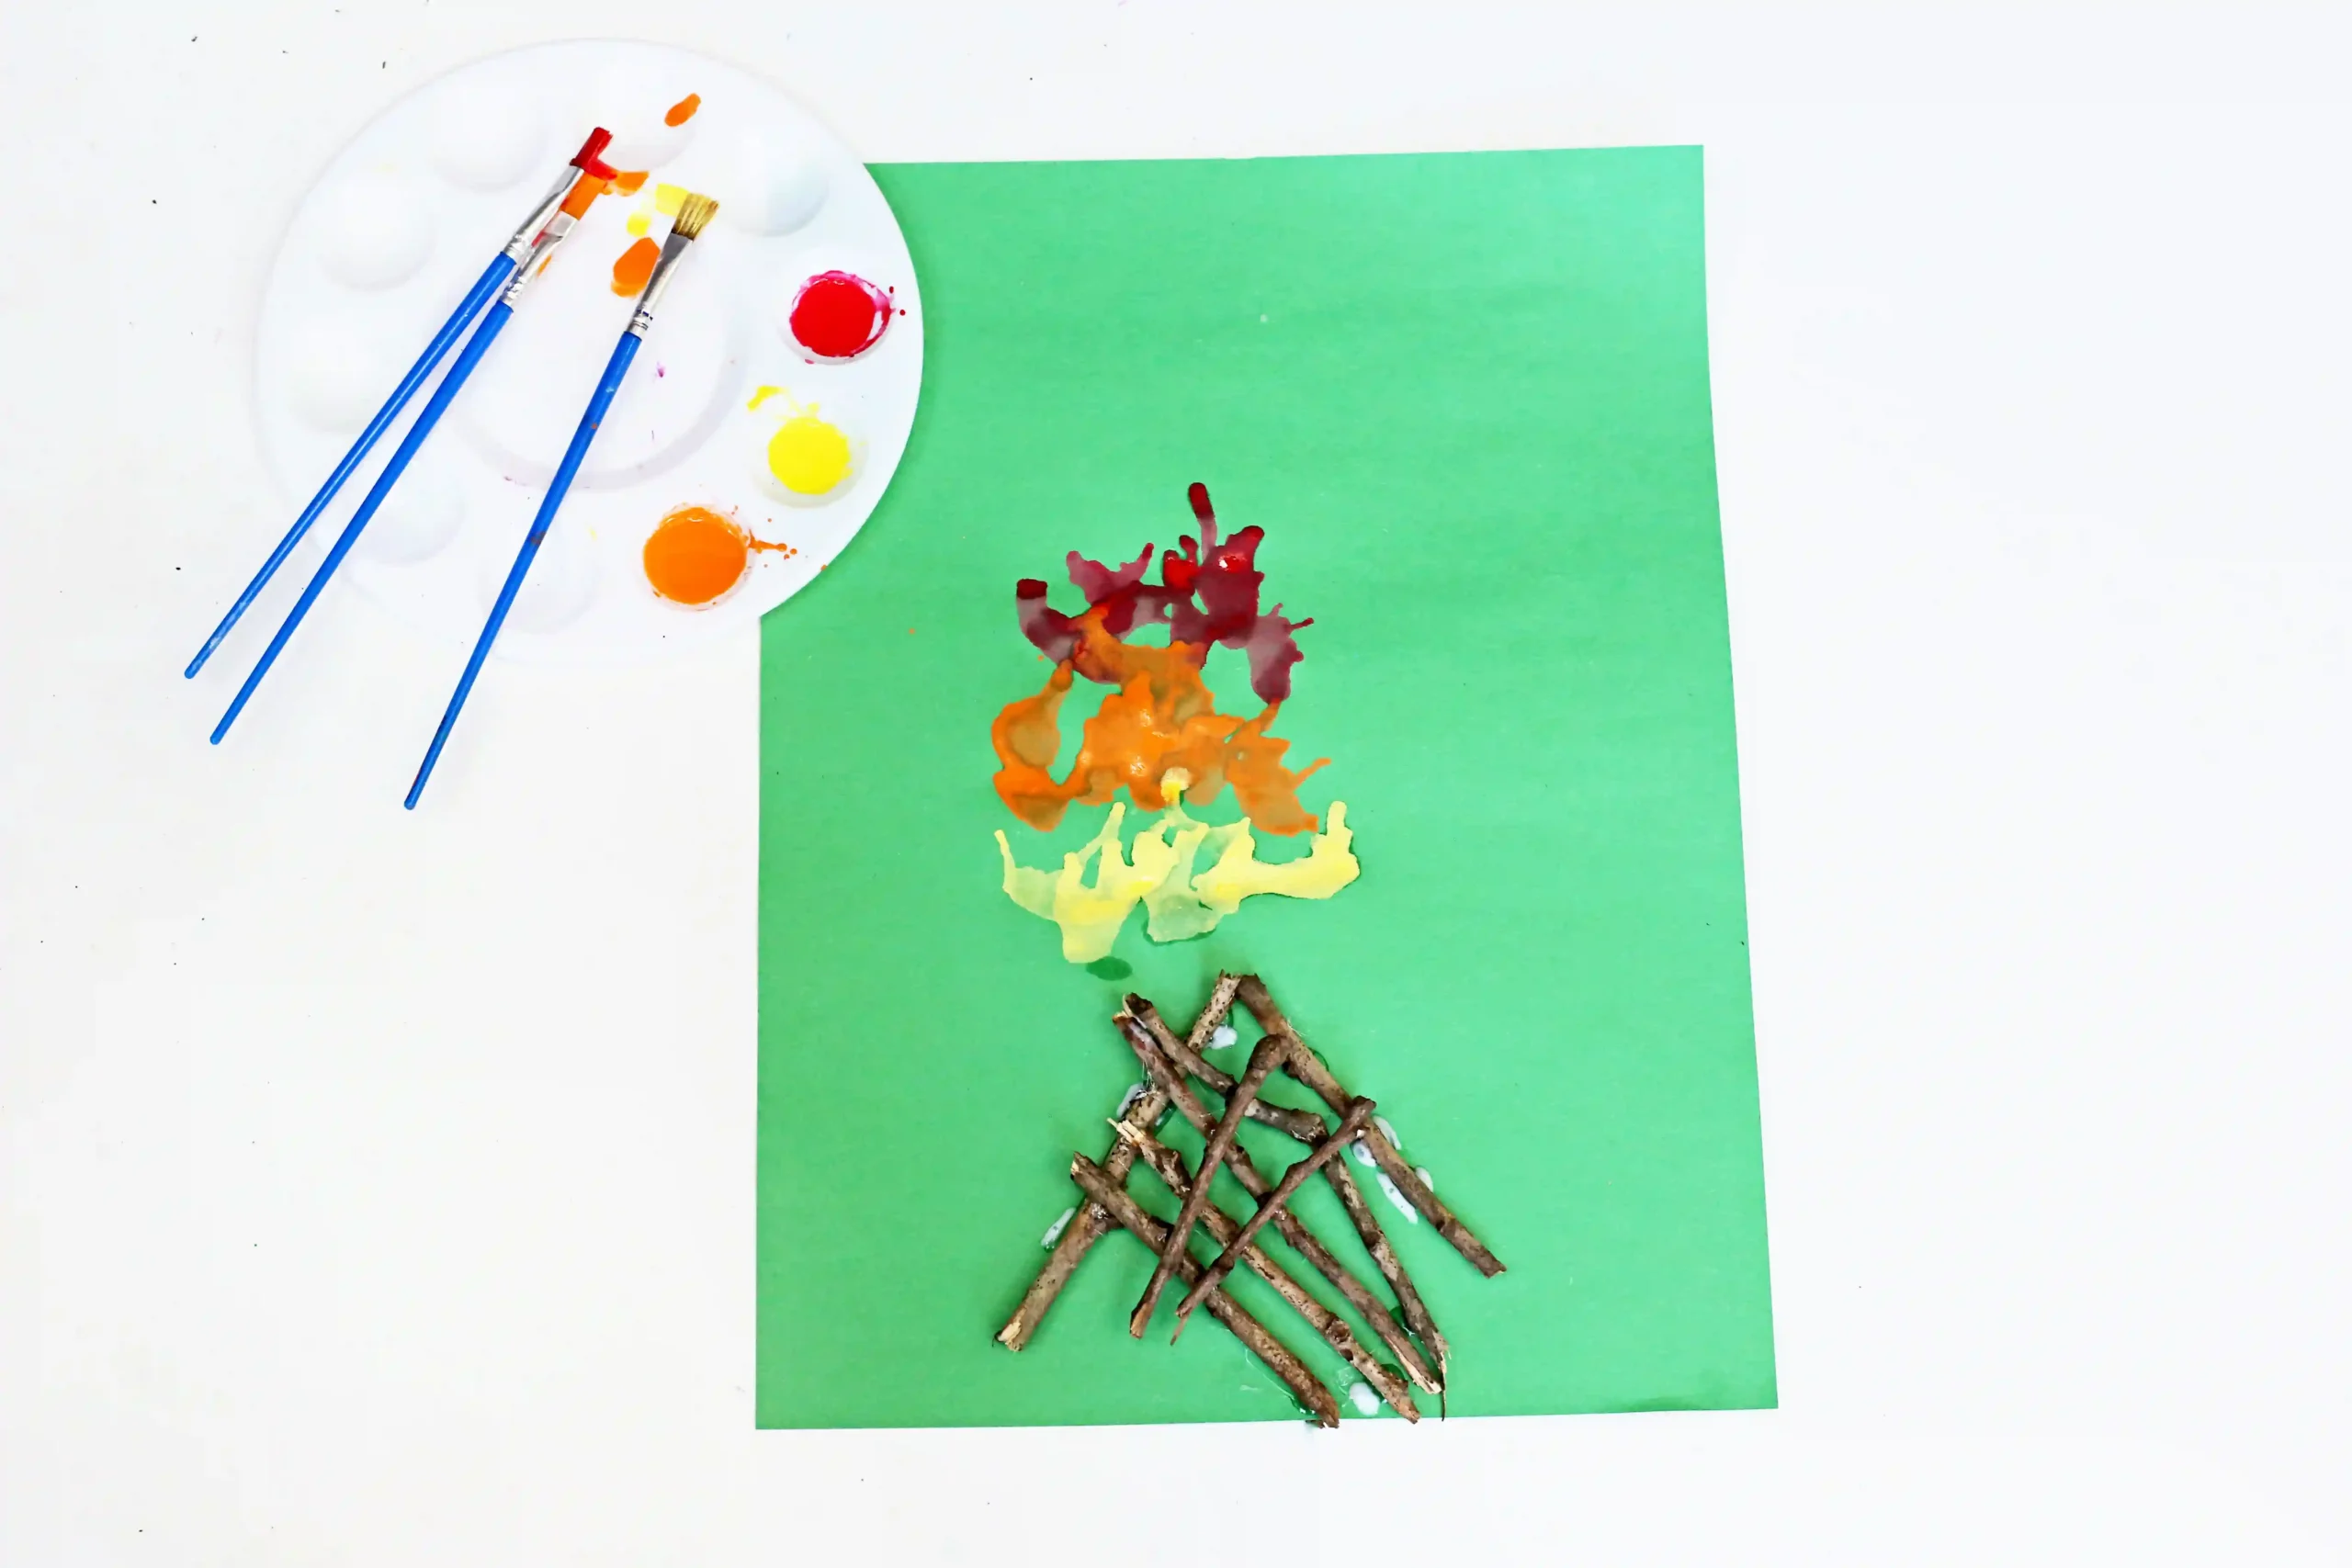
Campfire Blow Painting With Straws– Make a straw blow campfire painting with real sticks! This fun process art activity builds oral motor skills while creating a cozy craft.
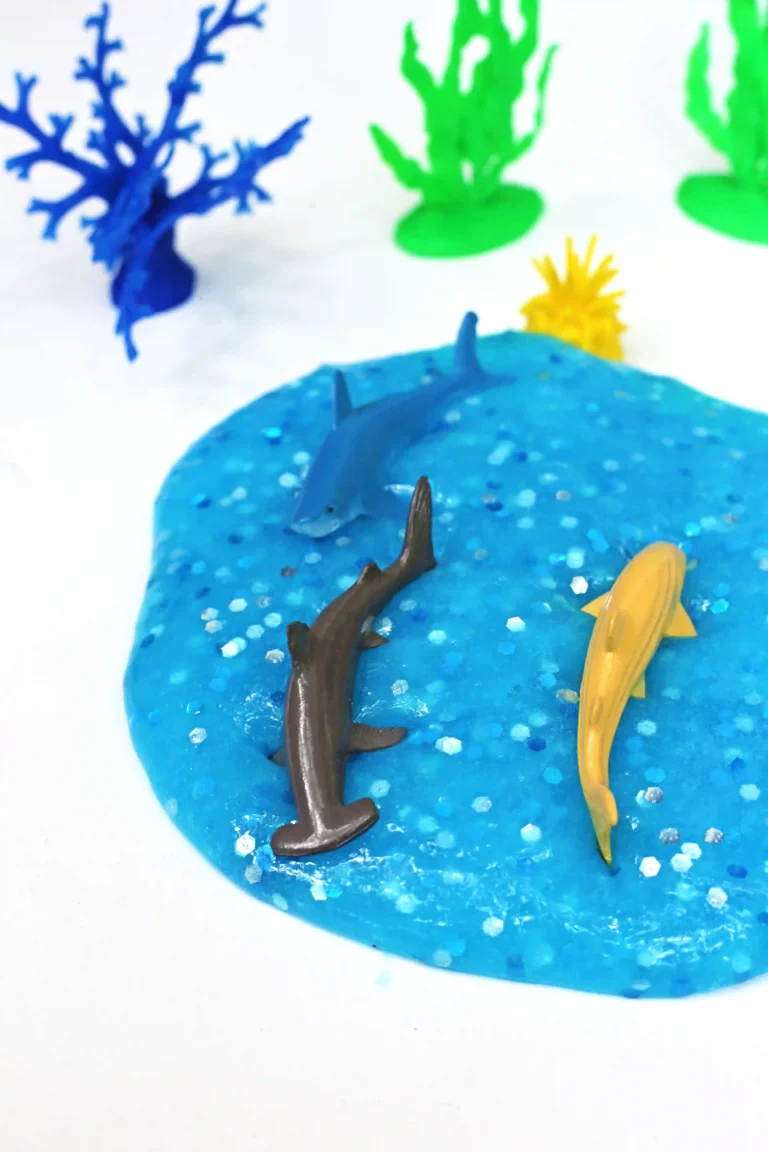
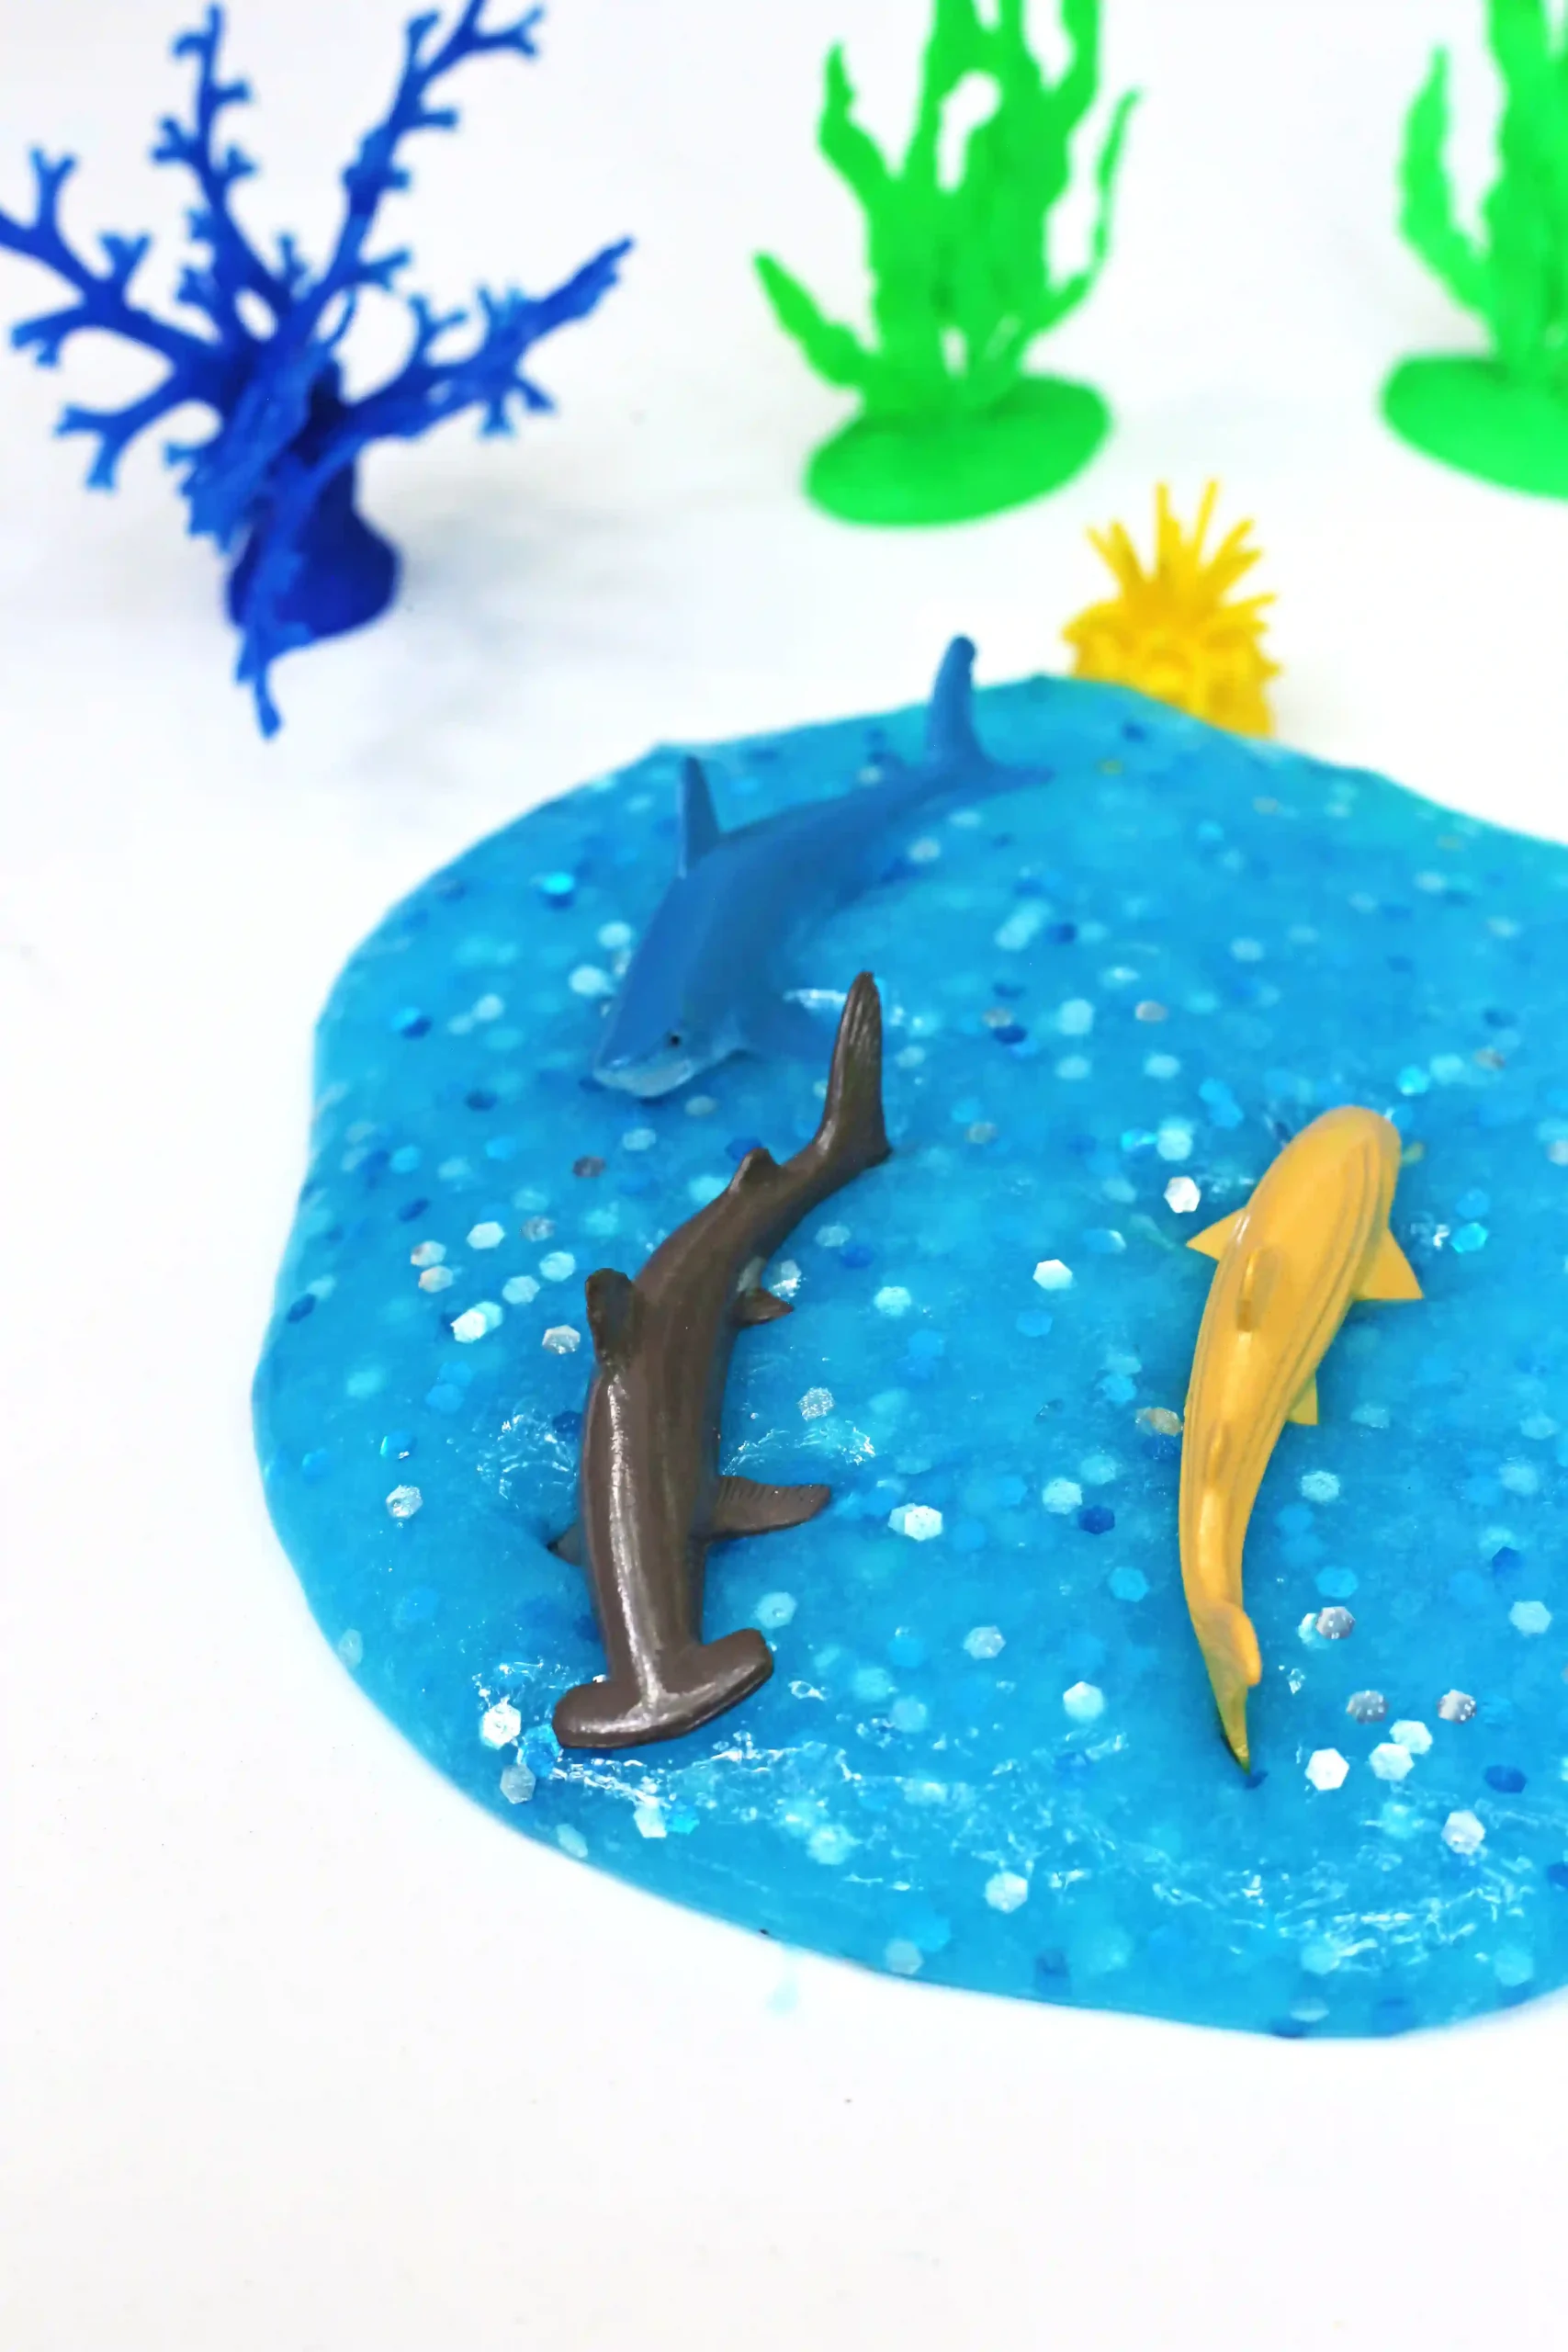
Shark Slime– Blue, glittery slime full of toy sharks! Great for summer, shark week, or anytime!
STEM Playdough Pinball
This STEM playdough pinball activity is a fun, hands-on way for kids to explore engineering and physics! Build ramps, mazes, and more with simple materials.
- Prep Time: 15
- Total Time: 15
- Category: DIY, STEM
Materials
- Play dough in assorted colors
- A tray, cookie sheet, or sturdy board
- Small ball
Instructions
- Place the tray on a flat surface and slightly raise one end using a small block or book to create a gentle slope.
- Roll play dough into long “snakes” and press them onto the tray to form walls and barriers.
- Add curves, turns, or obstacles to create an exciting path for the ball.
- Place the ball at the top of the course and let it roll.
- Observe where the ball gets stuck, falls off the path, or moves too quickly.
- Adjust the walls, change the angles, or redesign sections of the course until the ball can travel farther.
- Keep experimenting by creating new layouts and challenging yourself to build an even better pinball course.