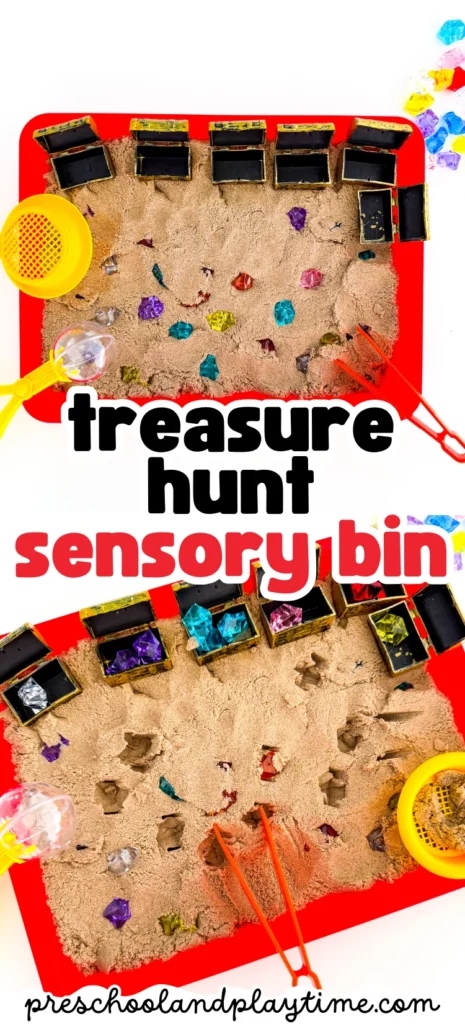

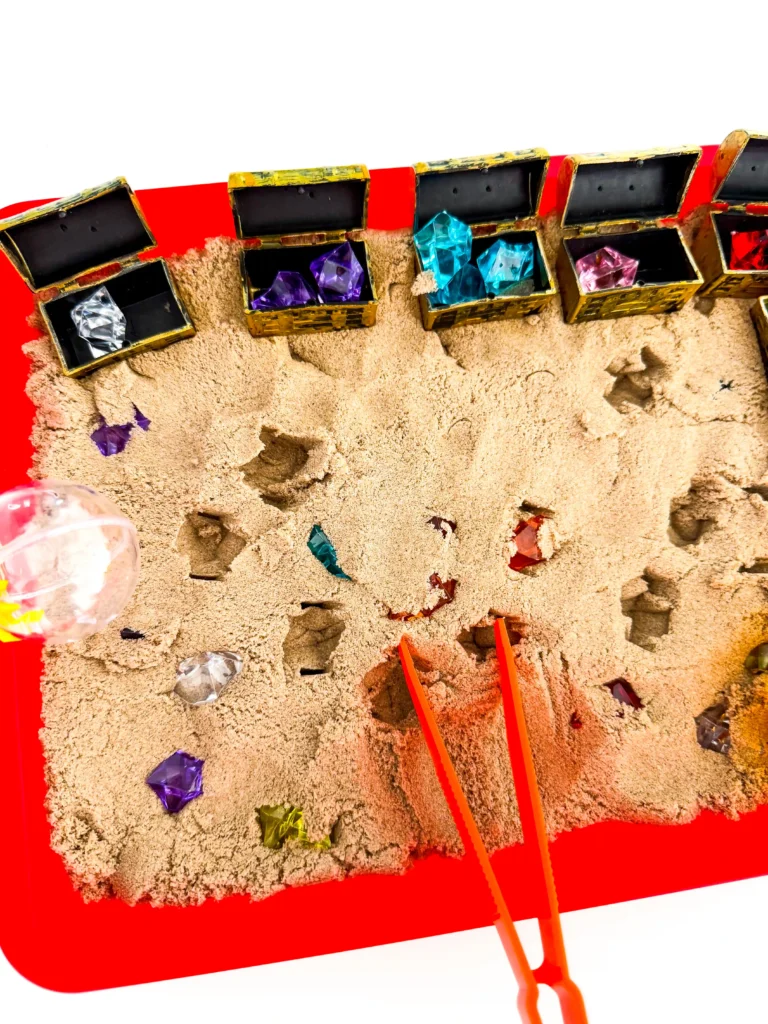
This treasure hunt sensory bin is a fun activity to build motor skills! Using kinetic sand, treasure chests, gems, and fine motor tools, kids will dig for gems and sort them by color!
Looking for more sensory activities? Try this Pete the Cat slime that that double as counting practice for preschoolers!
All activities on this site require adult supervision. When using this website, you agree to our terms of use. This post may contain affiliate links. I am an Amazon Associate, a Walmart partner, and a member of other affiliate programs and I earn a commission on qualifying purchases at no extra cost to you. Please read our disclosure policy for details.
Treasure Hunt Book For Preschoolers
We’re Going On A Treasure Hunt– The animals are going on a treasure hunt! They must be careful because there’s trouble ahead!
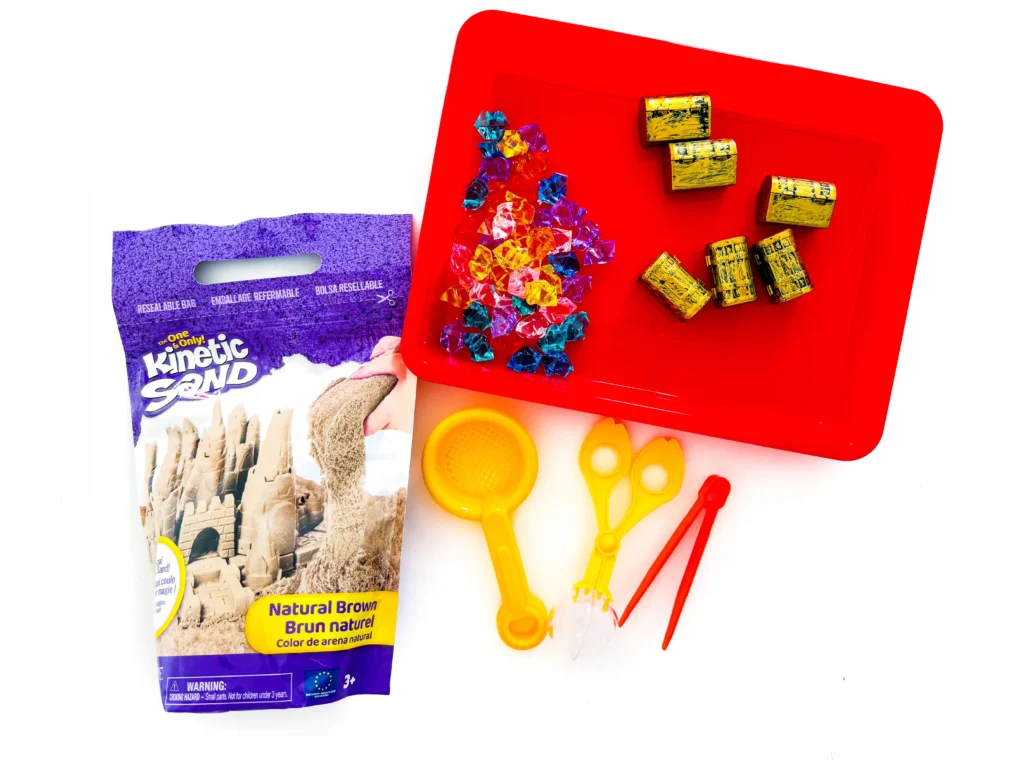
Supplies For The Treasure Hunt Sensory Bin
Join the List
Subscribe
How To Make A Treasure Hunt Sensory Bin
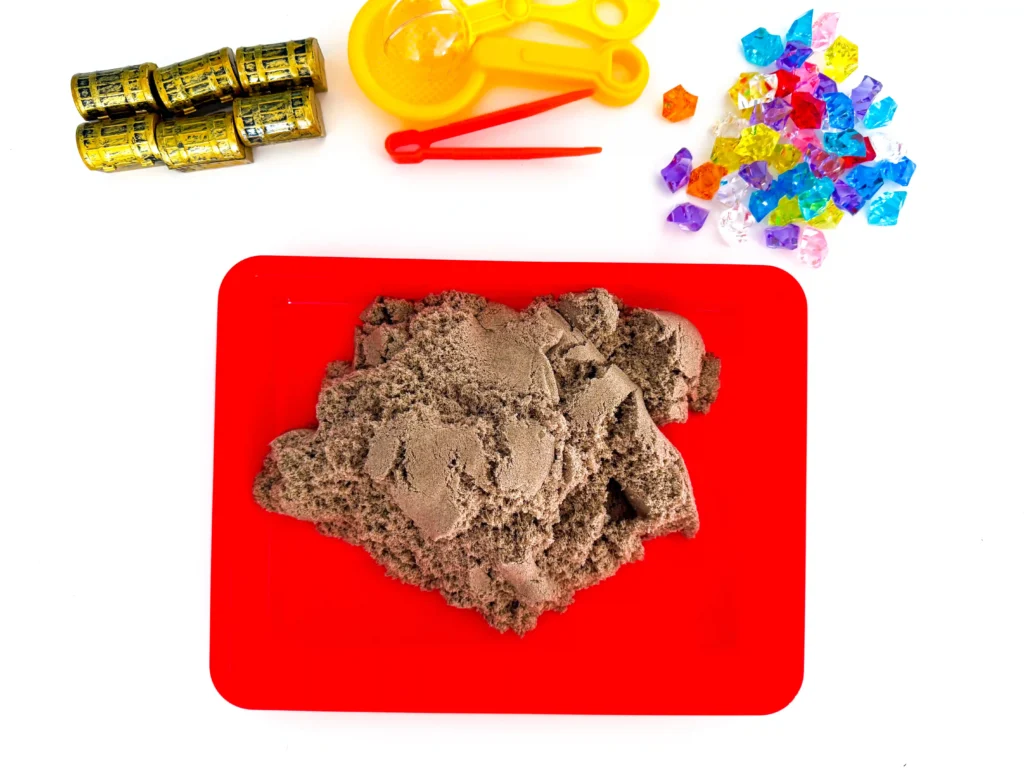
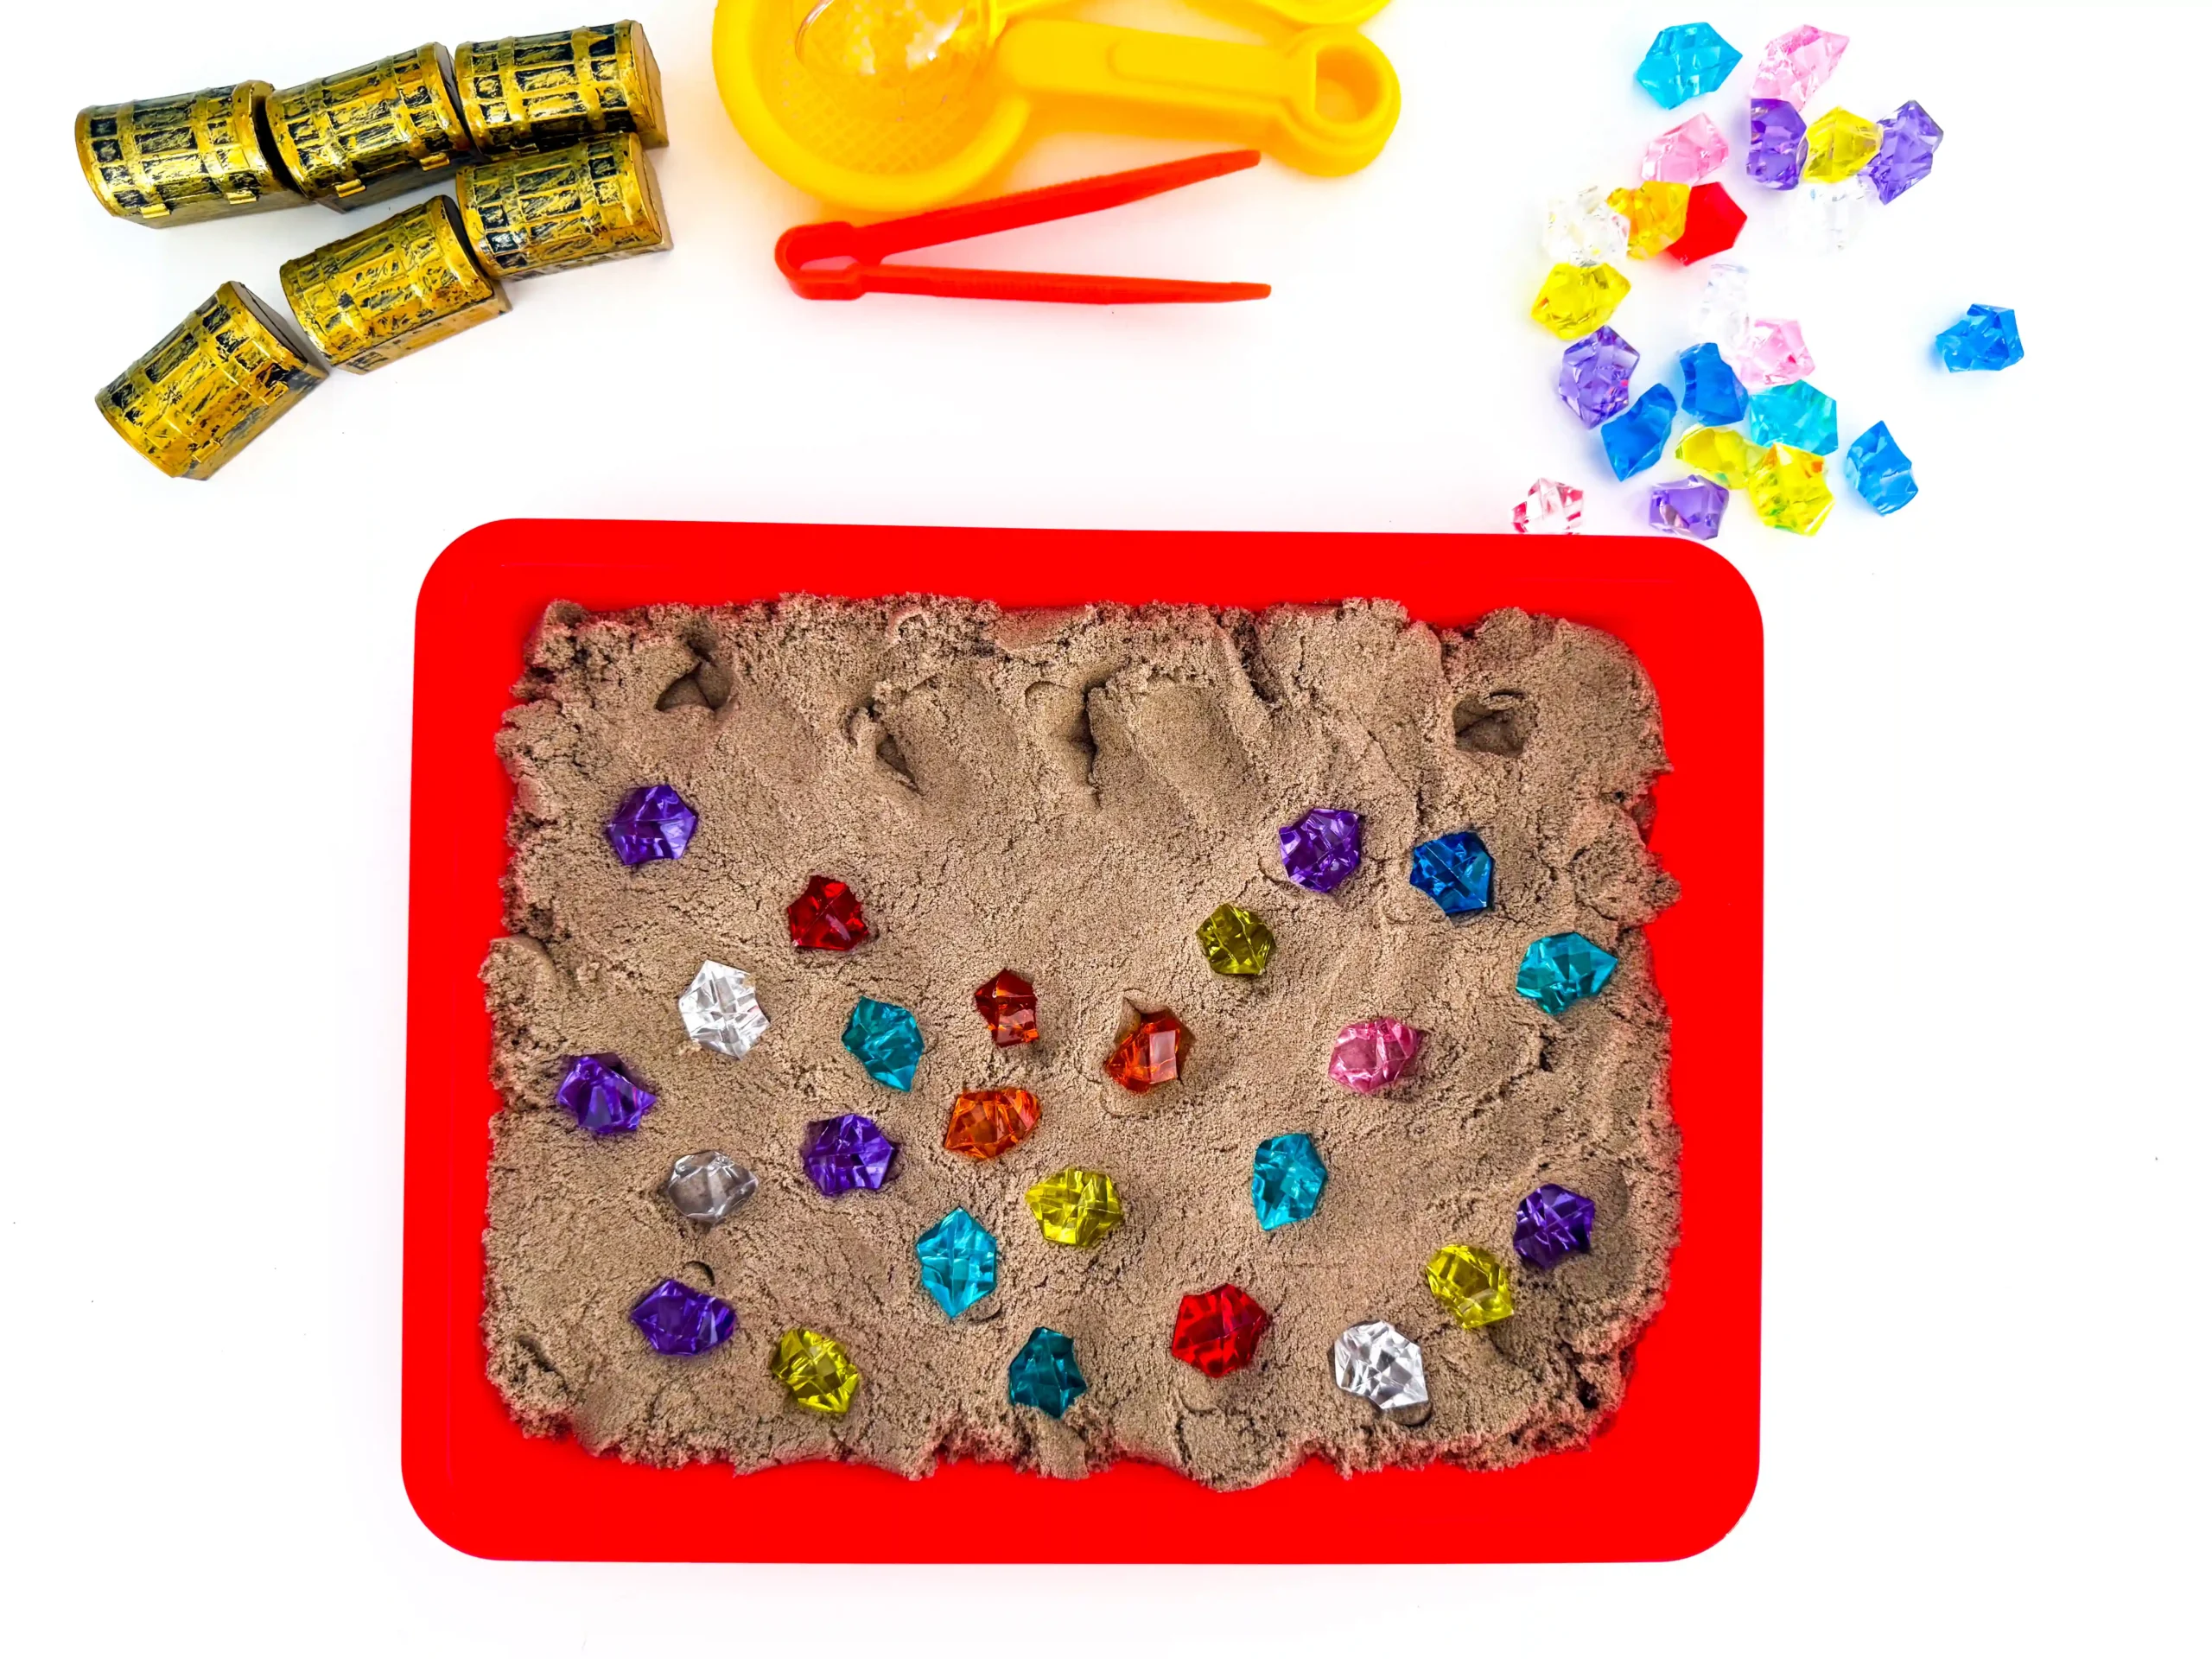
Dump the kinetic sand onto your tray. I love using kinetic sand because it’s not messy!
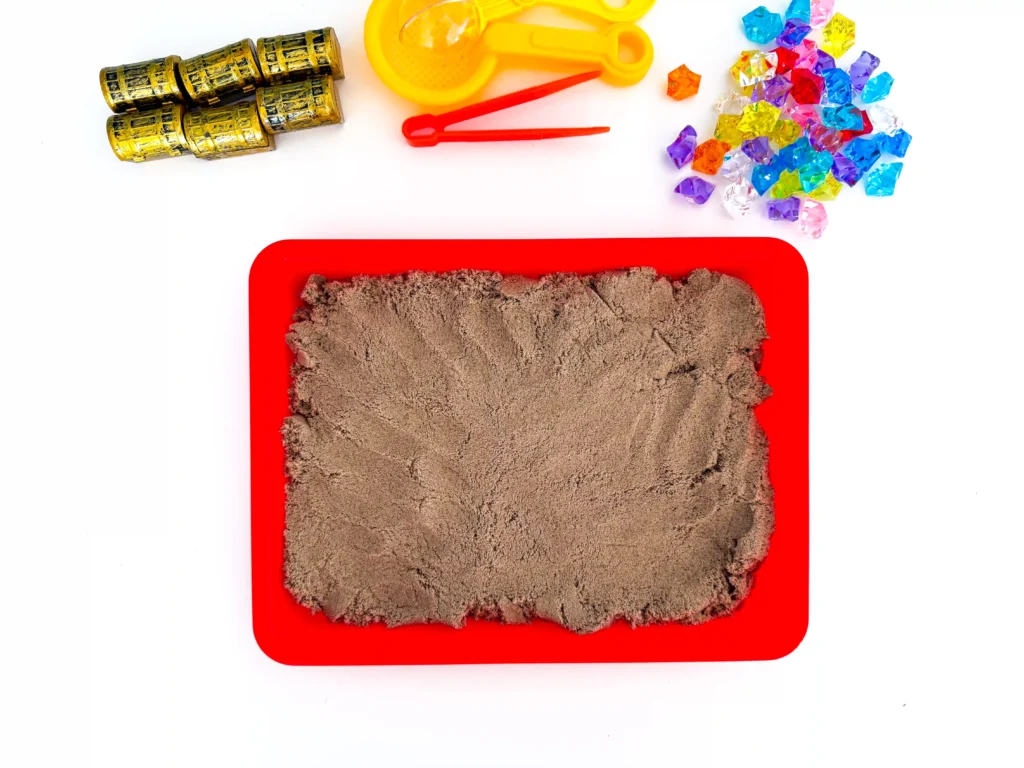
Spread the kinetic sand out with your hands. Make sure to spread it to the corners of the tray.
Lay the gems in the kinetic sand. Leave a strip at the top of the tray with no gems. This is where the treasure chests will go. You can push them down into the sand for a more difficult treasure hunt. Keep track of how many colored gems you use (orange, pink, white, etc.) so you know how many treasure chests to add.
It’s important to note how big your treasure chests are. Mine could fit 3 gems before overflowing. Once you know how many gems can fit, don’t add more of that number for each color.
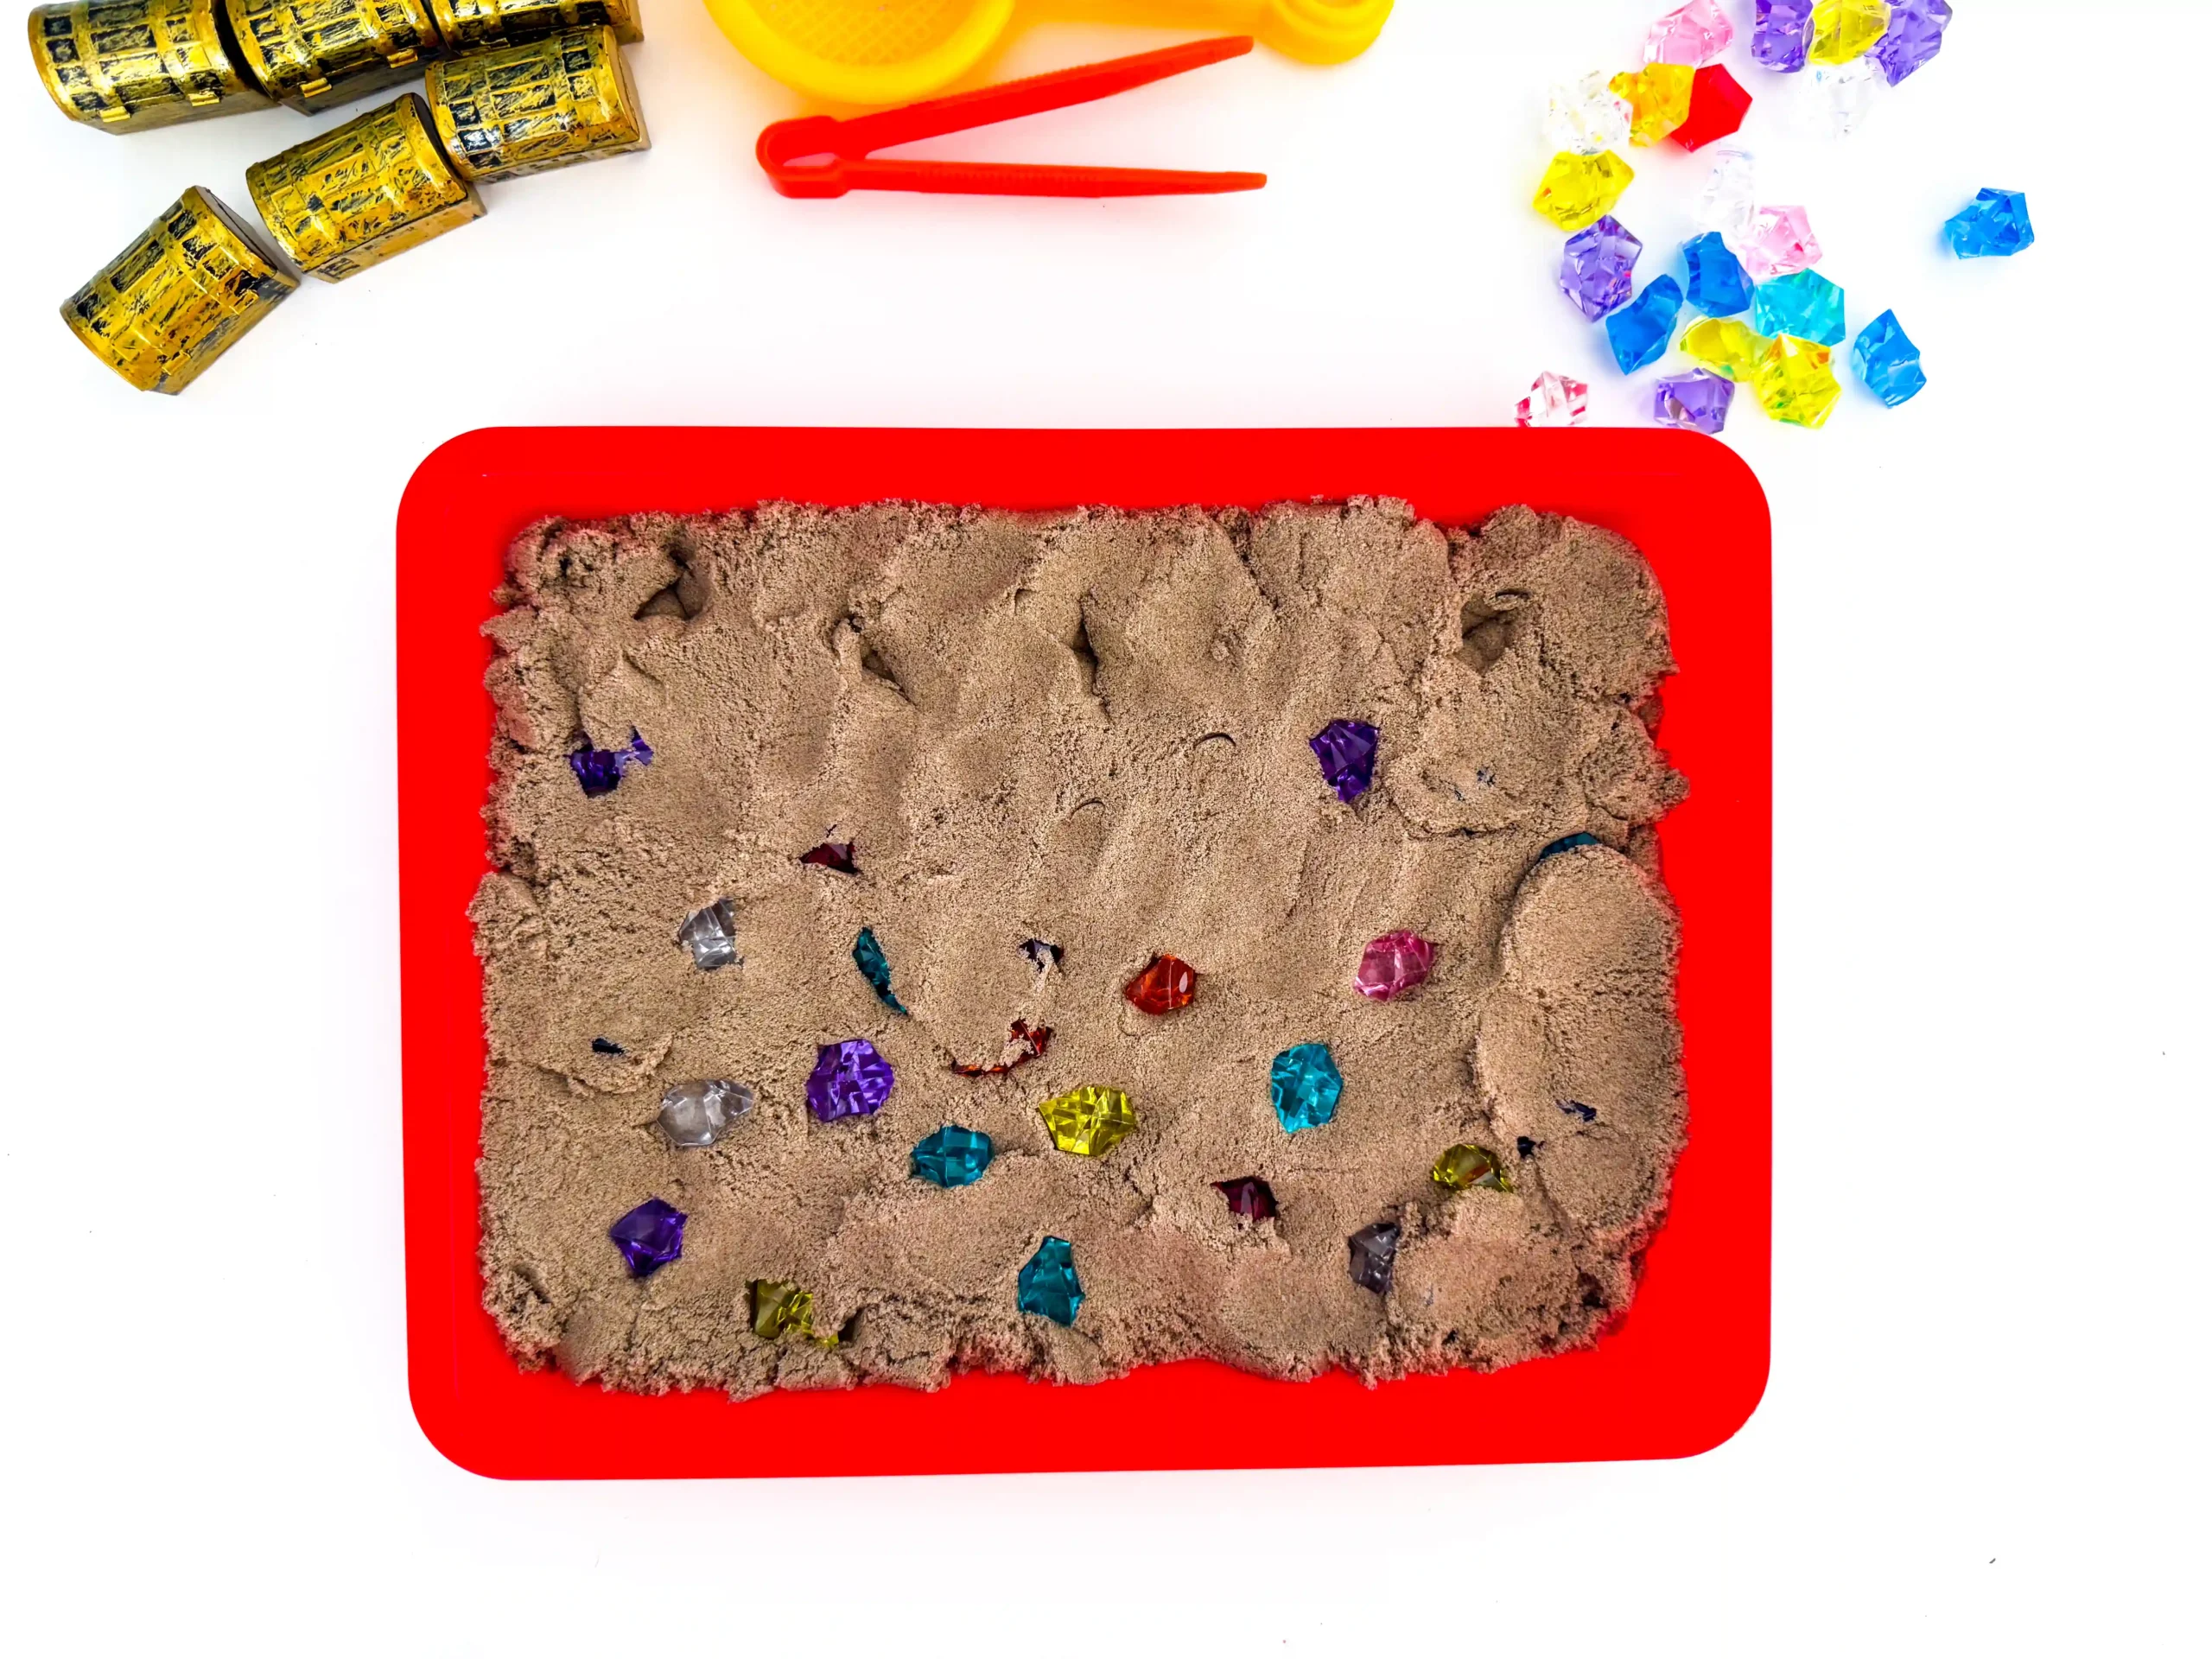
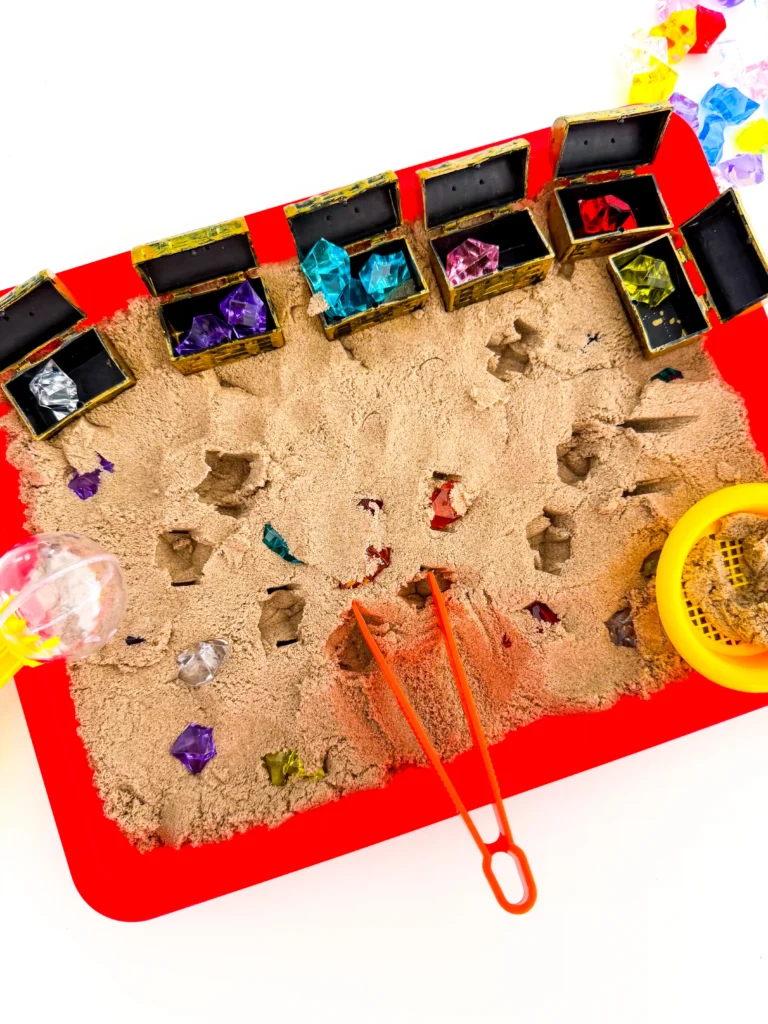
Open and add the treasure chests to the sand. Add one chest per color so kids can sort the gems.
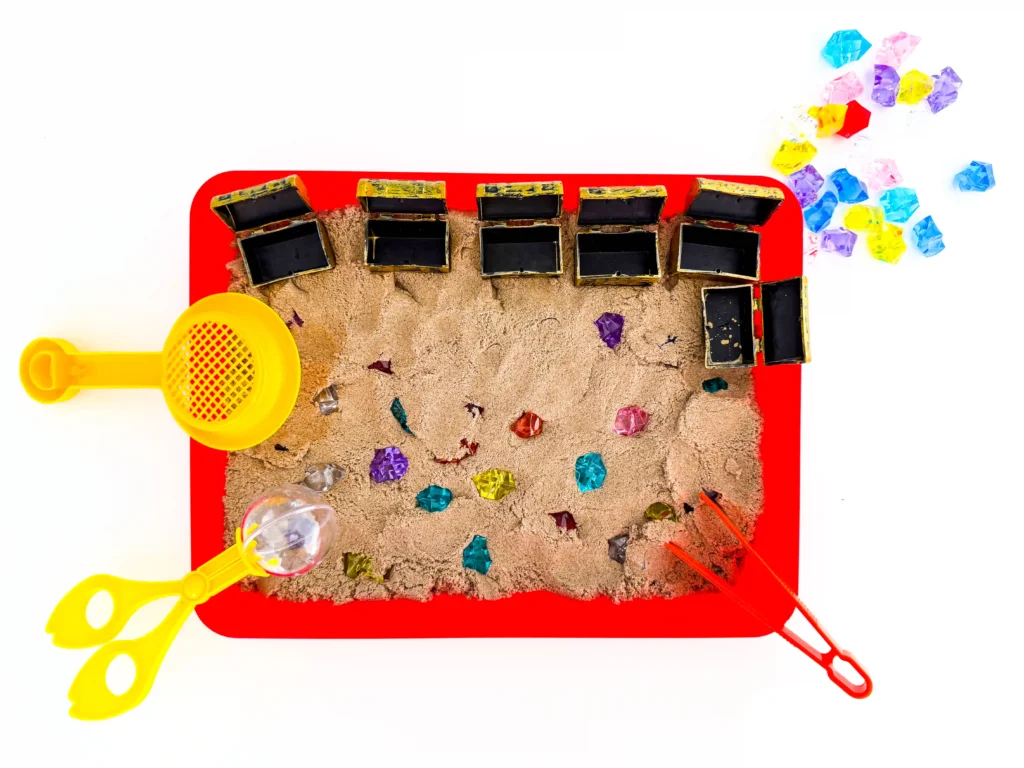
Add the fine motor tools. Choose tools that will be helpful for kids to dig for and grab the gems.
Fun Variations For This Treasure Hunt Sensory Bin
Make the treasure hunt more exciting by adding toy dragons!
Completely bury the gems and mark their locations with various objects, like rocks, dragons, etc. You can even make a map for kids to follow!
Swap out the plastic gems for coins! Use colored coins so kids can still sort them by color.
More Sensory Activities
Toy Story Alien Playdough Tray
PrintTreasure Hunt Sensory Bin
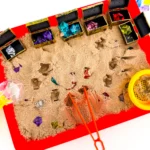
Make a fun treasure hunt sensory bin for kids! This hands-on activity encourages exploration, digging, and imaginative pirate-themed play.
- Prep Time: 5
- Total Time: 5
- Category: DIY, Sensory Activities
- Method: Step-by-Step
Instructions
- Dump the kinetic sand onto your tray. I love using kinetic sand because it’s not messy!
- Spread the kinetic sand out with your hands. Make sure to spread it to the corners of the tray.
- Lay the gems in the kinetic sand. Leave a strip at the top of the tray with no gems. This is where the treasure chests will go. You can push them down into the sand for a more difficult treasure hunt. Keep track of how many colored gems you use (orange, pink, white, etc.) so you know how many treasure chests to add.
- It’s important to note how big your treasure chests are. Mine could fit 3 gems before overflowing. Once you know how many gems can fit, don’t add more of that number for each color.
- Open and add the treasure chests to the sand. Add one chest per color so kids can sort the gems.
- Add the fine motor tools. Choose tools that will be helpful for kids to dig for and grab the gems.