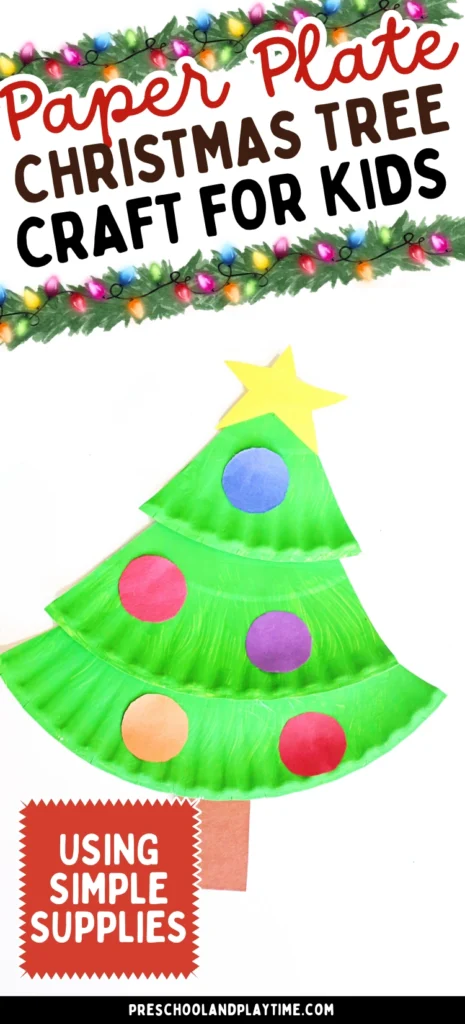

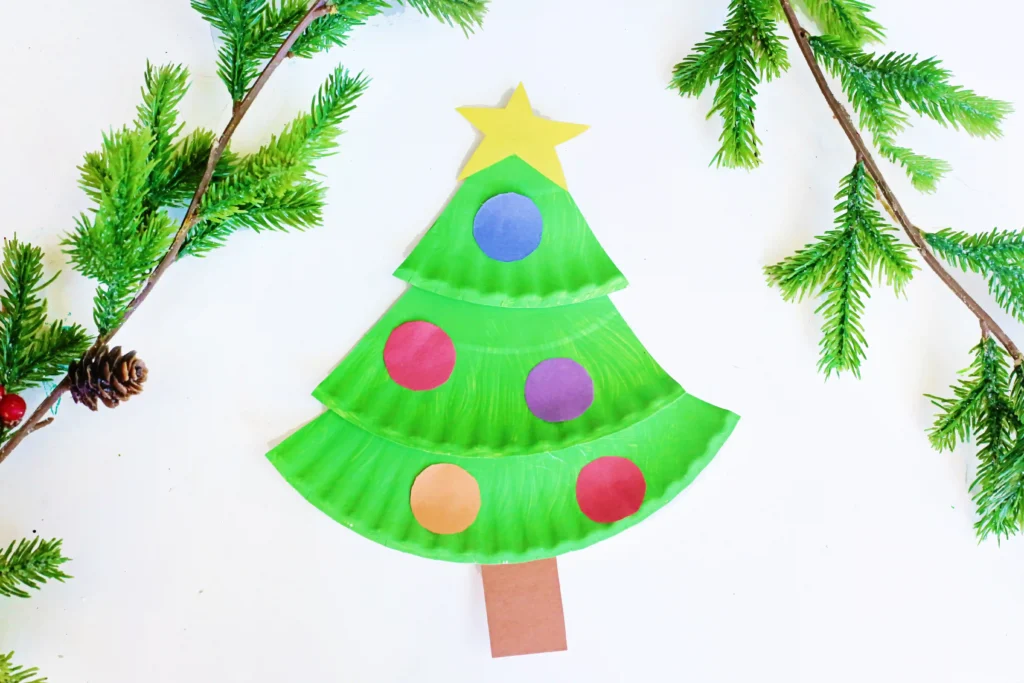
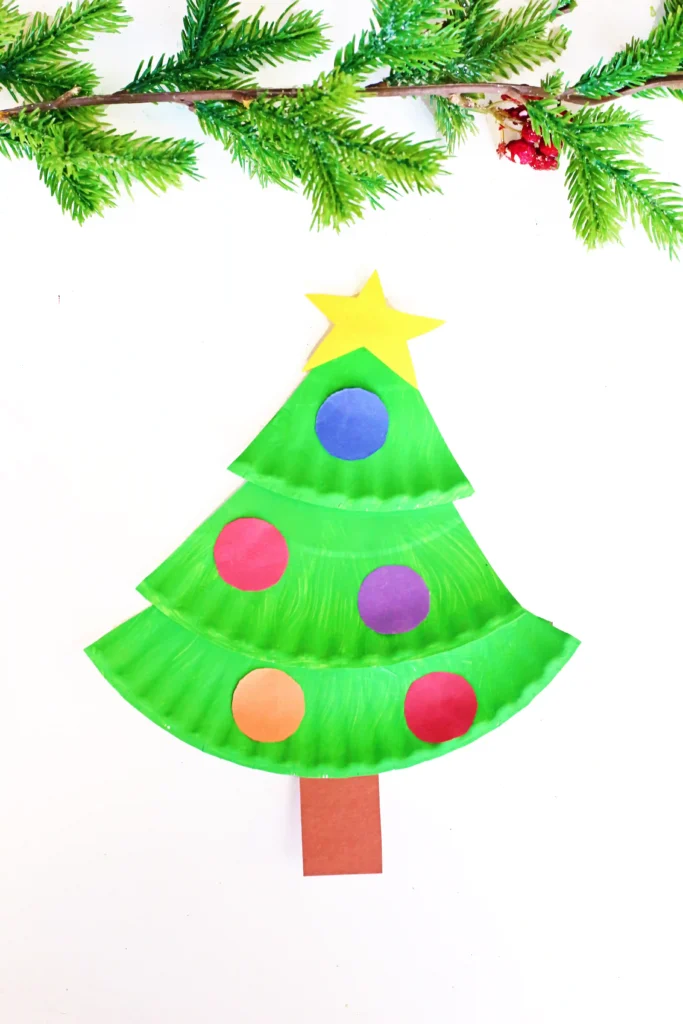
Turn an ordinary paper plate into an adorable Christmas tree, decorated with ornaments and a star! This paper plate Christmas tree craft is budget-friendly, requiring only a paper plate, colored construction paper, and green paint. It’s an adorable Christmas activity that your preschooler will love.
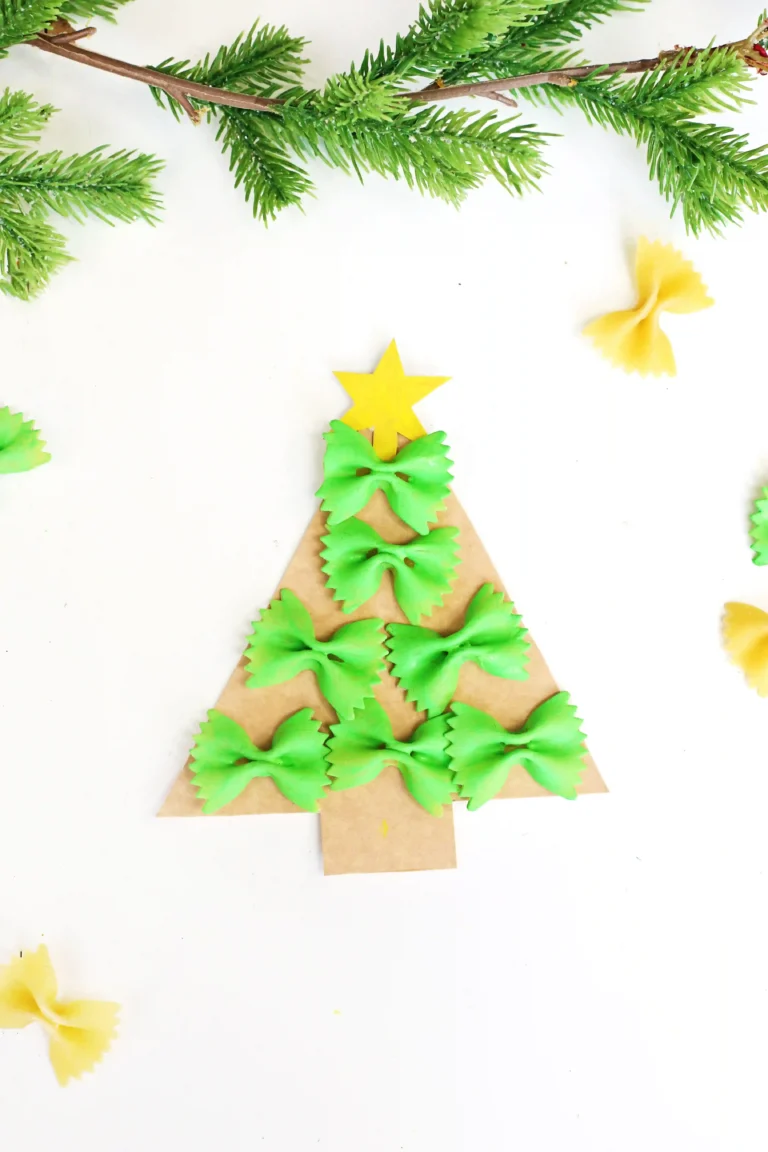
Looking for more fun Christmas crafts? Try this fun pasta Christmas tree!
All activities on this site require adult supervision. When using this website, you agree to our terms of use. This post may contain affiliate links. I am an Amazon Associate, a Walmart partner, and a member of other affiliate programs and I earn a commission on qualifying purchases at no extra cost to you. Please read our disclosure policy for details.
Christmas Books For Preschoolers
How To Catch A Reindeer– On Christmas Eve, Comet decides to explore on her own. Can the kids catch a reindeer to prove Santa exists?
Don’t Let the Pigeon Drive the Sleigh– Pigeon is back with this adorable Christmas-themed book. Santa asks you to watch the sleigh, but there’s one rule – don’t let the pigeon drive the sleigh!
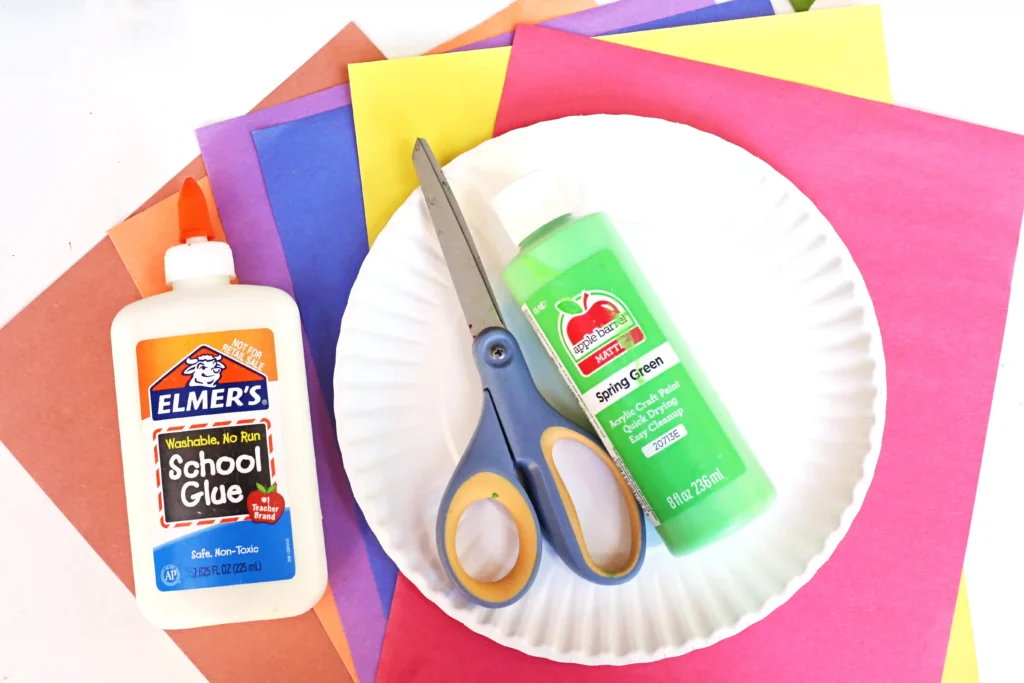
What You’ll Need For This Paper Plate Christmas Tree Craft
Join the List
Subscribe
How To Make This Paper Plate Christmas Tree Craft
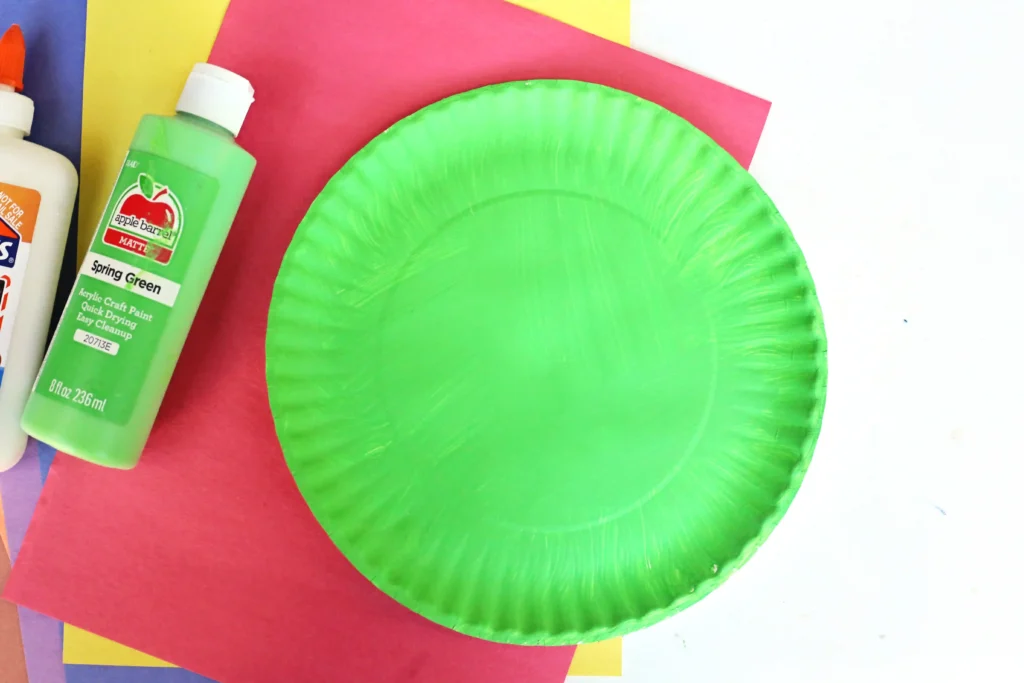
1. Paint the Paper Plate: Paint the entire paper plate green. Set it aside and allow the paint to dry completely.
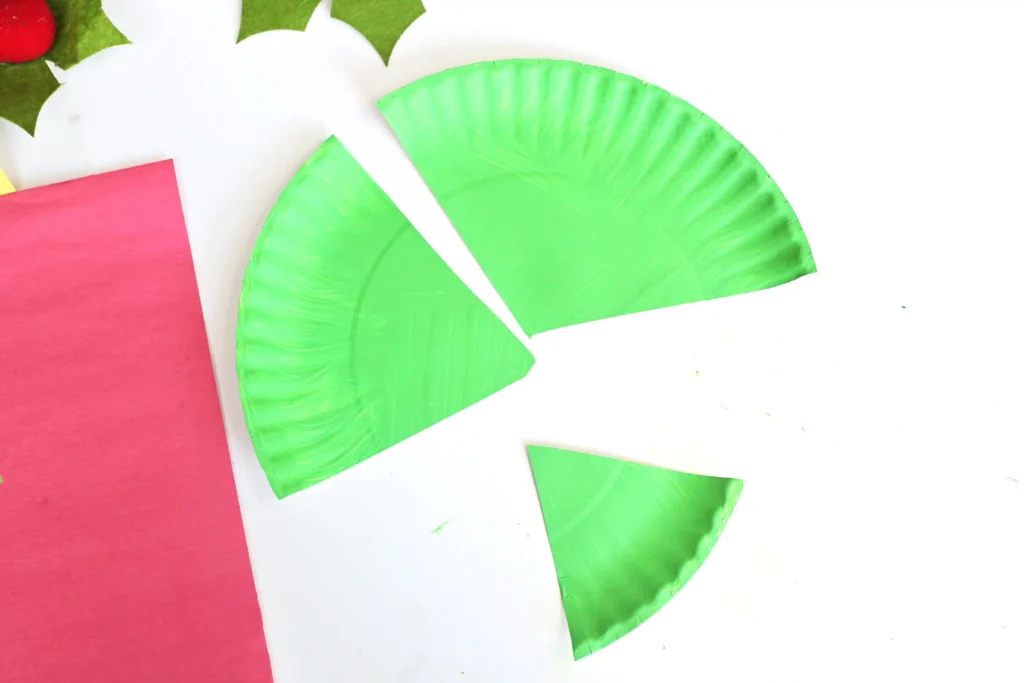
2. Cut the Plate: Once dry, cut the paper plate into three sections of different sizes. These will become the layers of your Christmas tree.
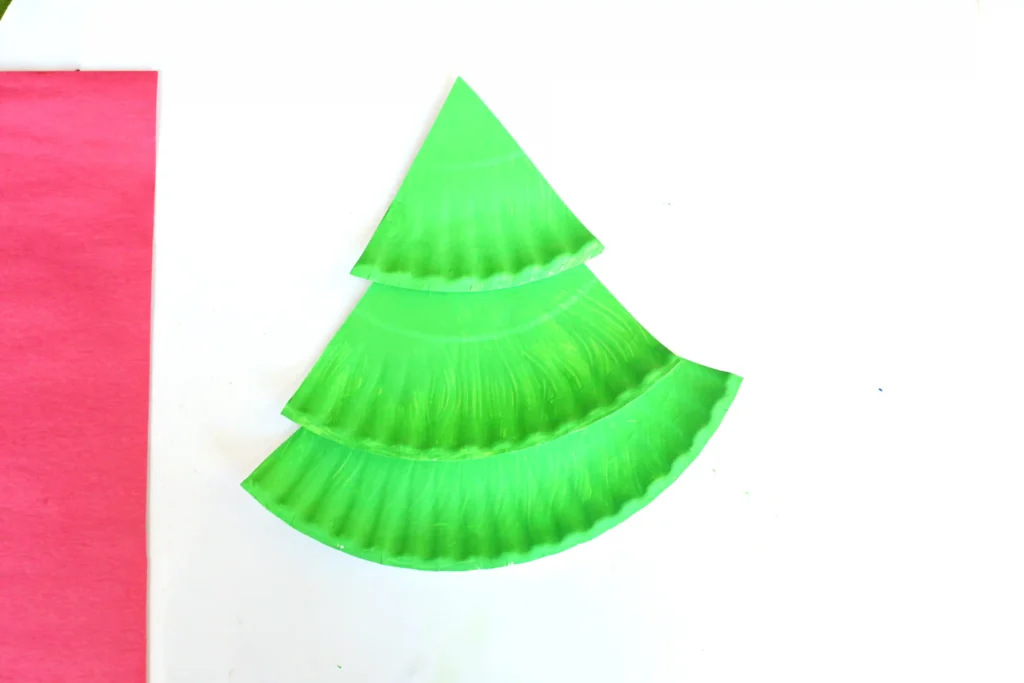
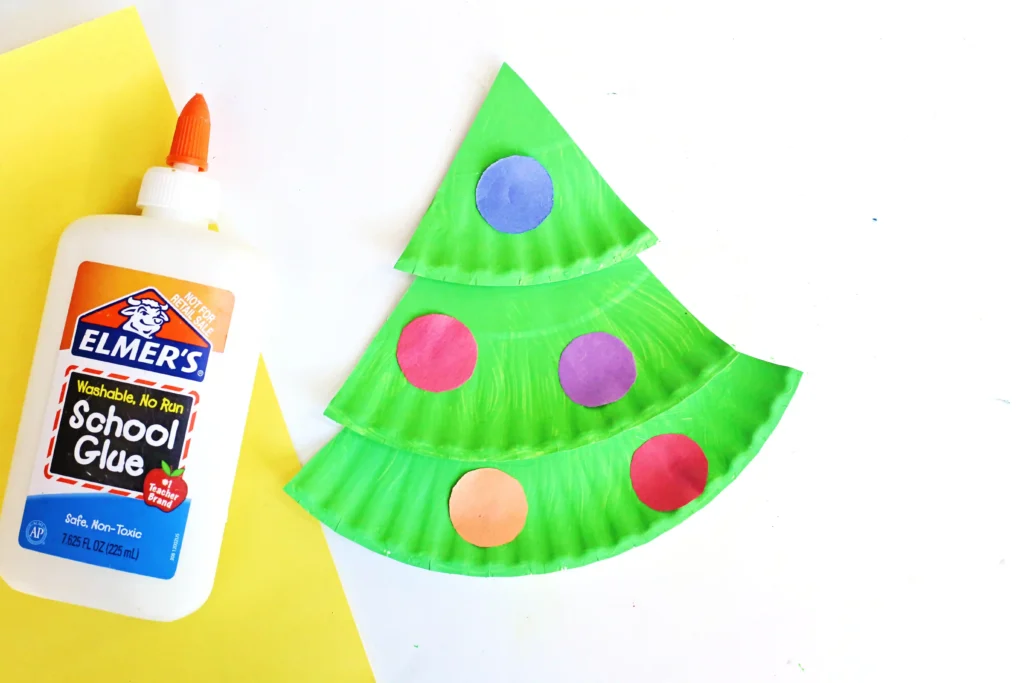
3. Assemble the Tree: Arrange the three sections from largest to smallest, overlapping them slightly to create a Christmas tree shape. Glue the pieces together.
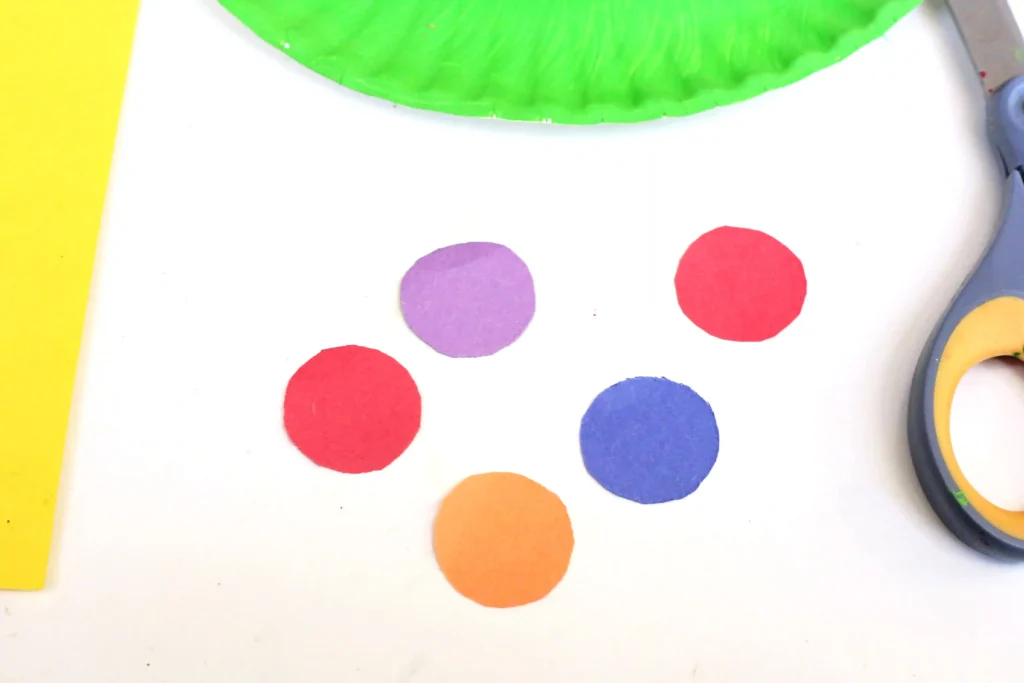
4. Make the Ornaments: Cut out small circles from different colors of construction paper. These will be the ornaments for your tree. Feel free to cut out different shapes and use any colors you’d like!
5. Decorate the Tree: Glue the paper circles onto the green tree sections.
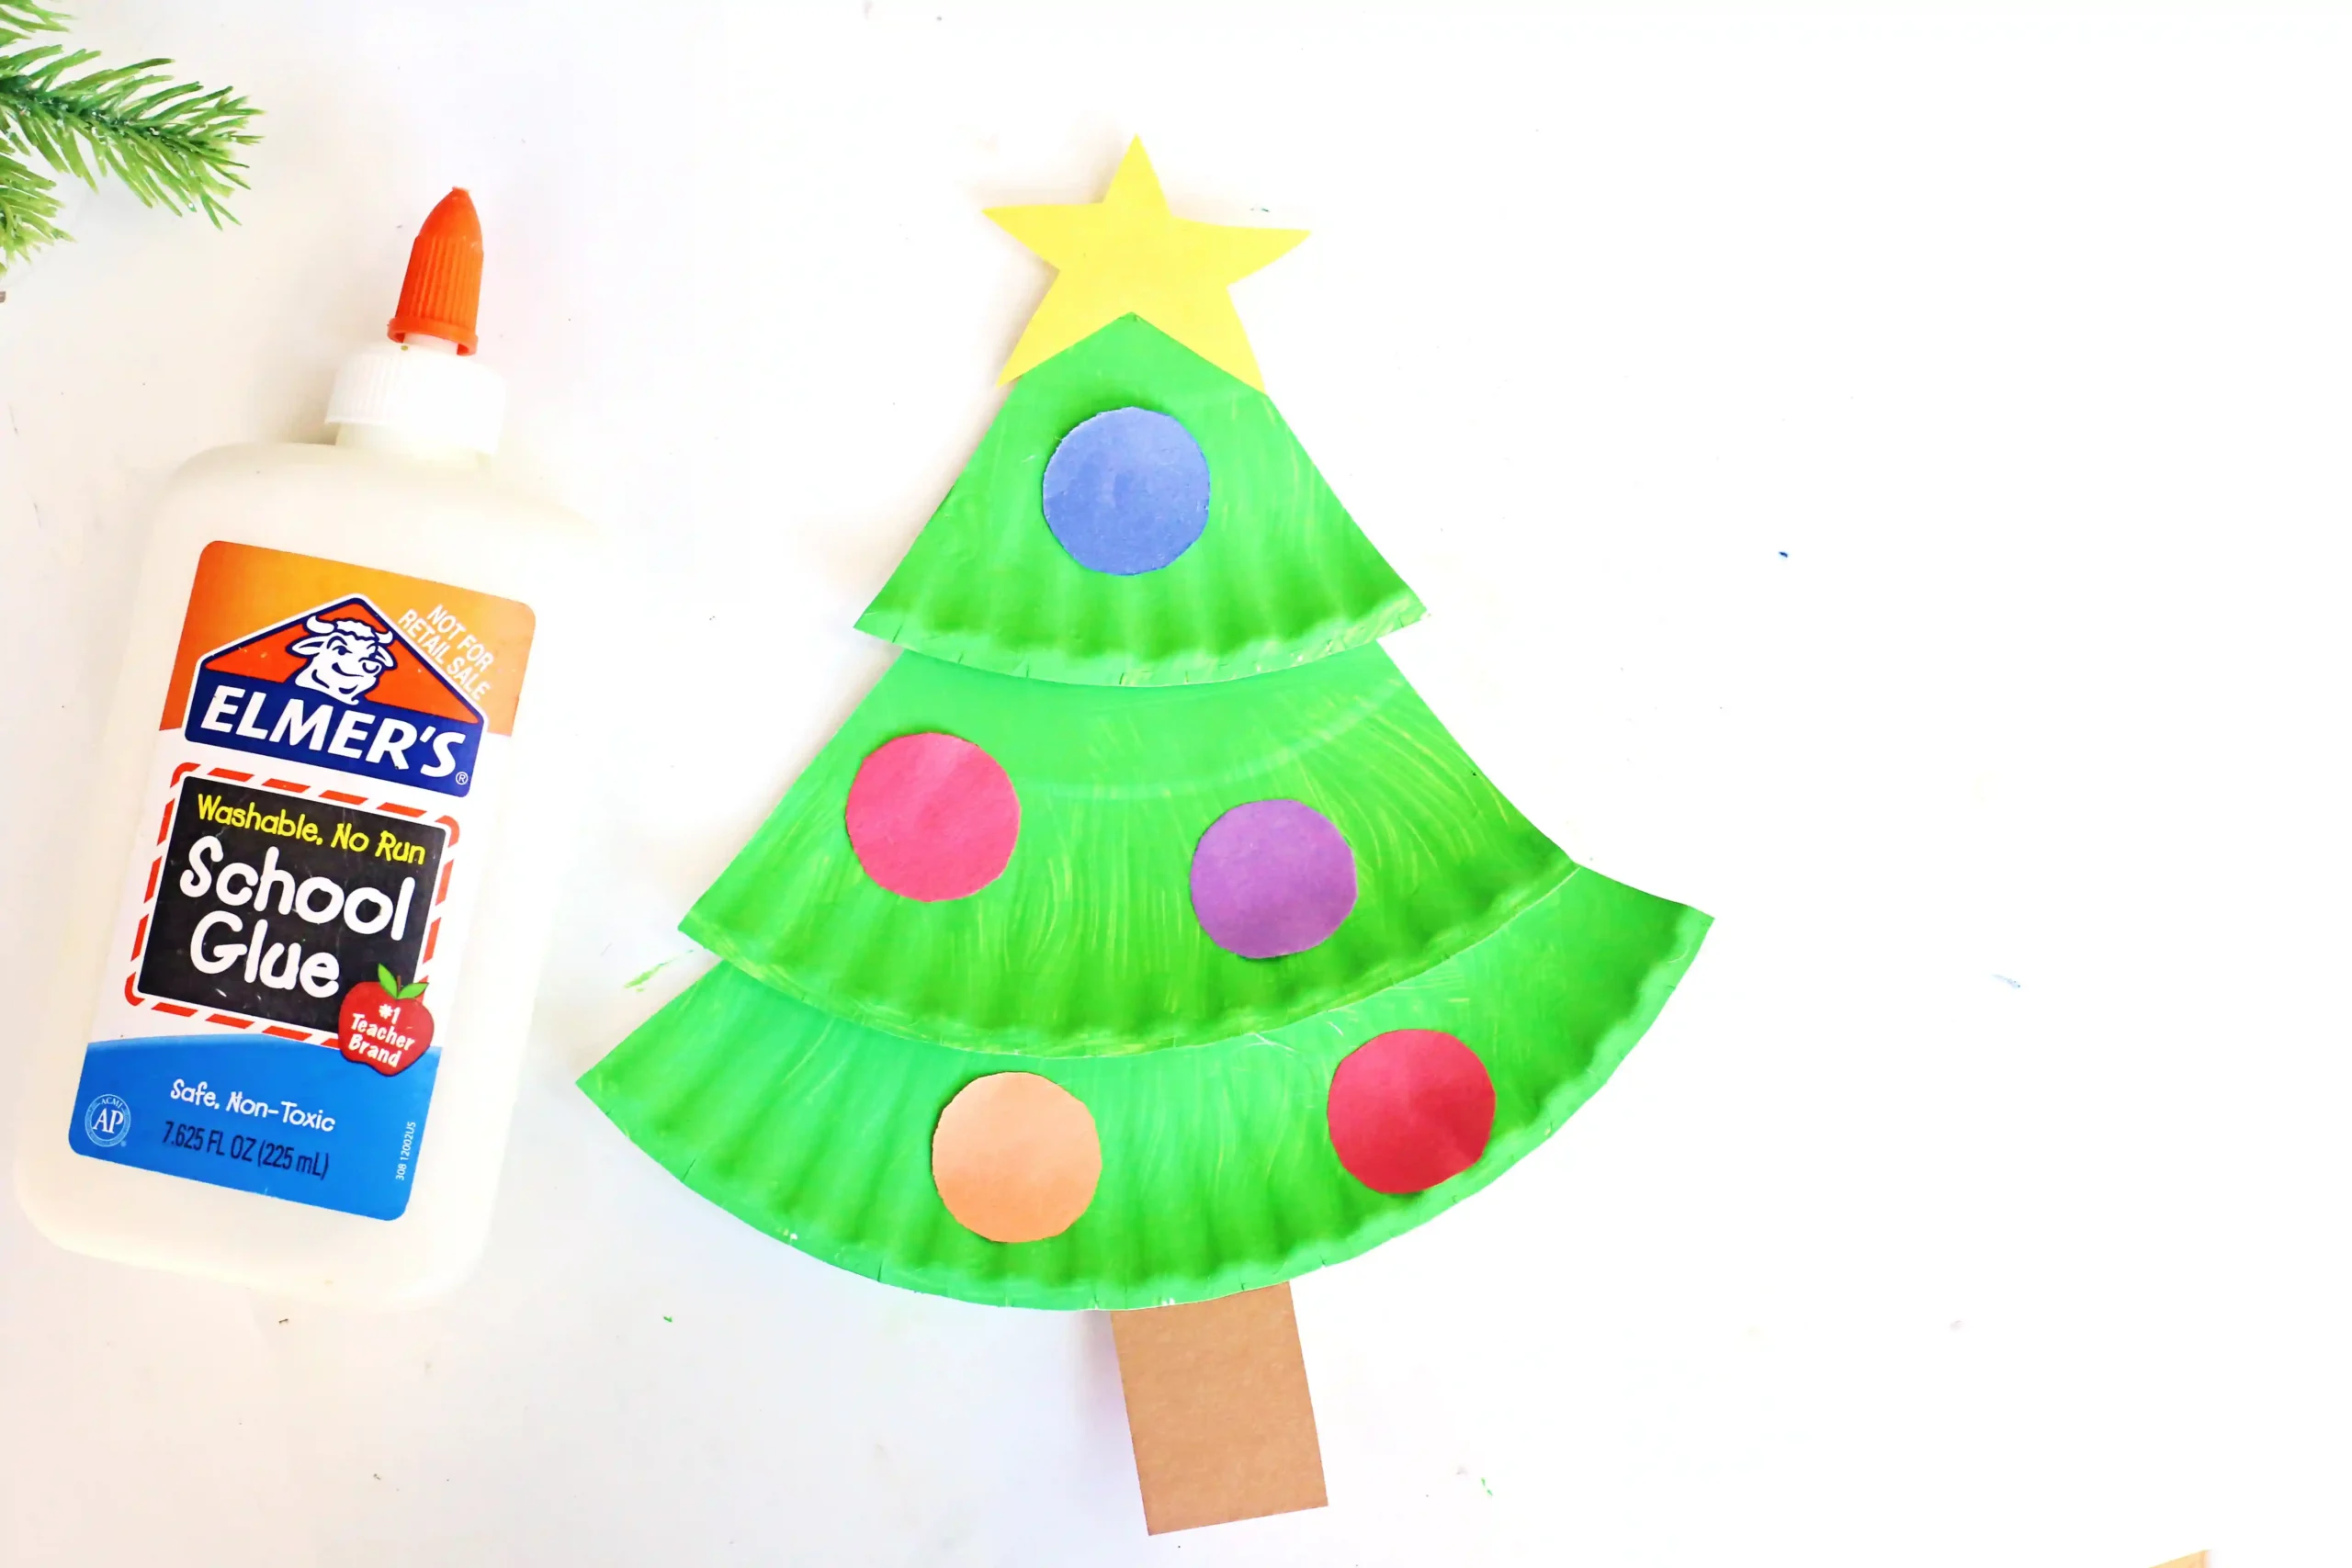
6. Add the Star and Trunk: Cut a star from yellow construction paper and a rectangle from brown construction paper. Glue the star to the top of the tree and the trunk underneath the bottom section.

7. Display your beautiful paper plate Christmas tree!
More Christmas Crafts
Cardboard Gingerbread Man Craft
Christmas Tree Sponge Painting
PrintPaper Plate Christmas Tree Craft

This paper plate Christmas tree craft is a quick, budget-friendly DIY perfect for preschoolers, classrooms, and holiday decorating.
- Prep Time: 15 + dry time
- Total Time: 15 + dry time
- Category: Christmas, DIY
- Method: Step-by-Step
Materials
- Paper plate
- Green paint
- Paintbrush
- Construction paper (brown, yellow, and assorted colors)
- Scissors
- Glue
Instructions
- Paint the Paper Plate: Paint the entire paper plate green. Set it aside and allow the paint to dry completely.
- Cut the Plate: Once dry, cut the paper plate into three sections of different sizes. These will become the layers of your Christmas tree.
- Assemble the Tree: Arrange the three sections from largest to smallest, overlapping them slightly to create a Christmas tree shape. Glue the pieces together.
- Make the Ornaments: Cut out small circles from different colors of construction paper. These will be the ornaments for your tree.
- Decorate the Tree: Glue the paper circles onto the green tree sections.
- Add the Star and Trunk: Cut a star from yellow construction paper and a rectangle from brown construction paper. Glue the star to the top of the tree and the trunk underneath the bottom section.