
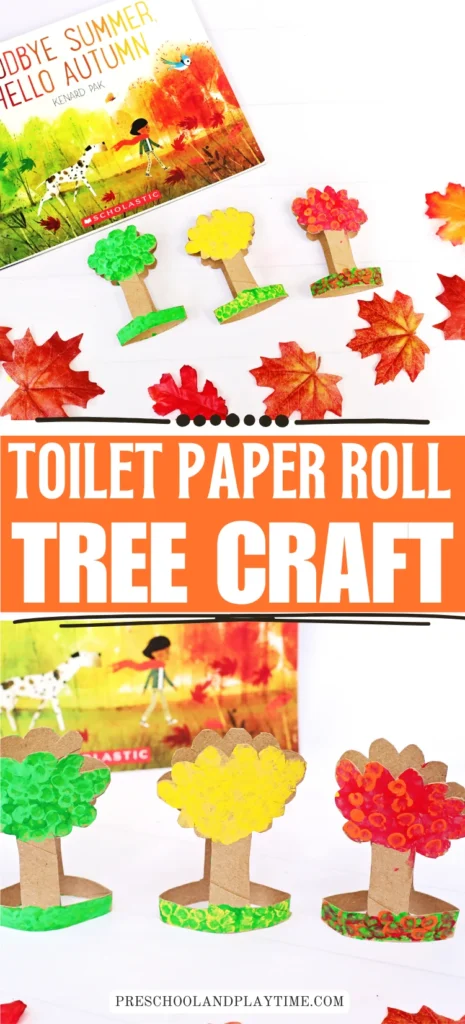
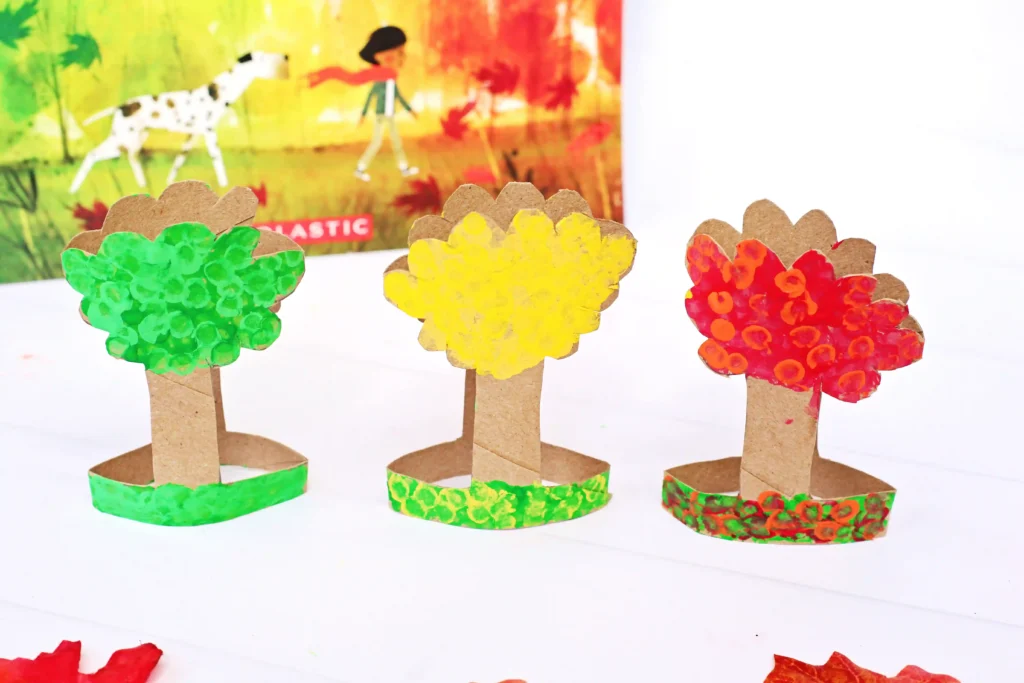
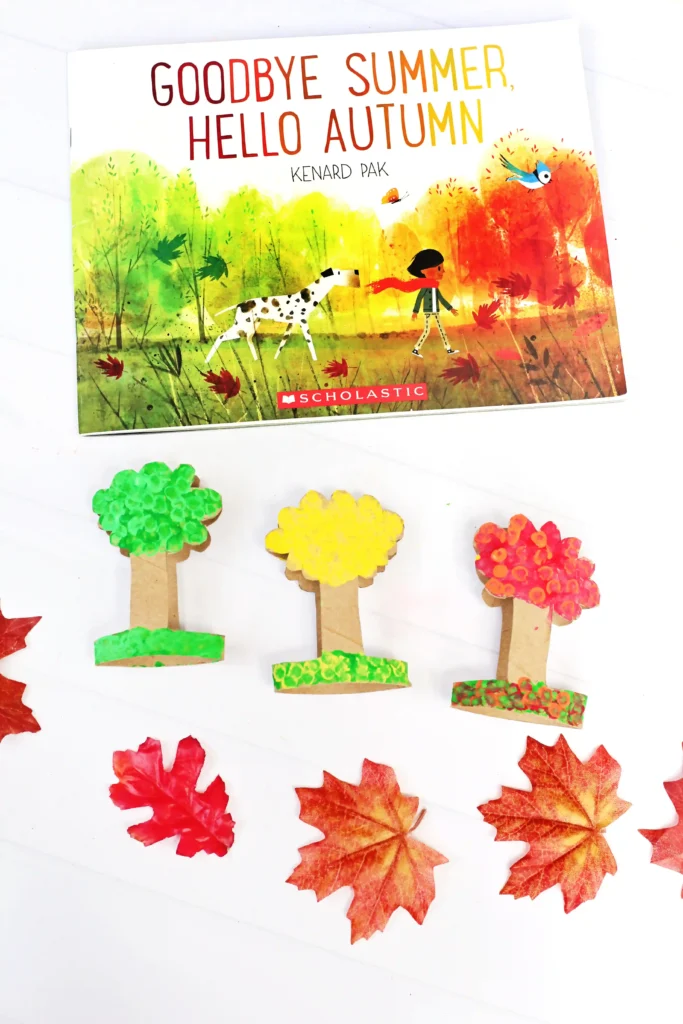
Goodbye Summer, Hello Autumn is a beautiful story that follows a girl walking around town and spotting all the ways the seasons are changing. Say goodbye to summer and hello to autumn with these adorable toilet paper roll trees! Using a toilet paper roll and a little paint, kids can create mini trees to welcome autumn! If you’re looking for fall crafts for kids, toilet paper roll crafts for kids, or tree crafts for kids, this is a great one to try!
And, if you’re looking for more autumn crafts, try this corn math counting activity or this toilet paper roll sunflower craft!
This post may contain affiliate links, please read our disclosure policy for details.
More Fall Books For Preschoolers
The Very Hungry Caterpillar’s First Fall– Join The Very Hungry Caterpillar as he explores everything the fall season has to offer! Young readers will learn all about sensory experiences such as watching the leaves turn colors, hearing the whoosh of the cool wind, smelling freshly baked pies out of the oven, and so much more!
What is Fall? – This fall-themed board book with shaped pages and rhyming text is the perfect introduction to the season!
Leaves– A simple, charming story of a young bear’s first autumn and hibernation.
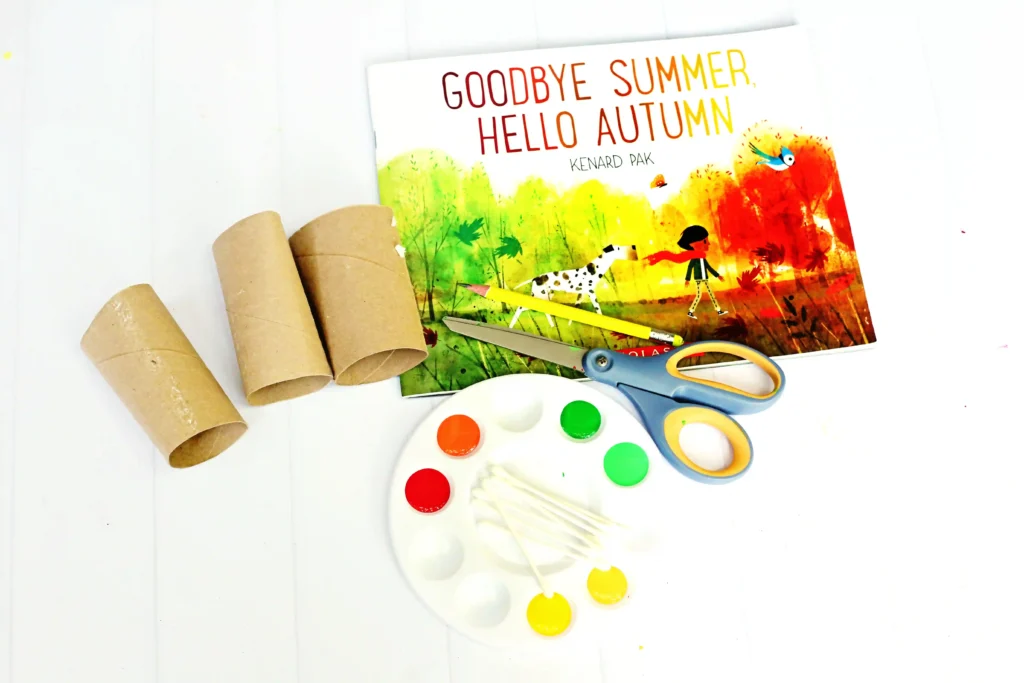
What You’ll Need For These Toilet Paper Roll Trees
Join the List
Subscribe
How To Make These Toilet Paper Roll Trees
1. Flatten a toilet paper roll.
2. Draw a simple tree outline on the flattened roll, making sure to include a base at the bottom so the tree can stand upright.
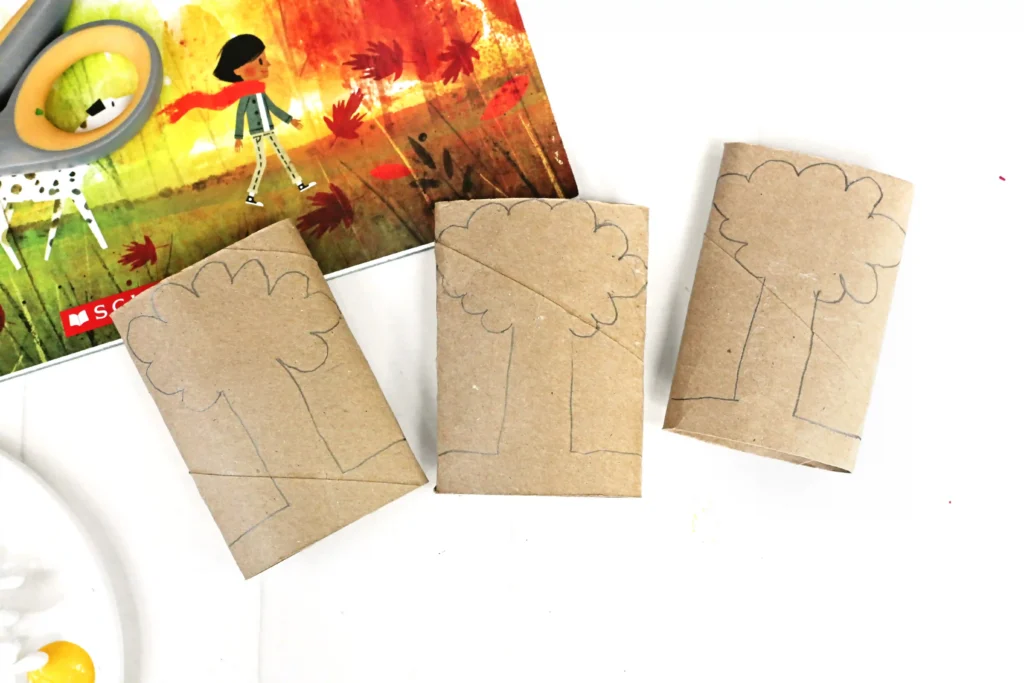
3. Cut out the tree and gently open it so it stands on its base. Important: Keep the two sides of the toilet paper roll connected at one point when cutting. This allows the tree to pop back open into a standing shape.
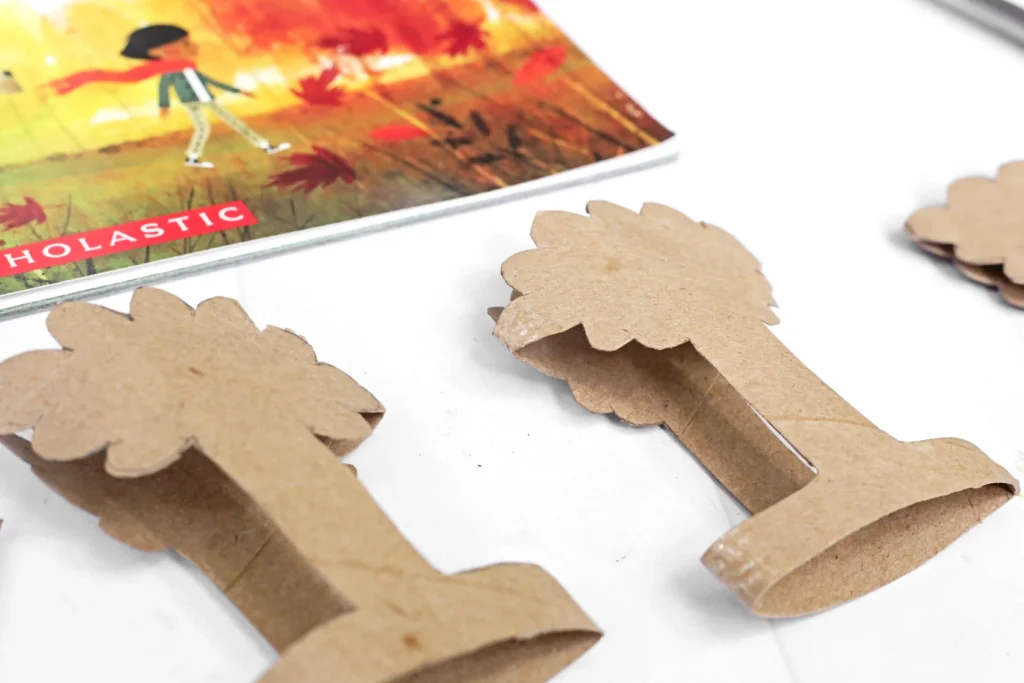
4. Use a cotton swab dipped in green paint to dot the top of the first tree. Add a lighter green over some of the dots for extra texture.
5. Paint the second tree with yellow dots, then layer on a lighter yellow to create highlights.
6. Paint the third tree with red dots. Finish with a few orange dots to give the leaves dimension.
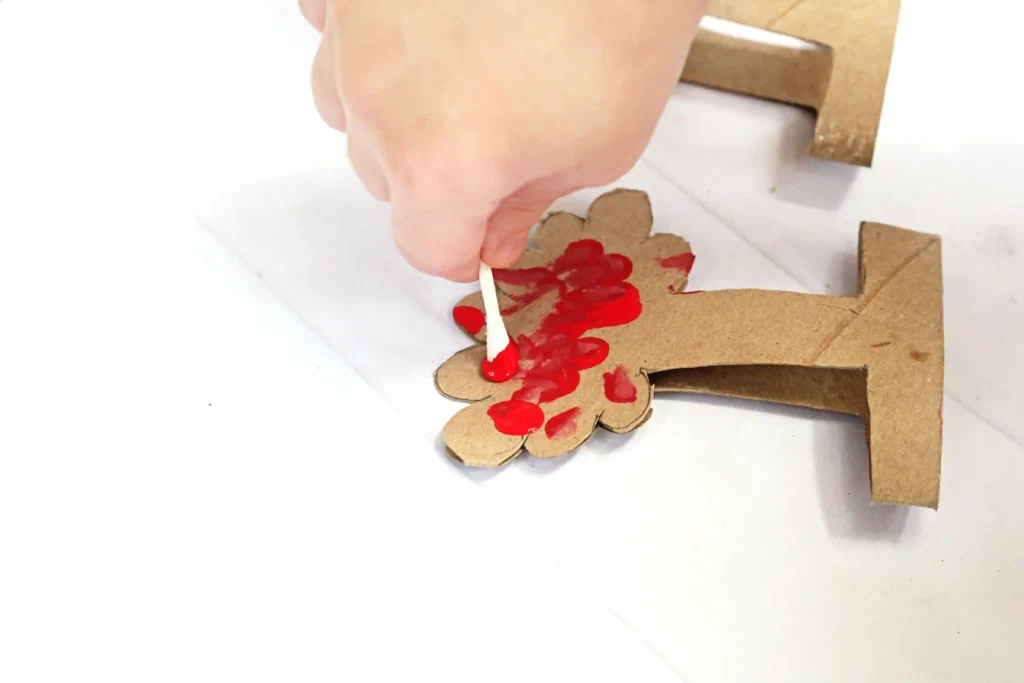
7. Paint the base of the summer tree green, then decorate it with green dots.
8. Paint the base of the yellow tree green and add yellow dots.
9. Paint the base of the red and orange tree green and finish with red and orange dots.
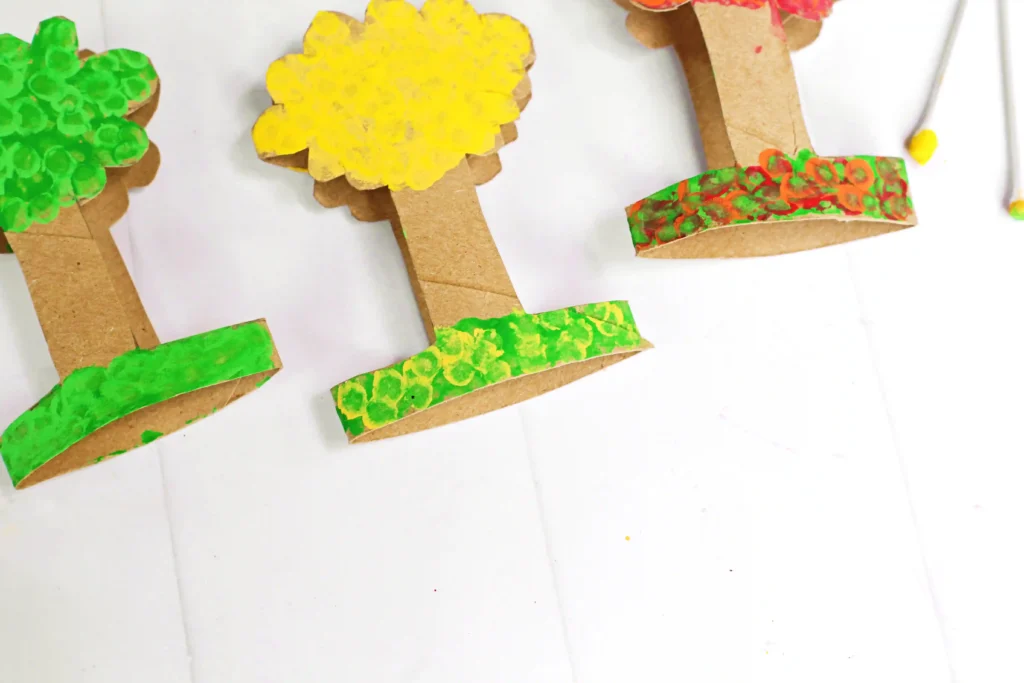
10. Let the paint dry completely before displaying your trees in seasonal order from summer to fall.
Tips For These Toilet Paper Roll Trees
- For preschoolers, cut out the trees before hand and allow kids to decorate them with the cotton swabs.
- Use tissue paper squares scrunched and glued on, or fingerprint or thumbprint painting for the leaves
- Tie in more learning by creating a life cycle of a tree/seasons lesson tie-in (make all four seasonal versions) or turn it into a counting activity by adding a specific number of leaves
Goodbye Summer, Hello Autumn Toilet Paper Roll Trees
Make an easy toilet paper roll tree craft with kids! This budget-friendly project is perfect for the transition from summer to fall!
- Prep Time: 15 + dry time
- Total Time: 15 + dry time
- Category: DIY, Fall
- Method: Step-by-Step
Materials
- 3 toilet paper rolls
- Pencil
- Scissors
- 2 shades of green paint
- 2 shades of yellow paint
- Red and orange paint
- Cotton swabs (Q-tips)
- Paintbrush
- Paper plate or paint palette
Instructions
- Flatten a toilet paper roll.
- Draw a simple tree outline on the flattened roll, making sure to include a base at the bottom so the tree can stand upright.
- Cut out the tree and gently open it so it stands on its base. Important: Keep the two sides of the toilet paper roll connected at one point when cutting. This allows the tree to pop back open into a standing shape.
- Use a cotton swab dipped in green paint to dot the top of the first tree. Add a lighter green over some of the dots for extra texture.
- Paint the second tree with yellow dots, then layer on a lighter yellow to create highlights.
- Paint the third tree with red dots. Finish with a few orange dots to give the leaves dimension.
- Paint the base of the summer tree green, then decorate it with green dots.
- Paint the base of the yellow tree green and add yellow dots.
- Paint the base of the red and orange tree green and finish with red and orange dots.
- Let the paint dry completely before displaying your trees in seasonal order from summer to fall.