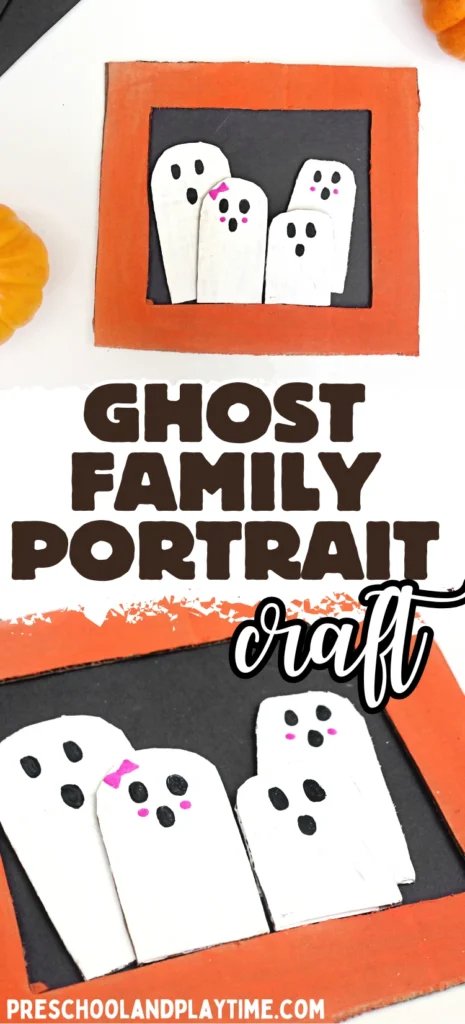

This ghost family portrait craft is a budget-friendly Halloween craft for kids. Made of cardboard, construction paper, and paint, this adorable Halloween activity doubles as Halloween decor. This ghost craft is perfect for Halloween parties, Halloween classroom activities, and at home crafting.
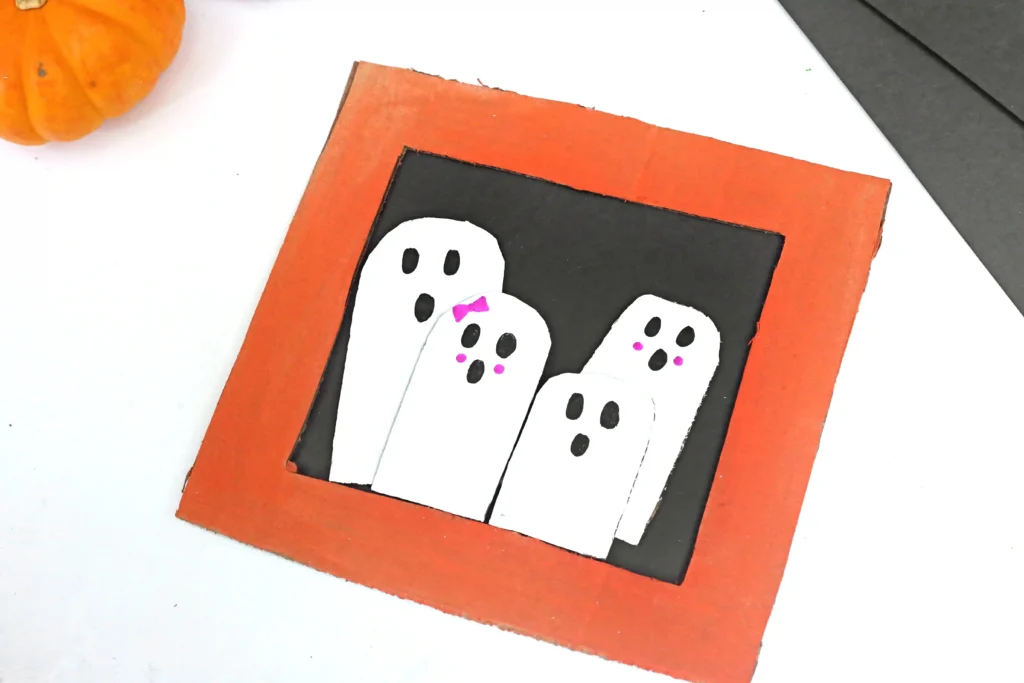
Looking for more fun Halloween crafts? Try this adorable jack-o-lantern craft!
All activities on this site require adult supervision. When using this website, you agree to our terms of use. This post may contain affiliate links. I am an Amazon Associate, a Walmart partner, and a member of other affiliate programs and I earn a commission on qualifying purchases at no extra cost to you. Please read our disclosure policy for details.
Halloween Books For Preschoolers
Room on the Broom– How many animals can fit on the broom? After the witch drops some of her things, the animals return it but all want to ride on the broom.
The Pumpkin Thief– Bird’s pumpkins keep disappearing and the animals must use the clues to find out who the pumpkin thief is!
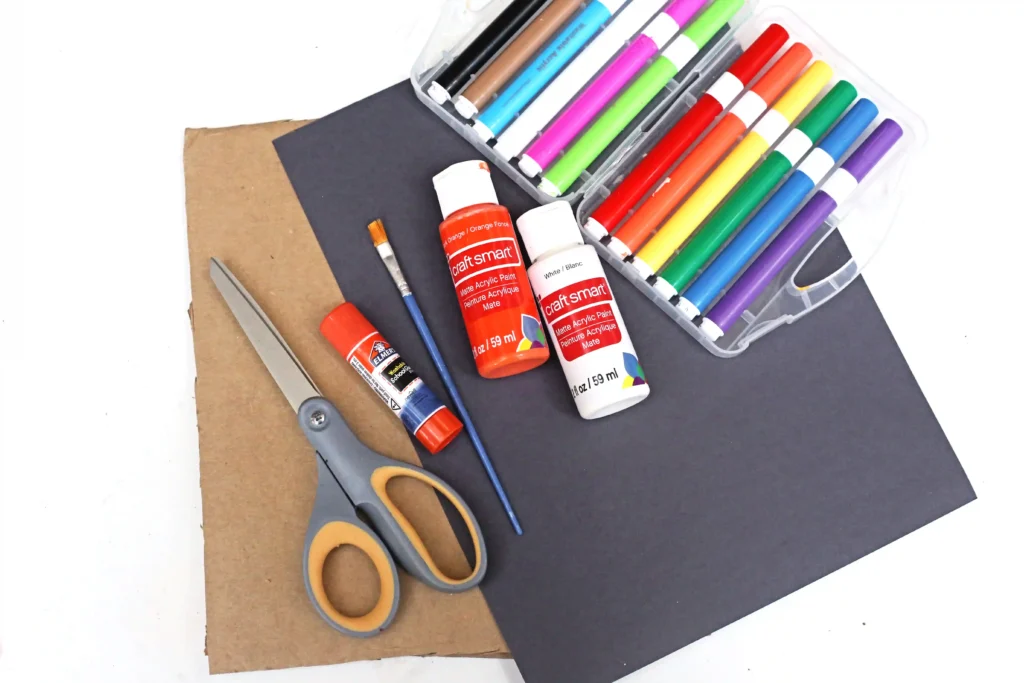
What You’ll Need For This Ghost Family Portrait Craft
Join the List
Subscribe
How To Make This Ghost Family Portrait Craft
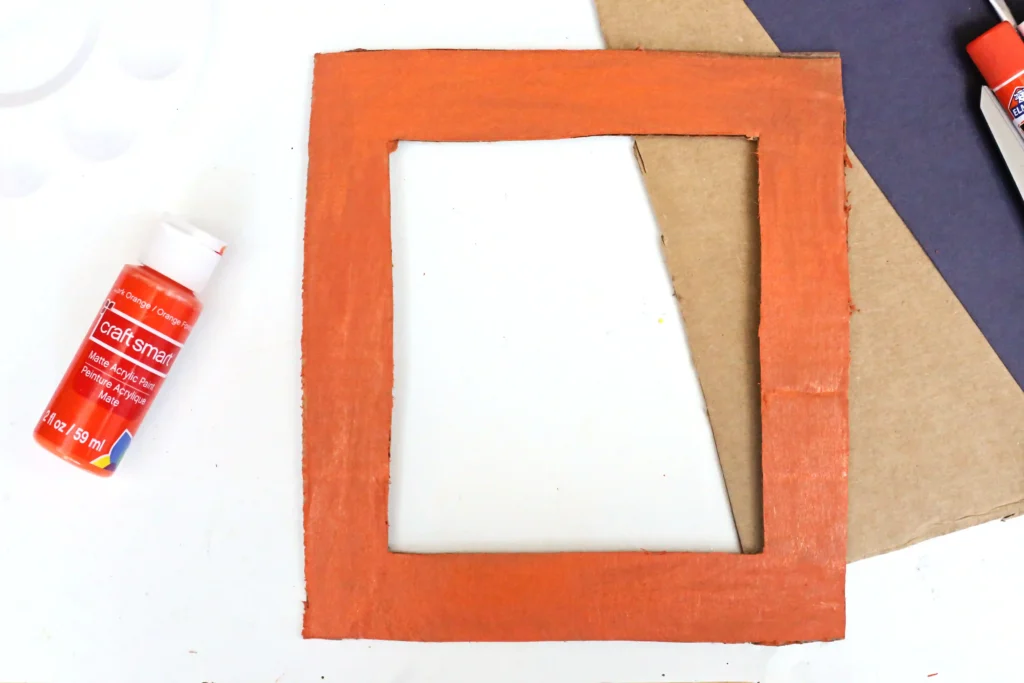
1. Make the Frame: Draw a large rectangular frame shape on a piece of cardboard. Cut out the center to create an open frame. Paint the entire frame orange and allow it to dry completely.
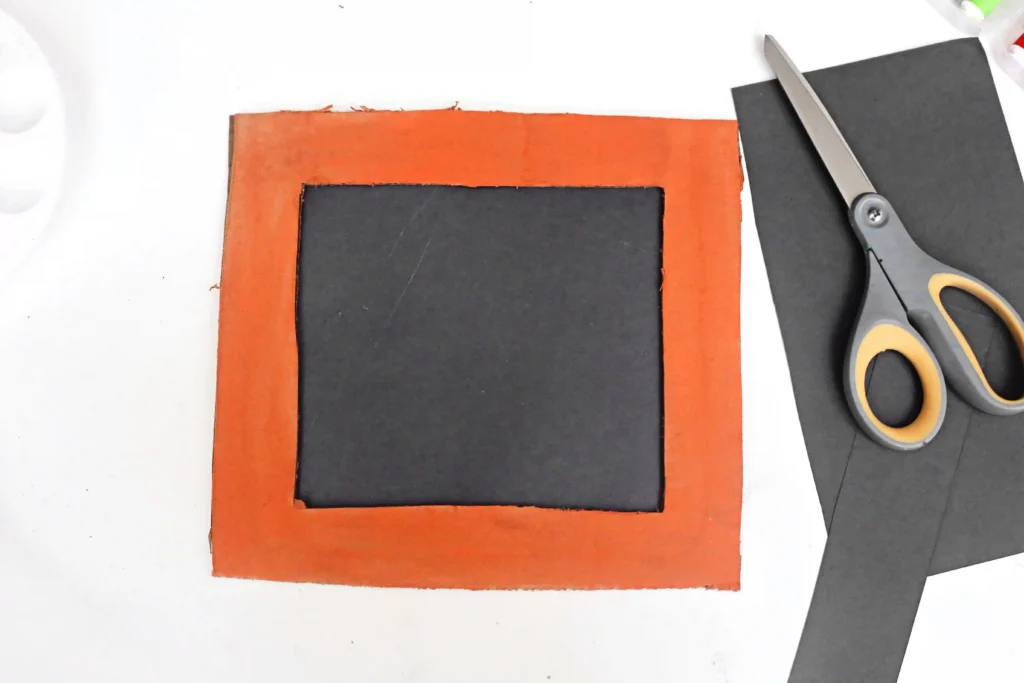
2. Add the Background: Cut a piece of black construction paper slightly larger than the opening in the frame. Glue it to the back of the frame so the black paper covers the opening.
3. Create the Ghosts: Draw and cut out a ghost shape for each member of the family. Make the ghosts different sizes and shapes to give your portrait some personality.
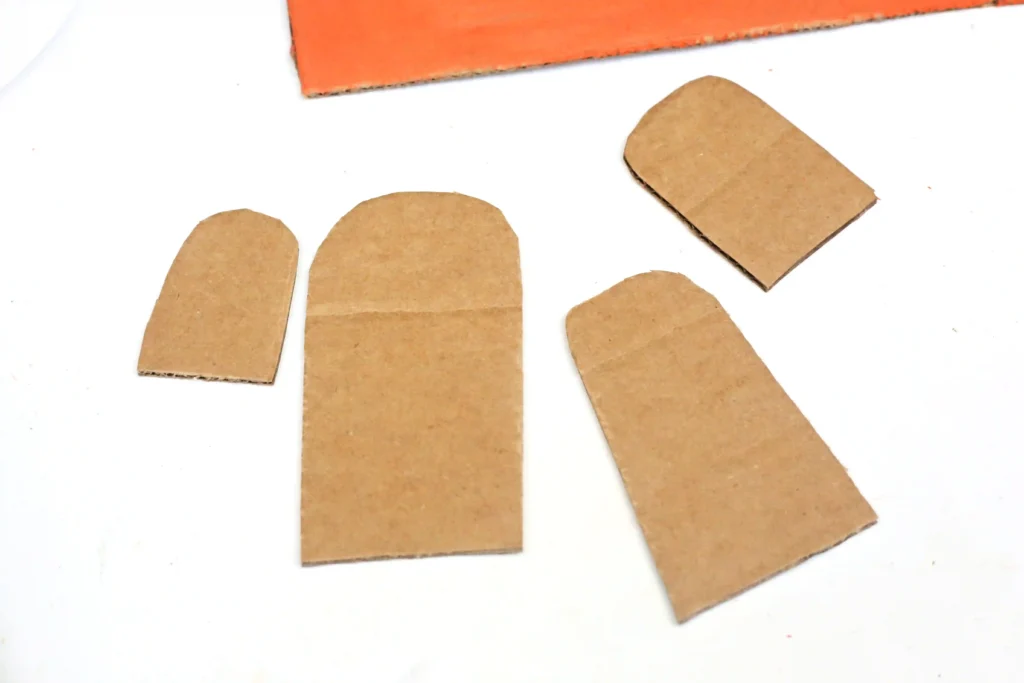
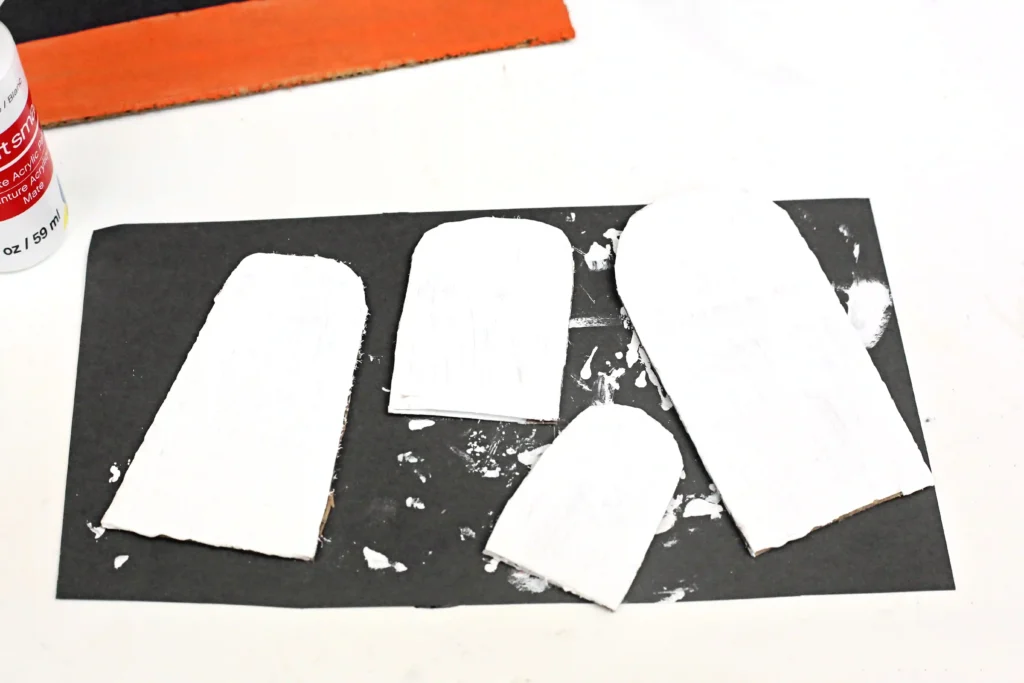
4. Paint the Ghosts: Paint each cardboard ghost white and let them dry completely.
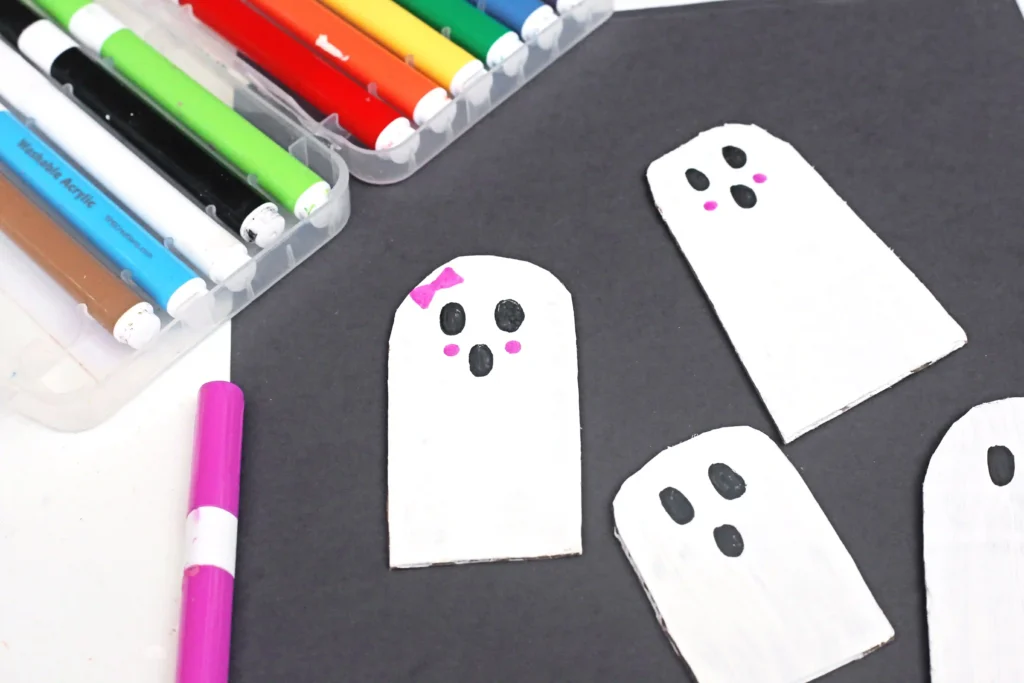
5. Add the Details: Use paint markers to give each ghost its own personality. Draw eyes, mouths, hair, bows, glasses, hats, or other fun details that represent each family member.
6. Arrange the Family: Arrange the ghosts on the black background, overlapping some of them if desired. Place the taller ghosts toward the back and the smaller ones toward the front.
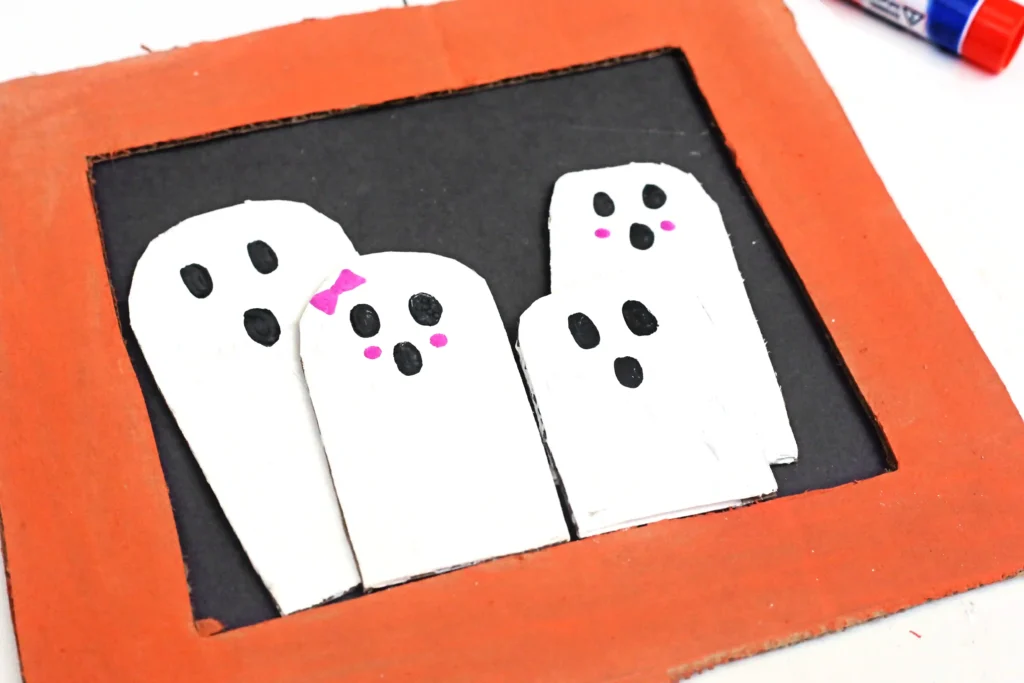
7. Glue in Place: Once you’re happy with the arrangement, glue each ghost onto the black construction paper.
Fun Variations For This Ghost Family Portrait Craft
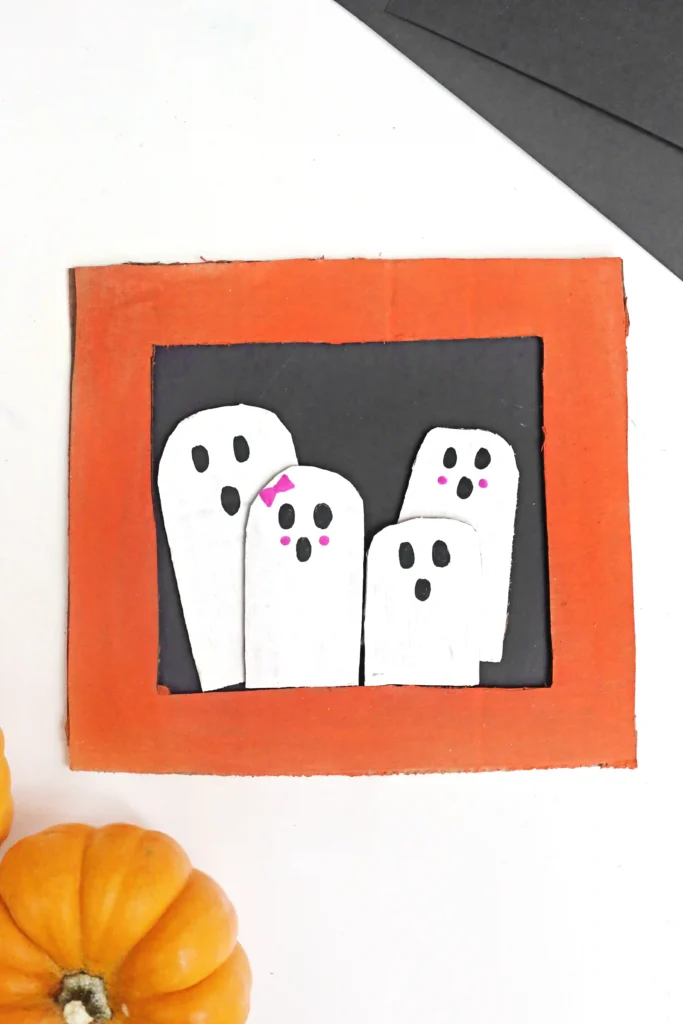
Decorate the frame. After the orange paint dries, decorate the frame using paint, markers, or stickers. A Halloween theme would fit best, but kids can decorate the frame however they want.
Give your ghosts personality. Experiment with different facial expressions and designs. Kids can also add earrings, necklaces, or whatever they’d like to their ghosts.
Make your family. Kids can make the ghost family resemble their own family! Have 2 brothers? Make 2 ghost brothers for the portrait.
More Halloween Crafts For Preschoolers
PrintGhost Family Portrait Craft
Make an adorable ghost family portrait craft with kids! This easy, budget-friendly Halloween project is perfect for a family keepsake.
- Prep Time: 15 + dry time
- Total Time: 15 + dry time
- Category: DIY, Halloween
- Method: Step-by-Step
Materials
- Cardboard
- Black construction paper
- White paint
- Paint markers
- Scissors
- Glue
- Pencil
- Paintbrush
Instructions
- Make the Frame: Draw a large rectangular frame shape on a piece of cardboard. Cut out the center to create an open frame. Paint the entire frame orange and allow it to dry completely.
- Add the Background: Cut a piece of black construction paper slightly larger than the opening in the frame. Glue it to the back of the frame so the black paper covers the opening.
- Create the Ghosts: Draw and cut out a ghost shape for each member of the family. Make the ghosts different sizes and shapes to give your portrait some personality.
- Paint the Ghosts: Paint each cardboard ghost white and let them dry completely.
- Add the Details: Use paint markers to give each ghost its own personality. Draw eyes, mouths, hair, bows, glasses, hats, or other fun details that represent each family member.
- Arrange the Family: Arrange the ghosts on the black background, overlapping some of them if desired. Place the taller ghosts toward the back and the smaller ones toward the front.
- Glue in Place: Once you’re happy with the arrangement, glue each ghost onto the black construction paper.